
Everyone adores cute things! Even those who claim they're too tough to appreciate them secretly find them irresistible. Cute things surround us, from adorable baby animals to cartoon characters, mascots, and products. And they're here to stay!
If you're a fan of cute things (which we all are), then you'll surely enjoy learning how to draw your own charming characters. This step-by-step guide will teach you how to effortlessly create some adorable new friends, allowing your creativity to flourish!
Let's Get Started – Drawing Cute Things
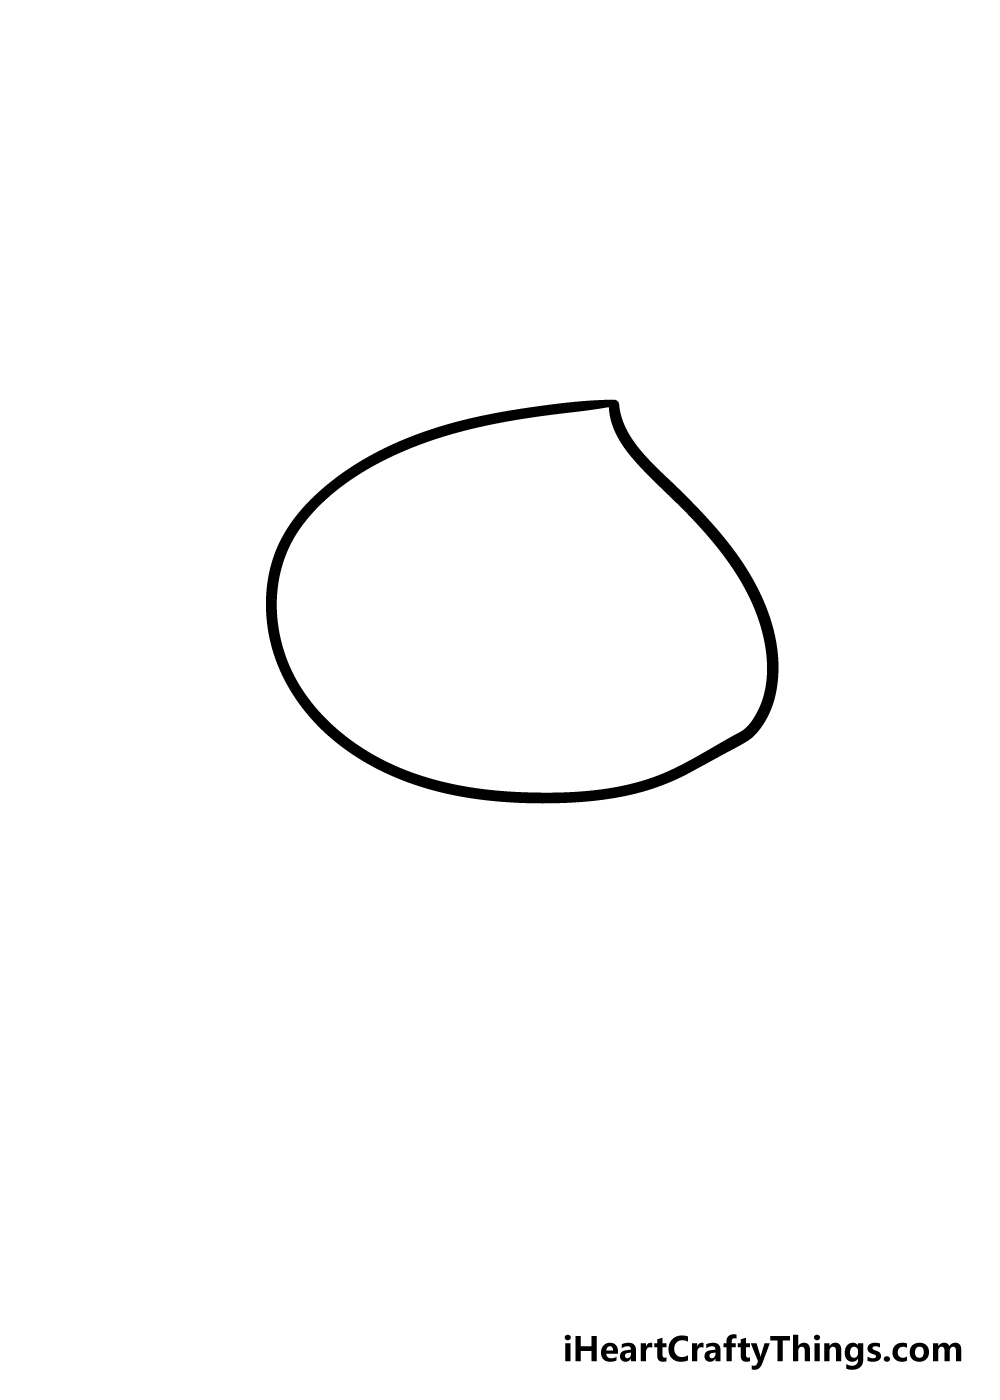
Step 1 – Begin with the basic shape
Our guide on drawing cute things starts with creating some adorable ice cream designs. Begin by drawing what resembles an onion shape. The bottom section should be thick, gradually tapering to a sharp point at the top. Take a look at the reference image and remember to leave a small gap at the bottom right of the onion shape.
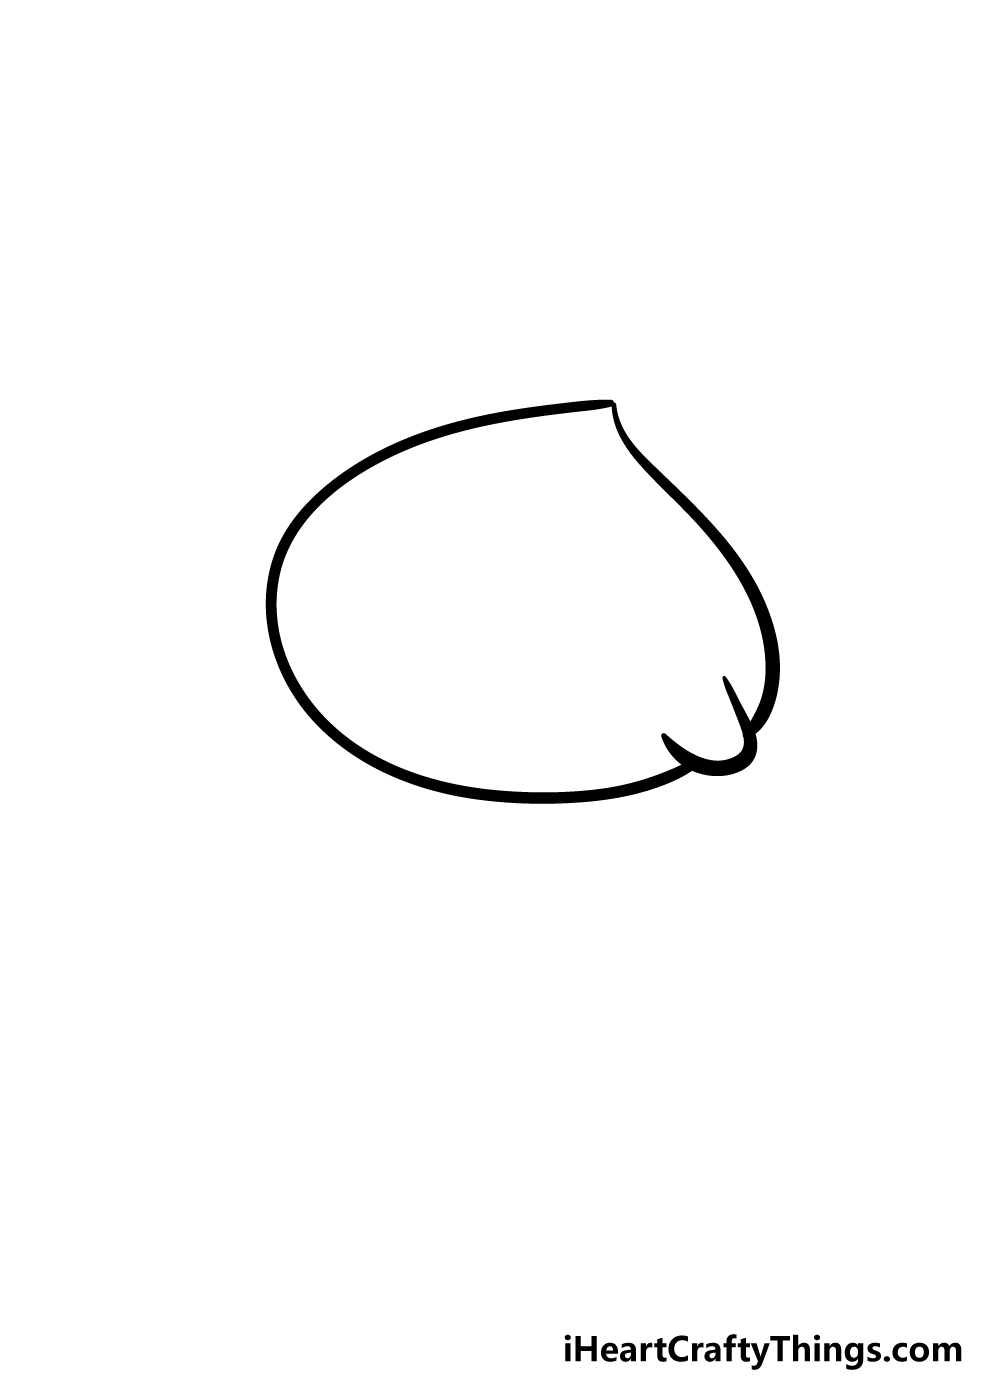
Step 2 – Add a small protrusion
Next, draw a small curve coming off the shape you just drew. This will give your cute thing some extra character.
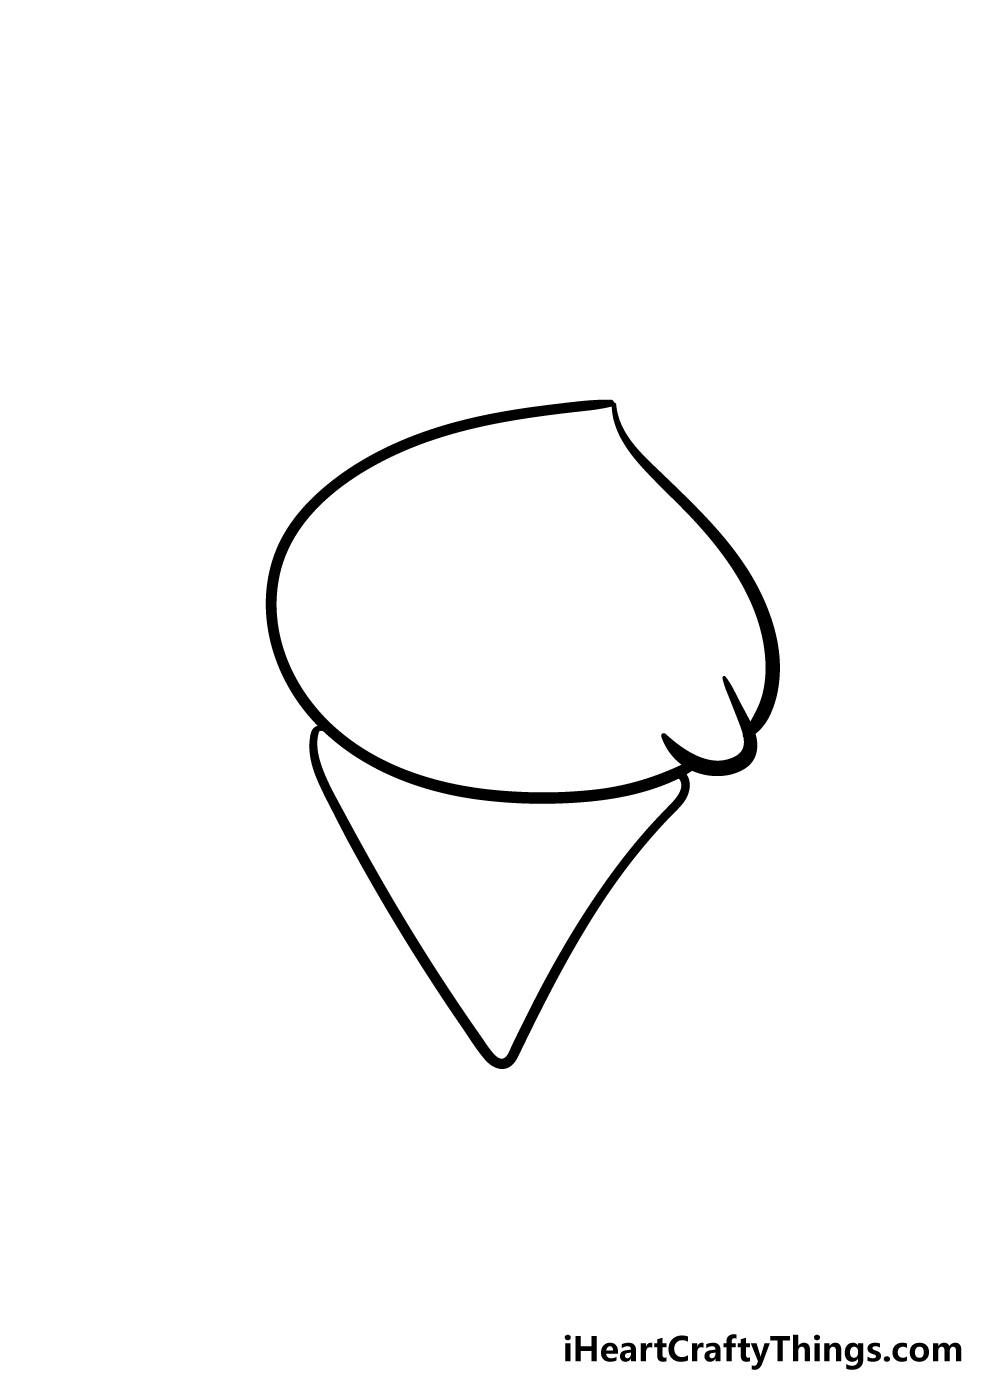
Step 3 – Draw the cone
Every ice cream needs a cone, so let's add one! Draw a rough cone shape freehand. Don't worry about making it perfect; a cartoony, curved look will give your picture more charm.
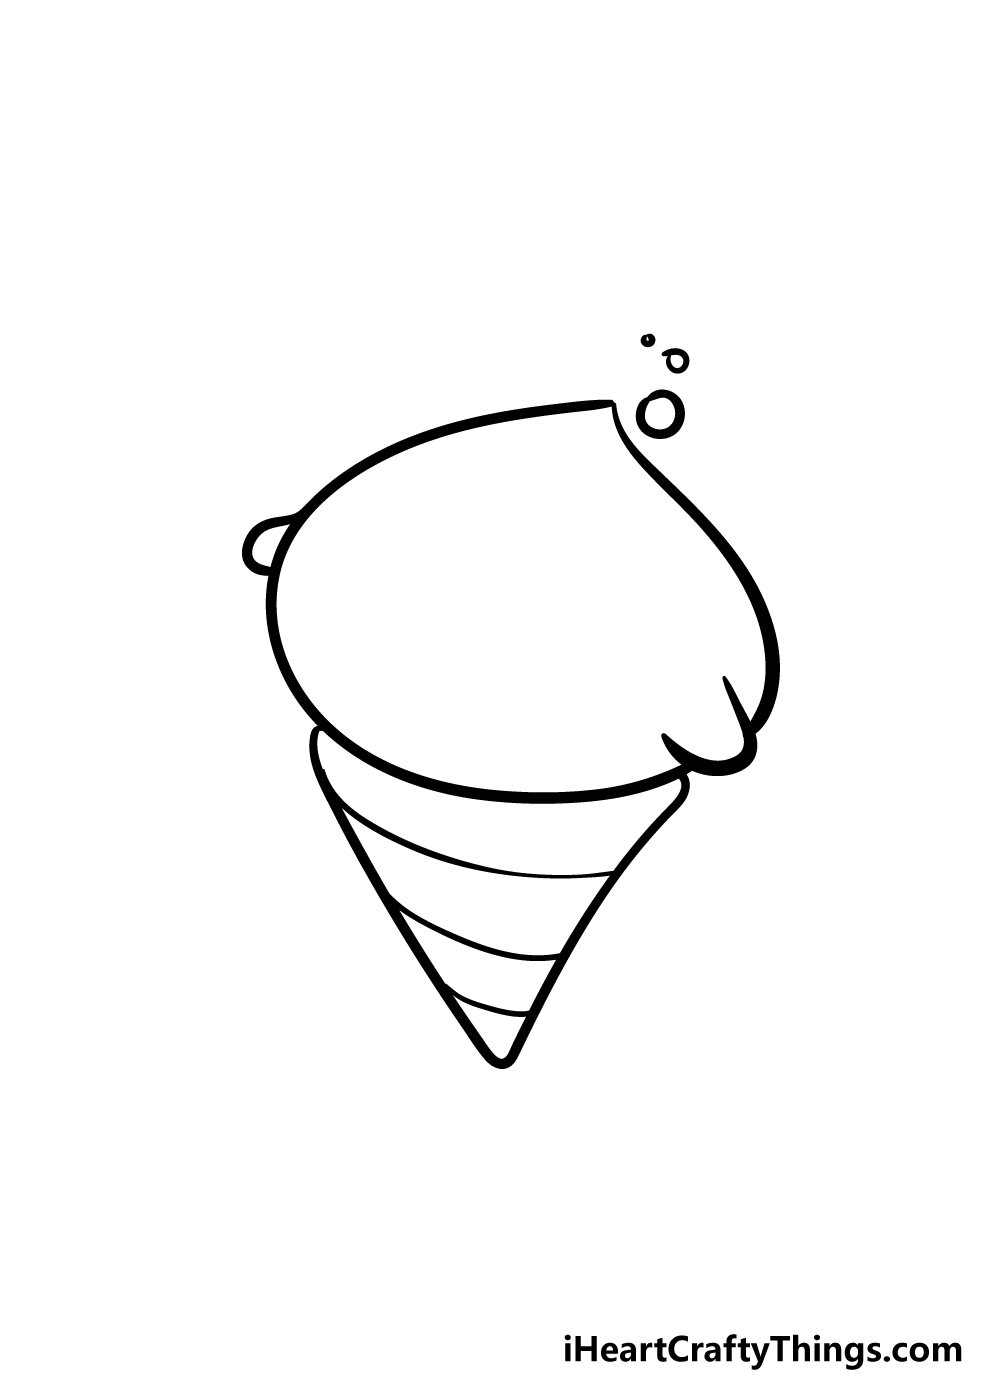
Step 4 – Add details
In this step, add some extra details to your cute thing. Draw a small curved line on the left side of the ice cream to create a second arm. Then, add some small circles near the tip of the ice cream to represent bubbles.

Step 5 – Texture the cone
To give the ice cream cone some texture, draw slightly curved lines horizontally along the cone. You can also add dots or other marks for more detail and creativity.
Step 6 – Add a cute face
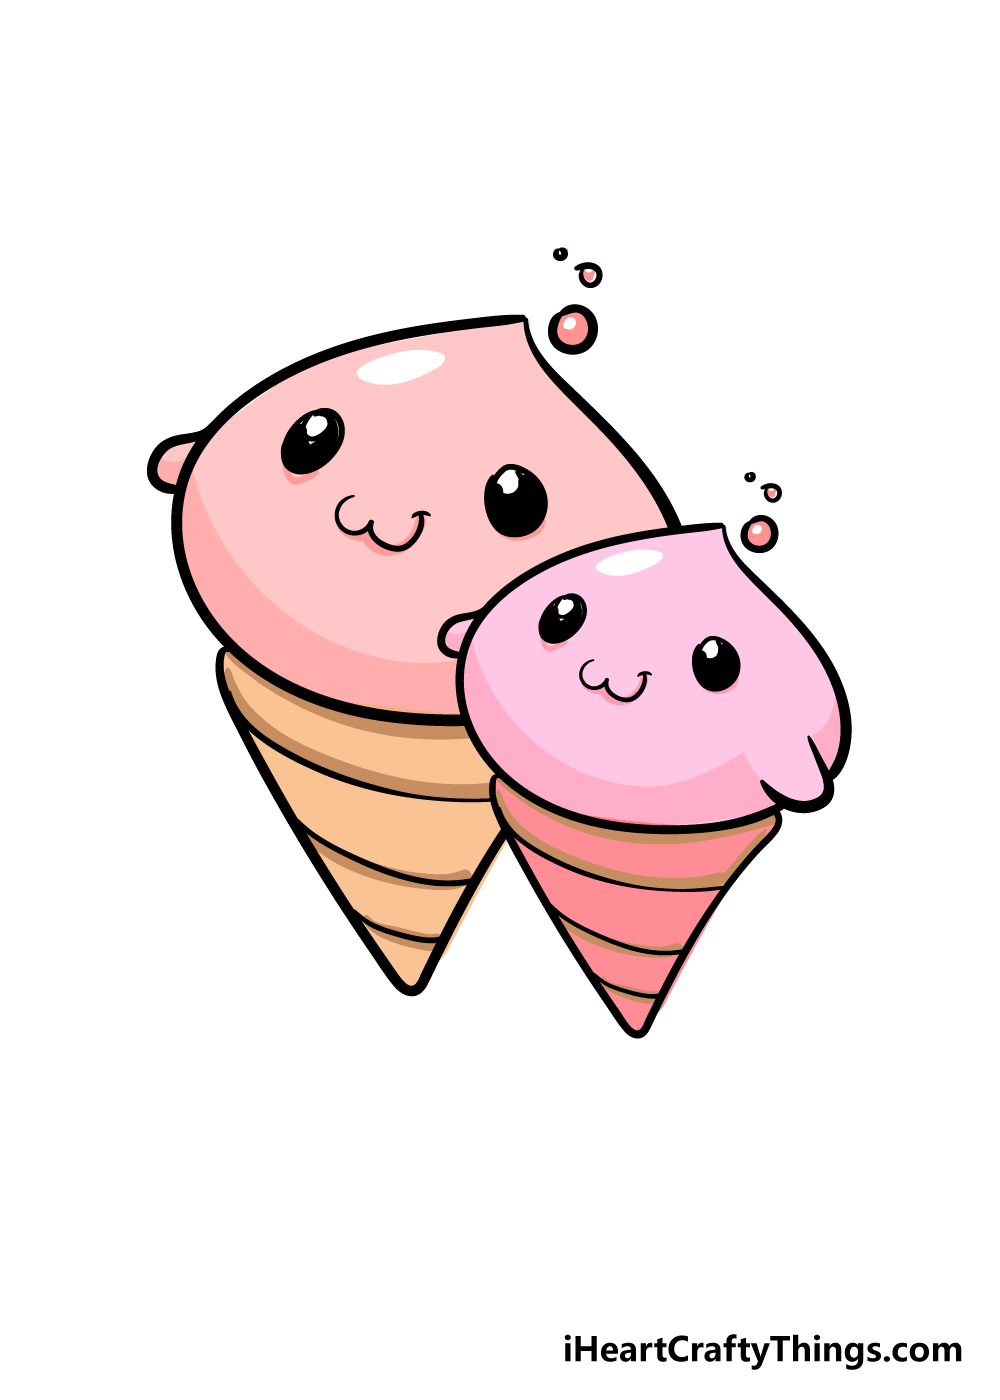
What makes something cute? The face! Make the eyes big by drawing large black ovals with smaller white circles inside to show a glint. Feel free to make the eyes even bigger if you want. Complete the face with a sweet little mouth using two small curved lines.
Before moving on to the final step, you can add more charm to your drawing by creating additional characters. The reference image shows a second ice cream next to the main one. You can follow the same steps, but feel free to change the mouth or eyes to give it a different expression. Let your imagination run wild with other fun details!

Bonus: Make A Story Featuring These Cute Things!
Before the final step, here's a fun idea to explore. You can create a little story featuring these charming characters. One way to do this is by drawing a comic strip with endless possibilities!
Start by practicing drawing different variations of your characters, experimenting with facial features, expressions, and poses. Once you're comfortable, choose a setting that relates to your ice cream characters, such as an ice cream shop or a beach. Let your imagination soar and think of a story involving these delightful characters. It can be based on your own experiences with friends or family.
Map out the comic with pencil sketches and rough panels, then bring your characters to life. Add backgrounds, colors, and any other ideas you have. You can even expand your comic into multiple pages, making it a unique and truly personal creation.
What stories, settings, and additional characters come to mind?
Step 7 – Color your Cute Things Drawing
The final step is the most exciting one – adding color! This is where you can truly express your creativity. Use your favorite bright and cheerful colors that perfectly match the theme of this image. Acrylic paints or colored pens can bring the colors to life, but you can use any medium you prefer.
5 Tips To Make Your Cute Things Drawing Even Better!
Here are some tips to take your adorable drawing to the next level:
- Add more characters: Explore drawing other foods or objects with similar faces. Fill the page with these cute characters and make the image even more delightful.
- Create a fun background: Enhance your drawing by adding a lively and unique background. This is especially great if you've included more characters.
- Add extra details: Give your cute things more personality by incorporating additional details like cherries, sprinkles, or chocolate shavings. Don't be afraid to experiment with colors!
- Get creative with colors: Use different art tools and mediums to bring your drawing to life. Don't hesitate to use crafts like beads and stickers to make the colors pop.
- Present your artwork: Frame your drawing or draw a border around it to showcase it beautifully. You can even turn it into a special gift for someone.
Your Cute Things Drawing is Complete
Congratulations! You've completed this guide on how to draw cute things, and now you have an amazingly adorable drawing to show for it. We designed this guide to be helpful and fun, allowing you to showcase your creativity.
Remember, any drawing challenge becomes easier when broken down into steps. Now it's your turn to unleash your imagination and make this drawing truly unique. Whether you add extra details, a fun background, or stunning colors, we can't wait to see how you express yourself through this picture.
Don't forget to visit our site regularly for more awesome step-by-step drawing guides like this one. We wouldn't want you to miss out on the drawing fun! And please share your incredible cute things drawing on our Facebook and Pinterest pages for us to enjoy.
Follow us on:
More Coloring Books available at Shill Art – Express Your Creativity.
Follow us on:
- Facebook fanpage:https://www.facebook.com/ShillArt.Official
- Facebook group:https://www.facebook.com/groups/FreeColoringPagesToPrint
- Pinterest:https://www.pinterest.com/ShillArtOfficial
More Coloring Books at here, see now:https://shillart.com/coloring-books