
Are you ready to get into the Halloween spirit? Get your scissors, coloured construction paper, and tape ready, because we're about to show you how to make the most adorable Halloween paper garland cutouts! These DIY decorations are not only super fun to create, but they're also surprisingly simple. You'll be amazed at how cool and festive they look!
Simple Materials, Endless Fun!
All you need to make these Halloween paper garlands are some coloured construction paper, a pair of scissors, and some tape. You can easily find these materials at your local dollar store, making this a budget-friendly DIY project. The best part? There are no rules when it comes to Halloween decor! Feel free to use construction paper, regular printer paper, or even foiled and metallic paper. You can even add a touch of glitter if you want to bring on the sparkle!
Bring Back Childhood Memories
Remember making paper dolls when you were a kid? Well, these garlands are like a grown-up version of that classic craft. No more ending up with separate shapes! With our step-by-step instructions, you'll finally master the art of creating connected shapes that will impress both young and old.

Get Crafty Step-by-Step
To get started, you can use our free printable template or draw the shapes freehanded. If you choose to draw your own, we recommend cutting the shapes onto a thick piece of paper or cardboard. Remember, you only need to draw half of each shape since the fold will create the mirror image.
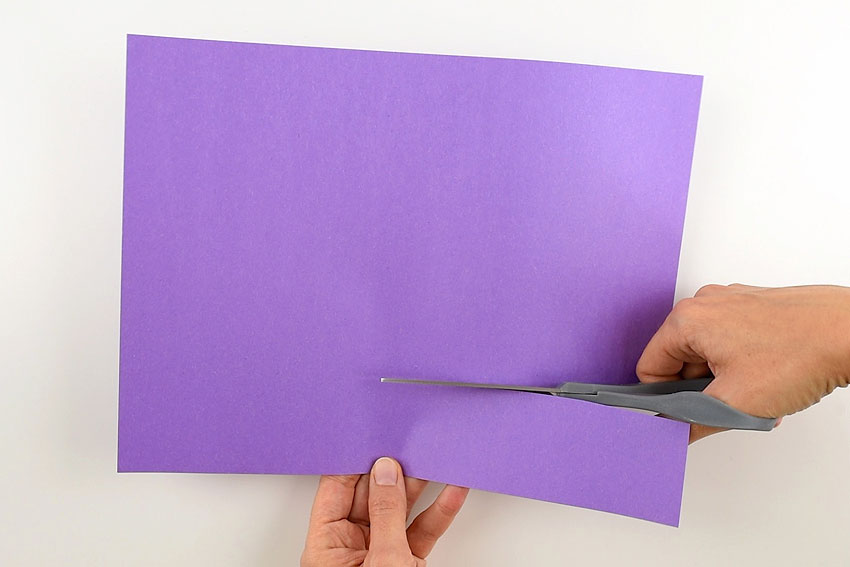
Fold your strips of paper accordion-style, using our starter folds or light pencil lines as your guide. Each section should be folded in half and in the opposite direction. Once you've completed the folding, it's time to trace and cut out your shapes. Pay close attention to the positioning of the template to ensure none of the end shapes get cut in half. Trust us, a little extra thought before cutting will save you from any potential mishaps.
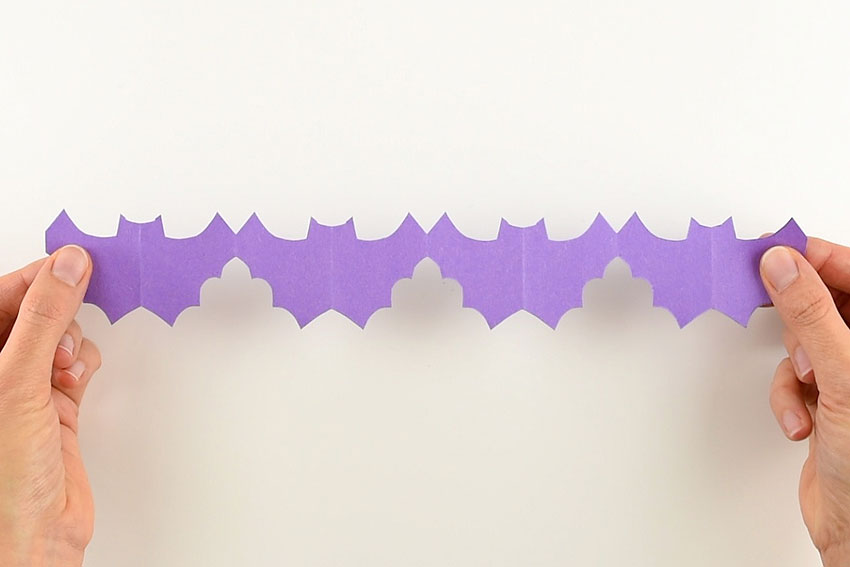
Finally, the big reveal! Carefully unfold your garland and watch as the connected silhouettes come to life. To make a longer garland, repeat the process with a second strip of paper and connect them with a small piece of tape on both sides. You can keep going and going, making your garland as long as you like!
Express Your Creativity with Shill Art
These Halloween paper garland cutouts are not only perfect for decorating your home, but they're also a great activity for kids, teens, and even adults. Hang them on doors, walls, or even in the window to add a festive touch to your space. Get creative with the shapes and colors, and let your imagination run wild!
For even more Halloween craft ideas, check out our wooden spoon bats, coffee filter spiderwebs, paper roll ghost, and yarn pumpkins. And if you're looking for more exciting craft projects, be sure to explore the “Low-Mess Crafts for Kids” book for 72 fun and simple ideas.
Remember, at Shill Art, we encourage you to express your creativity without breaking the bank. So gather your supplies and let the Halloween crafting begin! For more inspiration and craft ideas, visit Shill Art – Express Your Creativity.
Follow us on:
- Facebook fanpage:https://www.facebook.com/ShillArt.Official
- Facebook group:https://www.facebook.com/groups/FreeColoringPagesToPrint
- Pinterest:https://www.pinterest.com/ShillArtOfficial
More Coloring Books at here, see now:https://shillart.com/coloring-books