
Cars have always been a beloved toy for kids and a popular theme in animated movies and series like “Cars,” “Speed Racer,” and Hot Wheels. But what if you could bring your very own unique dream car to life? With this step-by-step guide on how to draw a car, you can do just that! Let your imagination run wild and customize your dream car on paper.

Drawing a car can be a fun and creative activity for anyone who loves cars. If you have a kid who is passionate about cars, this is the perfect activity to keep them entertained and unleash their creativity. So, let's get started and bring your dream car to life!
Step 1 – Draw the Wheels

Start by drawing two small circles on the lower portion of your paper. These circles will serve as the inner outline of your car wheels. If you find it challenging to draw perfect circles freehand, you can use a compass or any drawing tool to help you achieve flawless circles.
Step 2 – Draw the Wheels of the Car

Next, draw two more circles surrounding the small circles from the previous step. These circles will complete the wheels of the car. Make sure the wheels are about an inch apart and resemble a pair of wheels, as shown in the illustration.
Step 3 – Attach the Bumpers to the Wheels
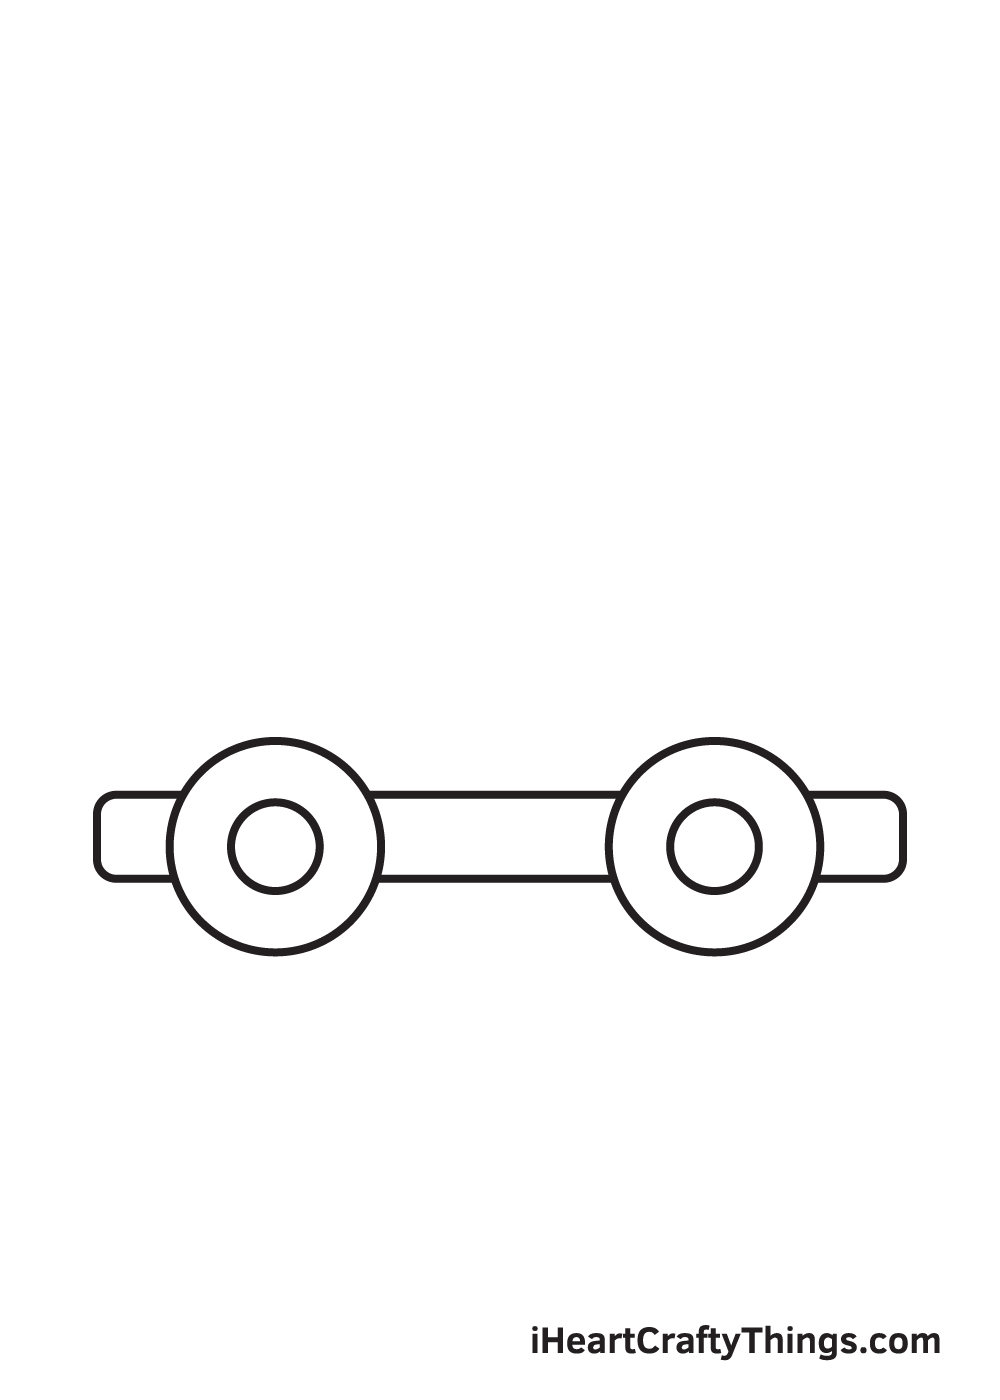
Now, draw a long and narrow rectangular shape that connects both wheels. This shape represents the bumper of the car and serves as the foundation. Make the bumper as long as you want your car to be.
Step 4 – Outline the Body of the Car
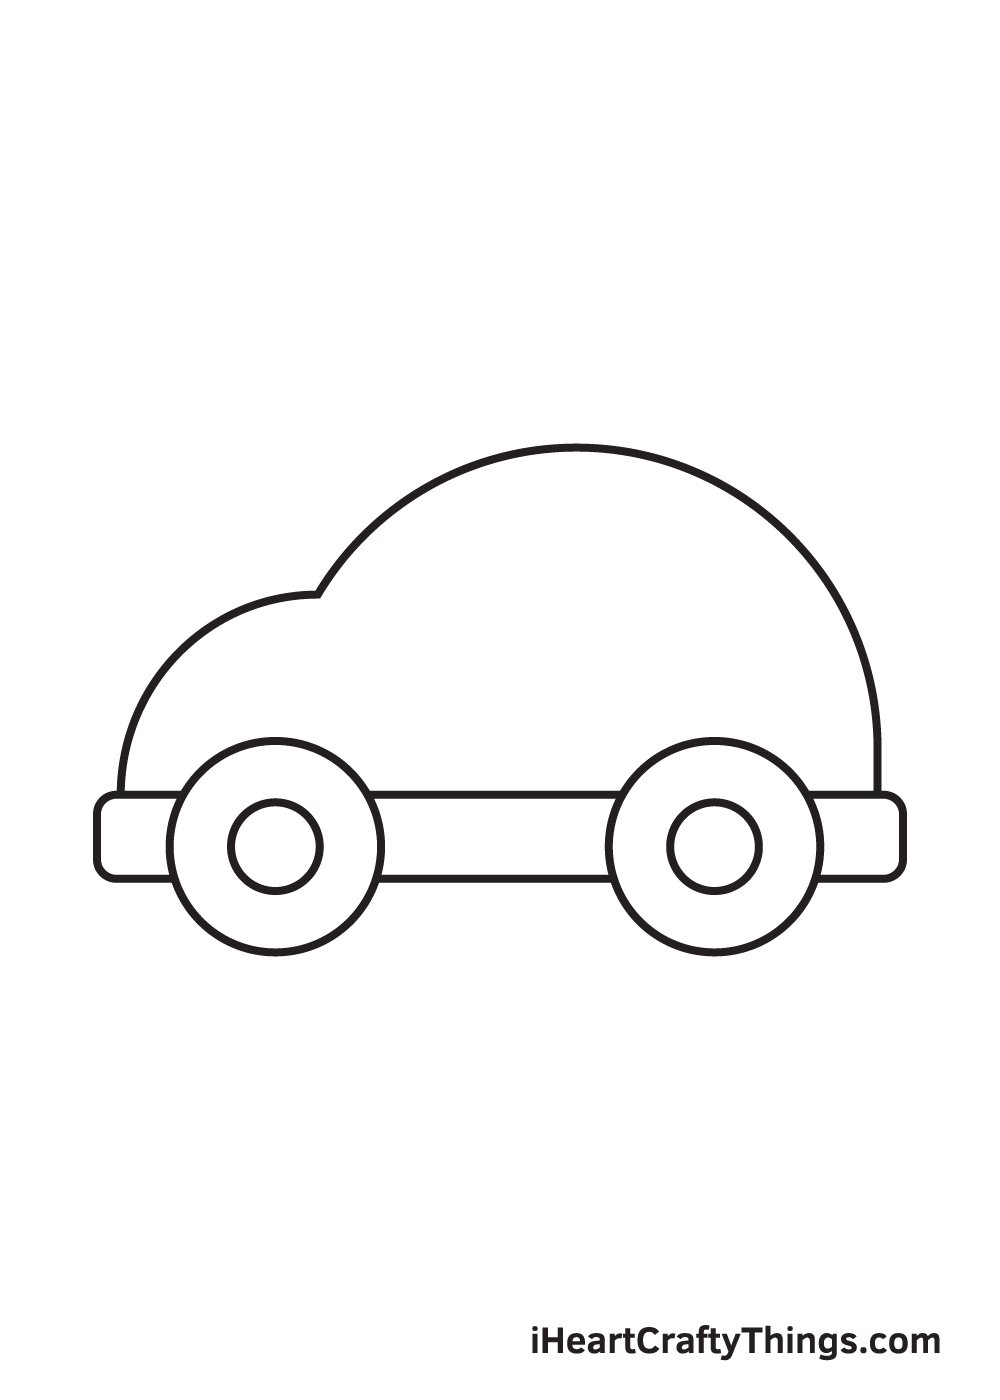
Just above the bumper, structure the outline of the car's body. Start by drawing downward curved lines that extend from one end of the bumper to the other. The outline consists of two curved lines, one smaller for the hood and one larger for the roof of the car.
Step 5 – Draw the Front Door Window

On the left side of the roof, draw a curved line following the outline of the roof. Then, connect both ends of the curved line with a left-facing 90-degree angle line. This shape represents the front door window of the car.
Step 6 – Draw the Rear Door Window
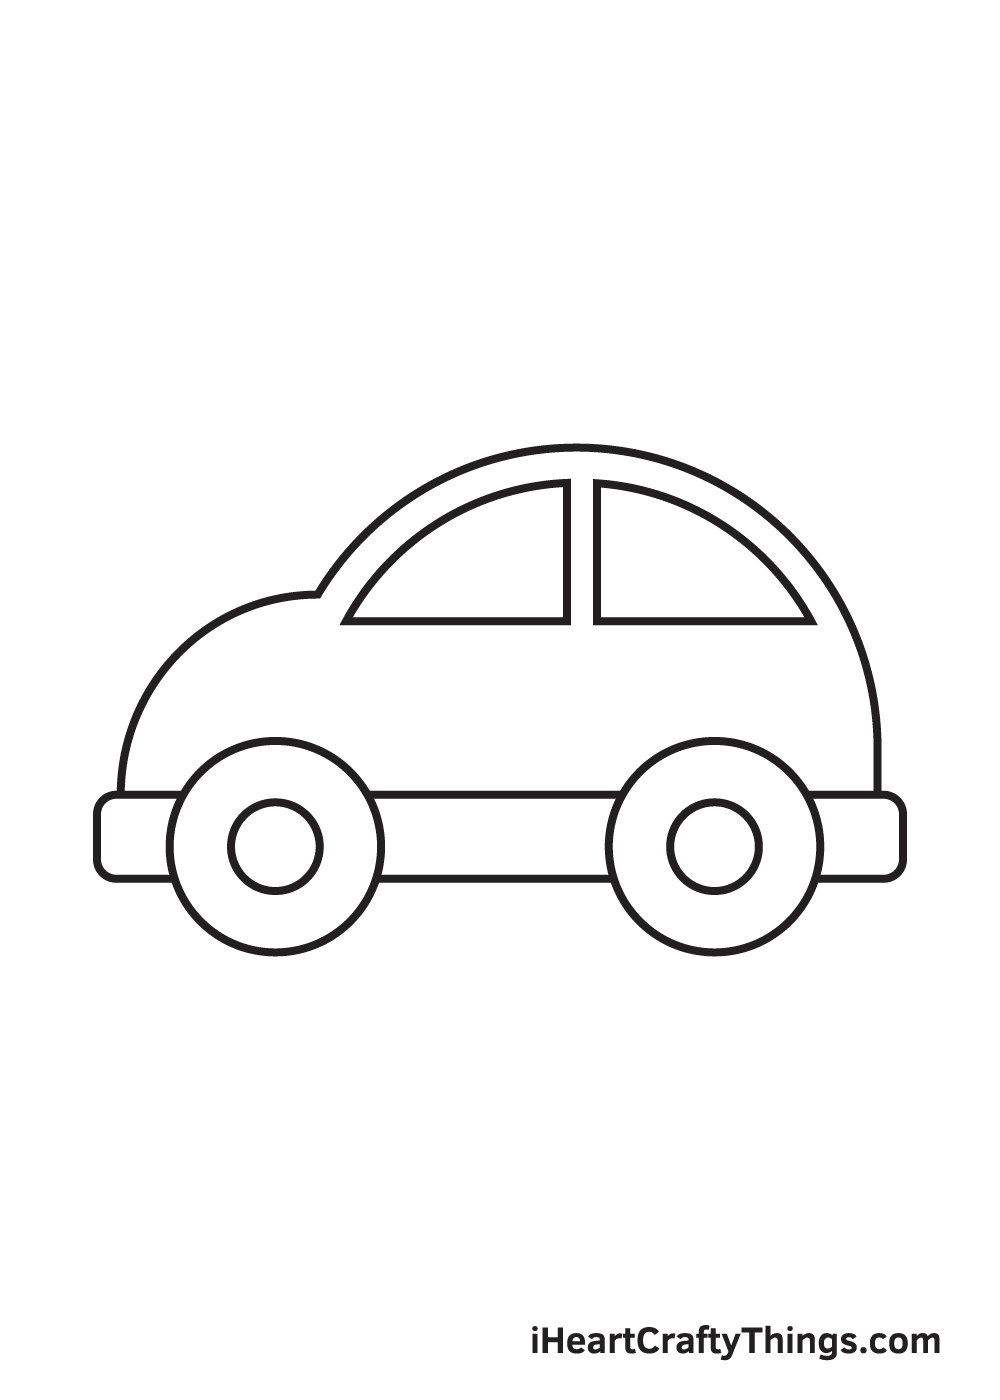
Repeat the previous step on the other side of the car to create two evenly proportioned car windows. The front window should be slightly larger than the rear window.
Step 7 – Outline the Front Door
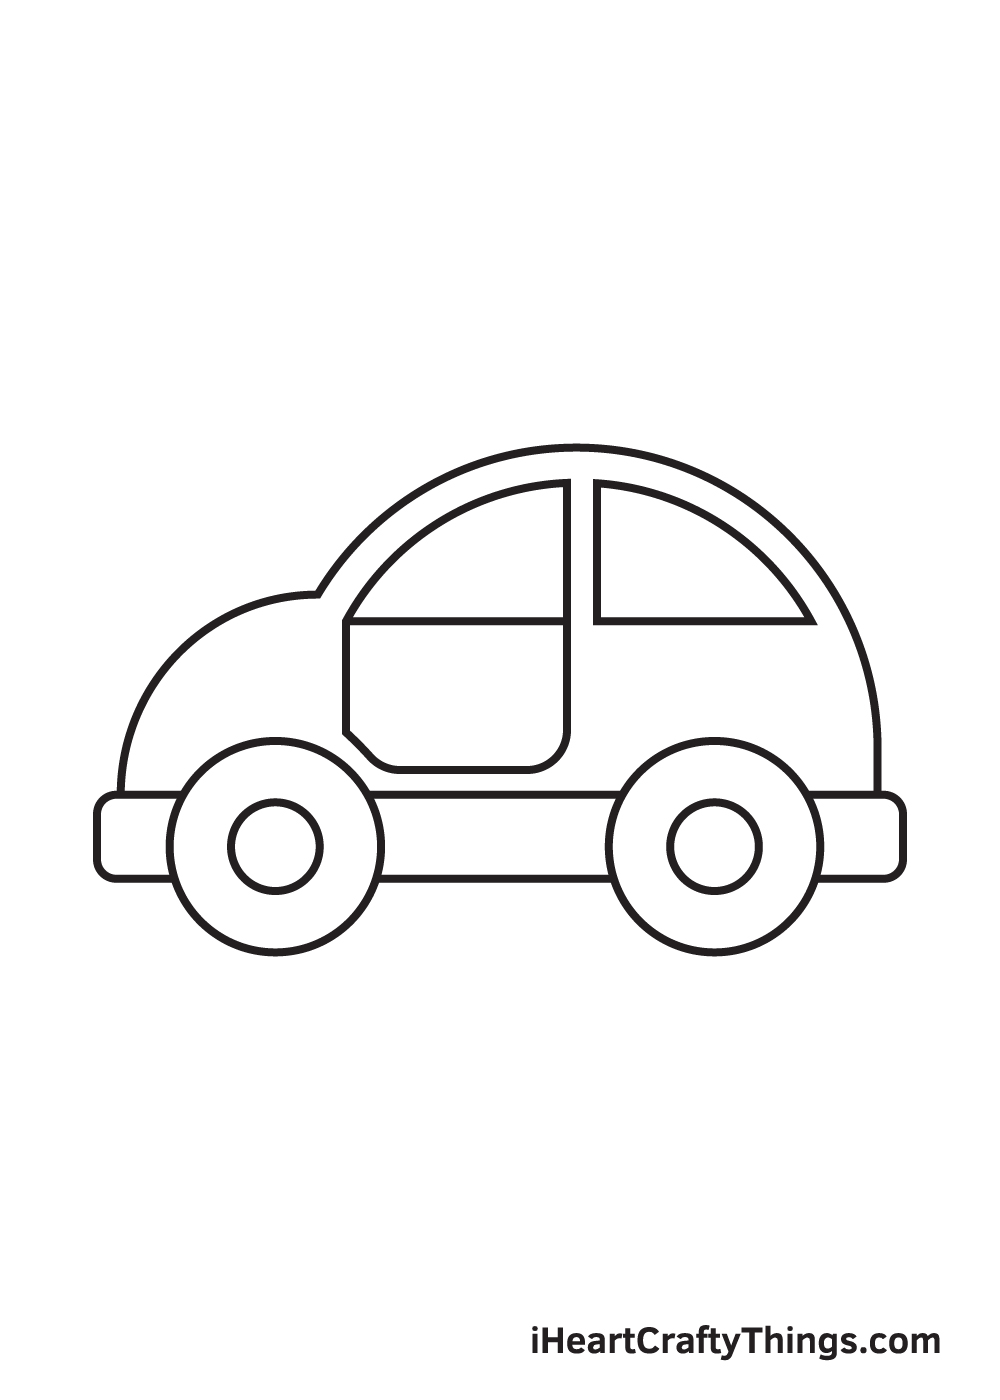
Create the front door by drawing a square shape with curved corners right below the front window. Make sure the front window and the front door are aligned and symmetrical.
Step 8 – Draw the Lights and the Door Handle
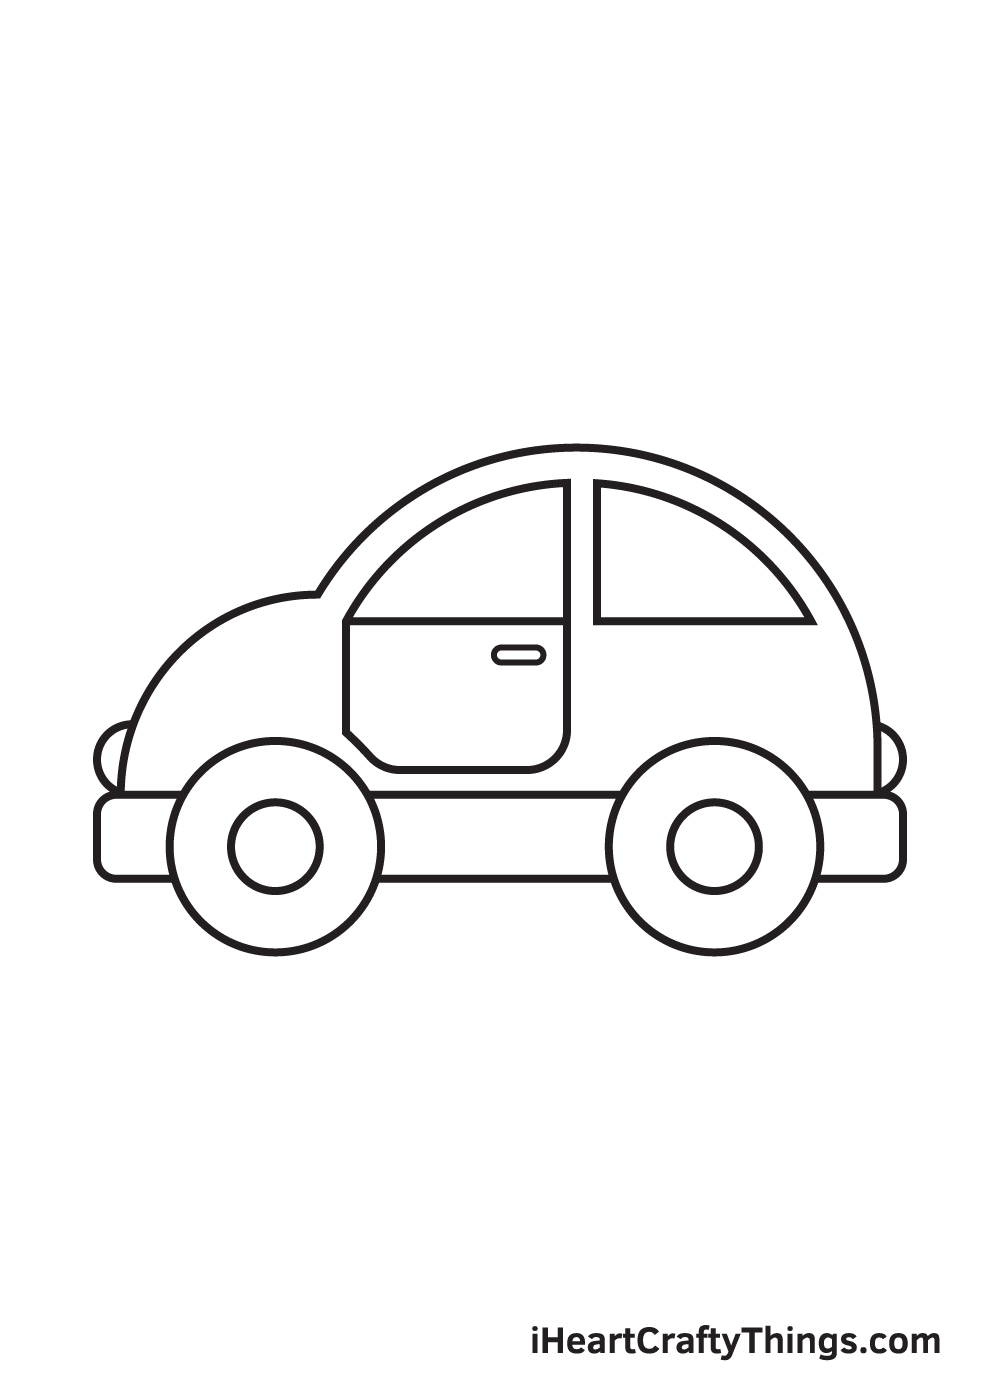
To add more details and make the car look realistic, draw half-circle shapes on both ends of the car to represent the headlights and taillights. Place the lights just above the bumper.
Step 9 – Add Patterns on the Car Windows

Car windows are typically reflective, creating a diagonal pattern. Draw several parallel diagonal lines on each car window to create the illusion of reflection.
Now that you have successfully drawn your car, it's time for the most exciting part—coloring! Choose vibrant and colorful colors to bring your awesome car drawing to life. Cars come in a wide range of designs and colors, so let your imagination run wild.
Remember, drawing a car is a creative process, and there are no limits to your imagination. So grab your pencils and start drawing your dream car today!
Follow us on:
More Coloring Books available at Shill Art – Express Your Creativity.
Follow us on:
- Facebook fanpage:https://www.facebook.com/ShillArt.Official
- Facebook group:https://www.facebook.com/groups/FreeColoringPagesToPrint
- Pinterest:https://www.pinterest.com/ShillArtOfficial
More Coloring Books at here, see now:https://shillart.com/coloring-books