
With its fluffy body and irresistibly cute face, it's no wonder that people of all ages are obsessed with kittens. These adorable creatures have captivated our hearts and even become iconic characters in movies and series such as Hello Kitty, Tom Cat, and Puss in Boots. Drawing a kitten can be a fun and rewarding activity, allowing you to express your creativity and bring these lovable animals to life.
Step 1 – Starting with the Ears

Begin by drawing the kitten's ears. Start on the upper right portion of your paper. Draw two triangular ears connected by a curved line that slopes downwards. This outline will form the kitten's head and ears.
Step 2 – Creating the Face

Extend the lines from below the ears to create the shape of the kitten's face. The face should be wider at the bottom, emphasizing its chubby cheeks. Don't forget to add pointed clumps of fur on each side of the face to capture the kitten's adorable features.
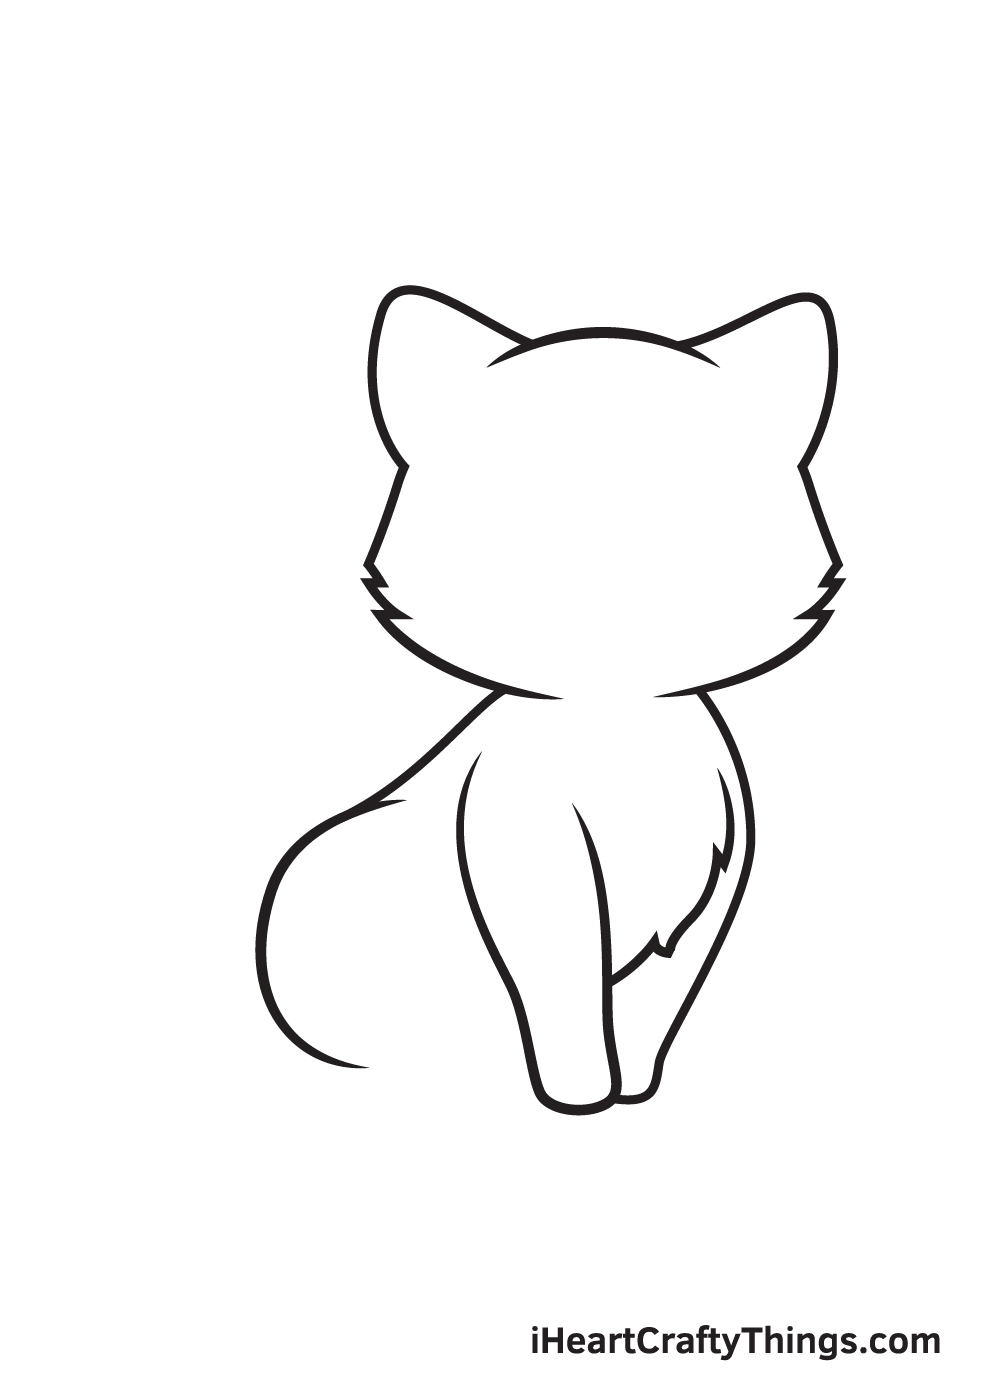
Step 3 – Drawing the Front Legs

Right beneath the kitten's face, draw two front legs side by side. Simply draw overlapping curved lines below the face to represent the legs. Add some fur to the kitten's chest area to make it look more fluffy and cuddly.
Step 4 – Shaping the Body
Draw a downward curved line to outline the kitten's back and bottom part. The back should slope downwards, while the bottom should have a curved shape like a half-circle. This posture will make the kitten appear as if it's sitting down.
Step 5 – Adding the Hind Legs
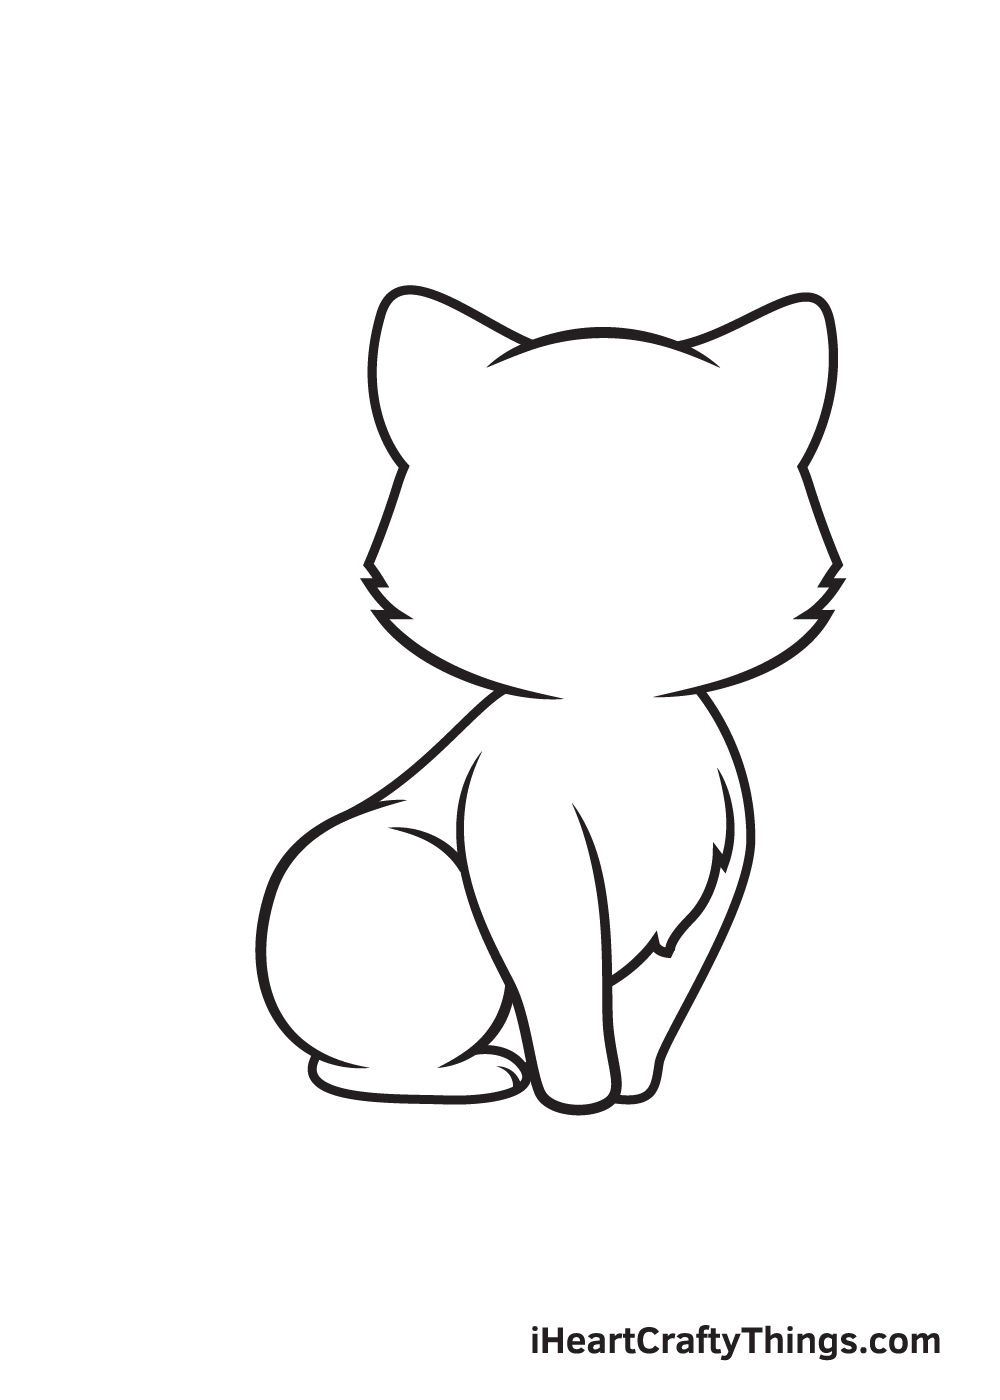
Draw another curved line facing downwards from the kitten's bottom to outline its thighs. Then, draw a leg with a paw right beneath the bended thighs. Remember to add lines on the paw to create divisions between the claws.
Step 6 – Designing the Tail
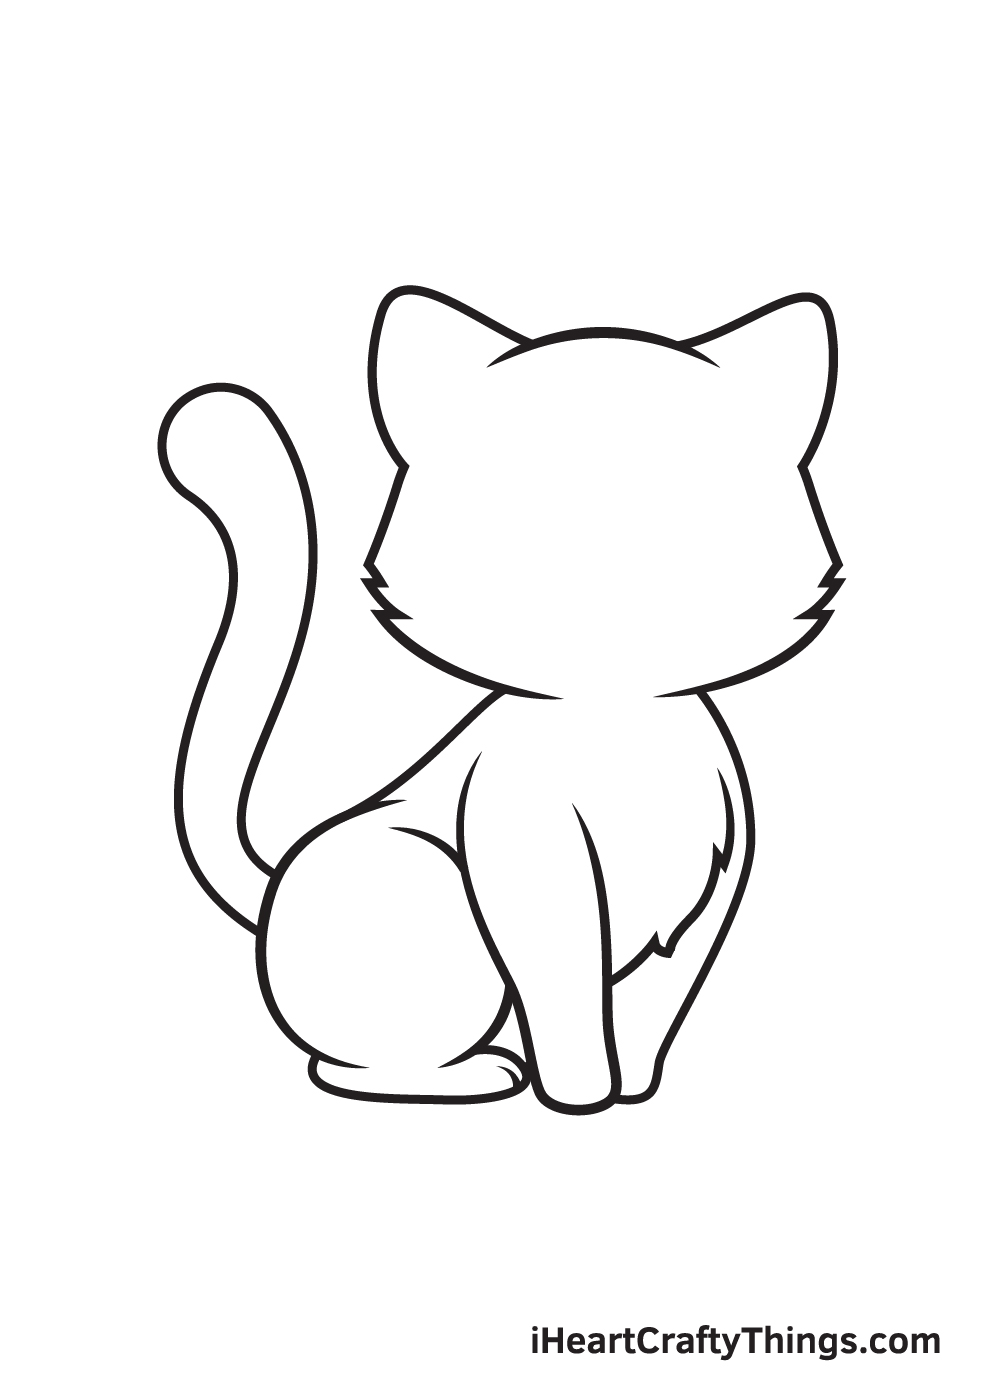
On the lower bottom part of the kitten's body, draw a long, fluffy tail. You can draw it as a simple curved line resembling a sausage. Get creative and add large chunks of fur poking out all over the tail to make it look more furry and playful.
Step 7 – Defining the Ears
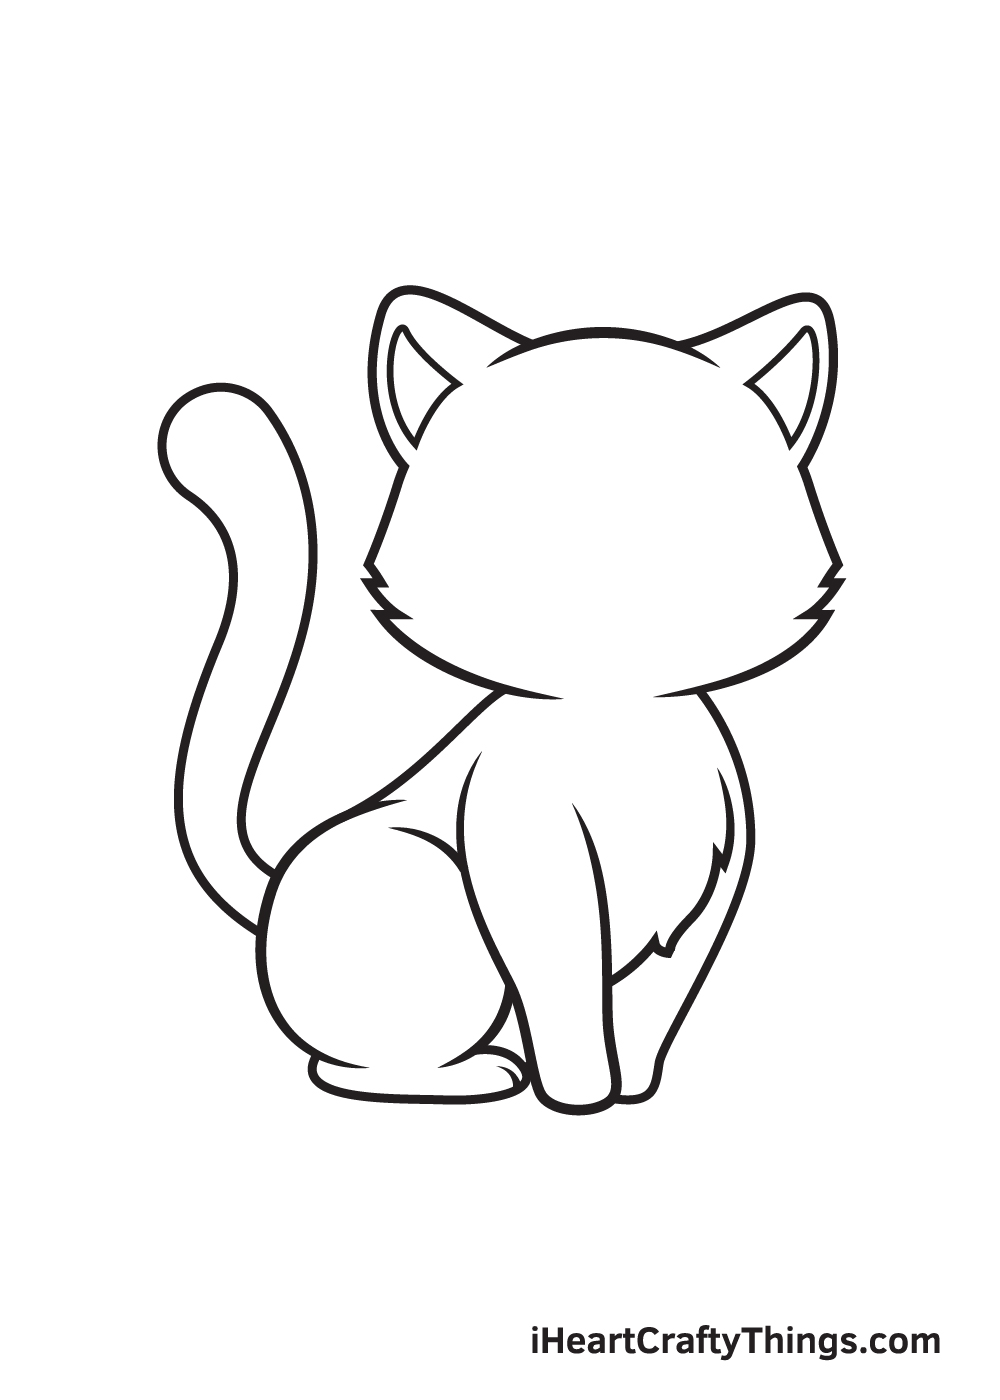
Inside the ears drawn in the first step, add a triangular shape to outline the inside of the kitten's ears. This detail will make the ears appear more three-dimensional and realistic, adding depth to the drawing.
Step 8 – Creating the Face Details
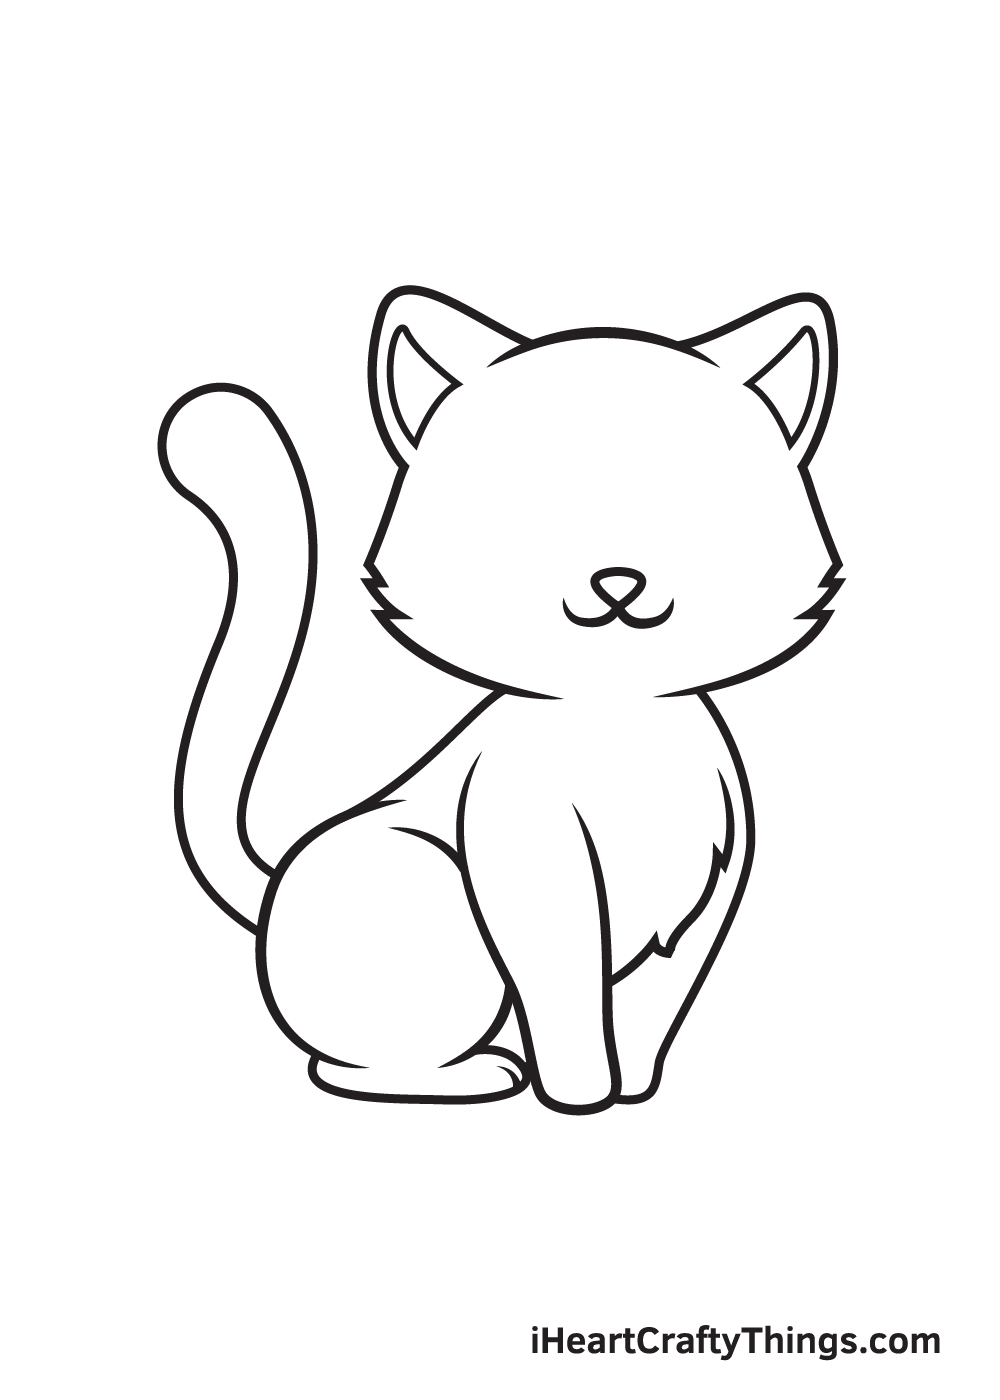
Draw an upside-down triangular shape in the middle of the kitten's face to represent its nose. Then, outline the mouth with two curved lines beneath the nose, forming a “w” shape. With these details, the kitten's face starts to come to life.
Step 9 – Expressive Eyes
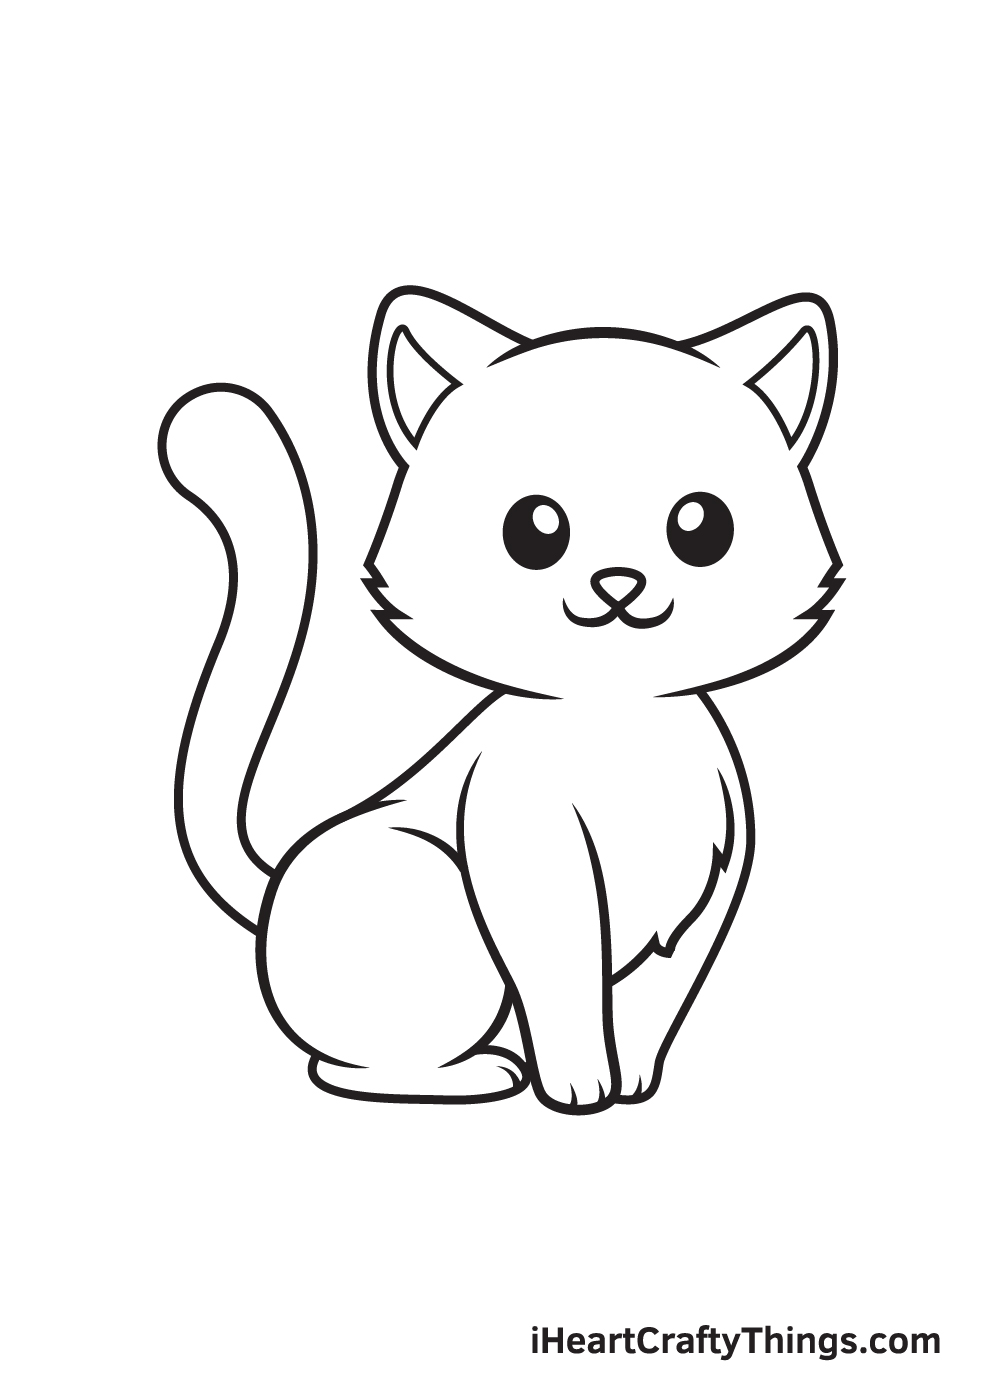
Draw two upright oval shapes right above the nose to create the kitten's eyes. Within the eyes, draw smaller ovals and shade them to depict a glimmering effect. These cute and expressive eyes give the kitten its personality.
Feel free to add your own creative touches and experiment with colors to make your artwork unique. Remember, these steps are just a guide, and you can customize your drawing to suit your style. Unleash your imagination and have fun expressing your artistic skills!
If you're ready to embark on a creative journey and draw more adorable animals or explore other arts and crafts projects, visit Shill Art – Express Your Creativity for endless inspiration and resources. Let your creativity soar and enjoy the process of bringing your artistic visions to life. Happy drawing!
Follow us on:
- Facebook fanpage:https://www.facebook.com/ShillArt.Official
- Facebook group:https://www.facebook.com/groups/FreeColoringPagesToPrint
- Pinterest:https://www.pinterest.com/ShillArtOfficial
More Coloring Books at here, see now:https://shillart.com/coloring-books