
The allure of ninjas is timeless. These covert agents and skilled mercenaries captured our imaginations centuries ago and continue to fascinate people of all ages. From their origins in feudal Japan to their portrayal in popular movies like Naruto and Ninja Turtles, ninjas have become iconic figures in popular culture.
Have you ever wanted to learn how to draw a ninja? You're in luck! We have created a step-by-step guide to help you bring these legendary warriors to life on paper. With just a piece of paper and your favorite drawing tool, you can easily master the art of drawing a ninja.
Let's get started!
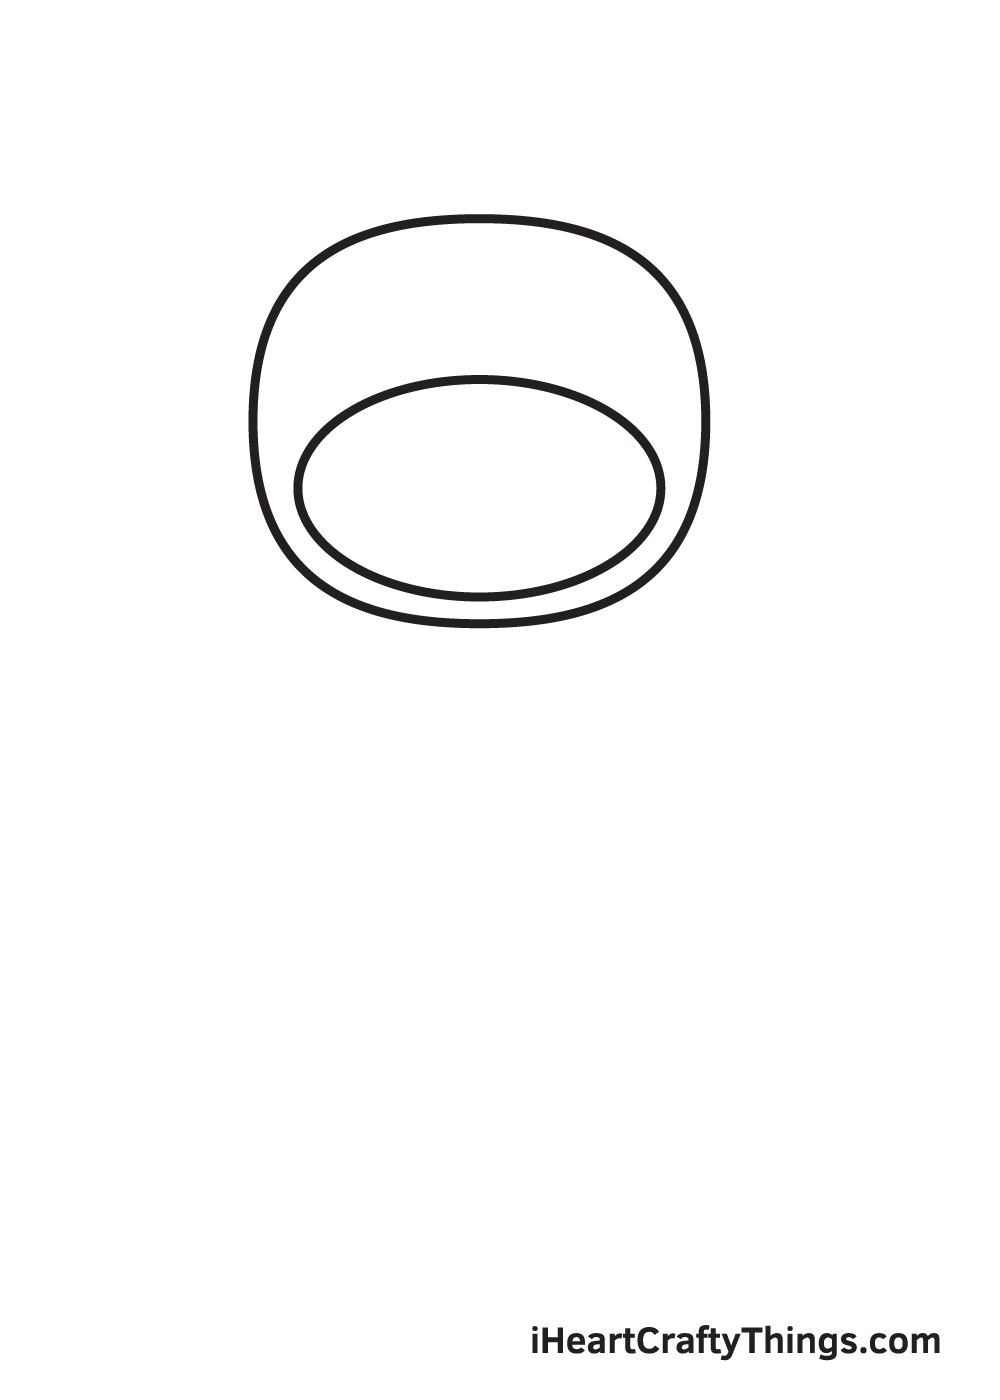
Step 1 – The Foundation of the Ninja
Begin by drawing a square shape with rounded edges on the upper portion of your paper. This will form the ninja's head. By starting at the top of the paper, you'll have enough space to create the entire body of the ninja.

Step 2 – Outlining the Ninja's Head
Inside the square shape, draw a sideways oval. This outlines the hem of the ninja's hood, creating a division between the head and the face.
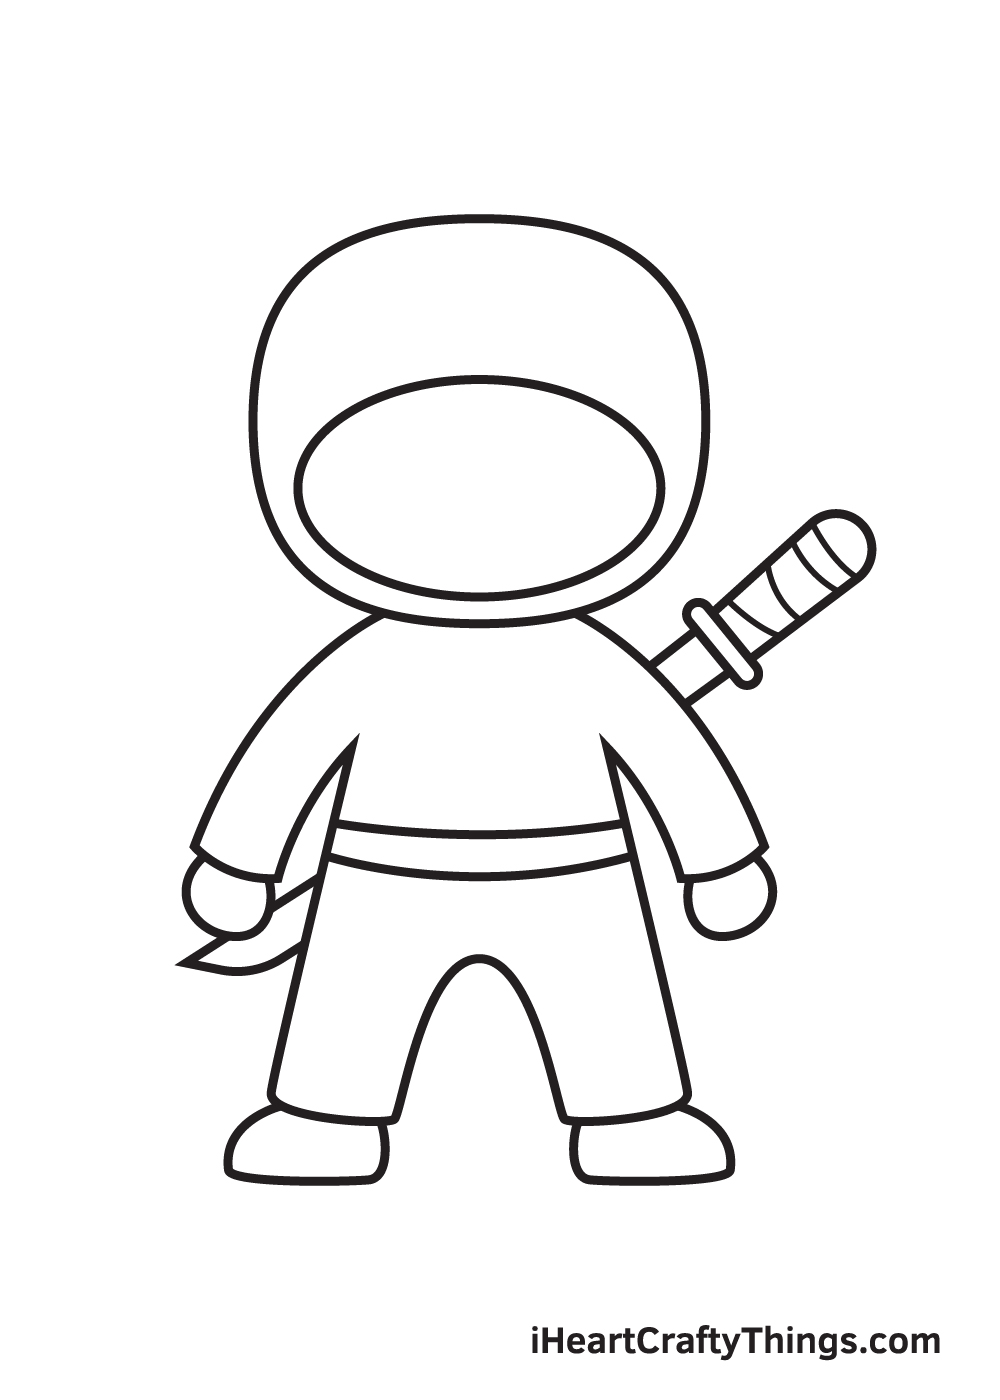
Step 3 – Shaping the Ninja's Body
Now, create the body of the ninja beneath the head. Draw elongated figures for the arms and legs. Make sure they are symmetrical, forming the ninja's clothing.
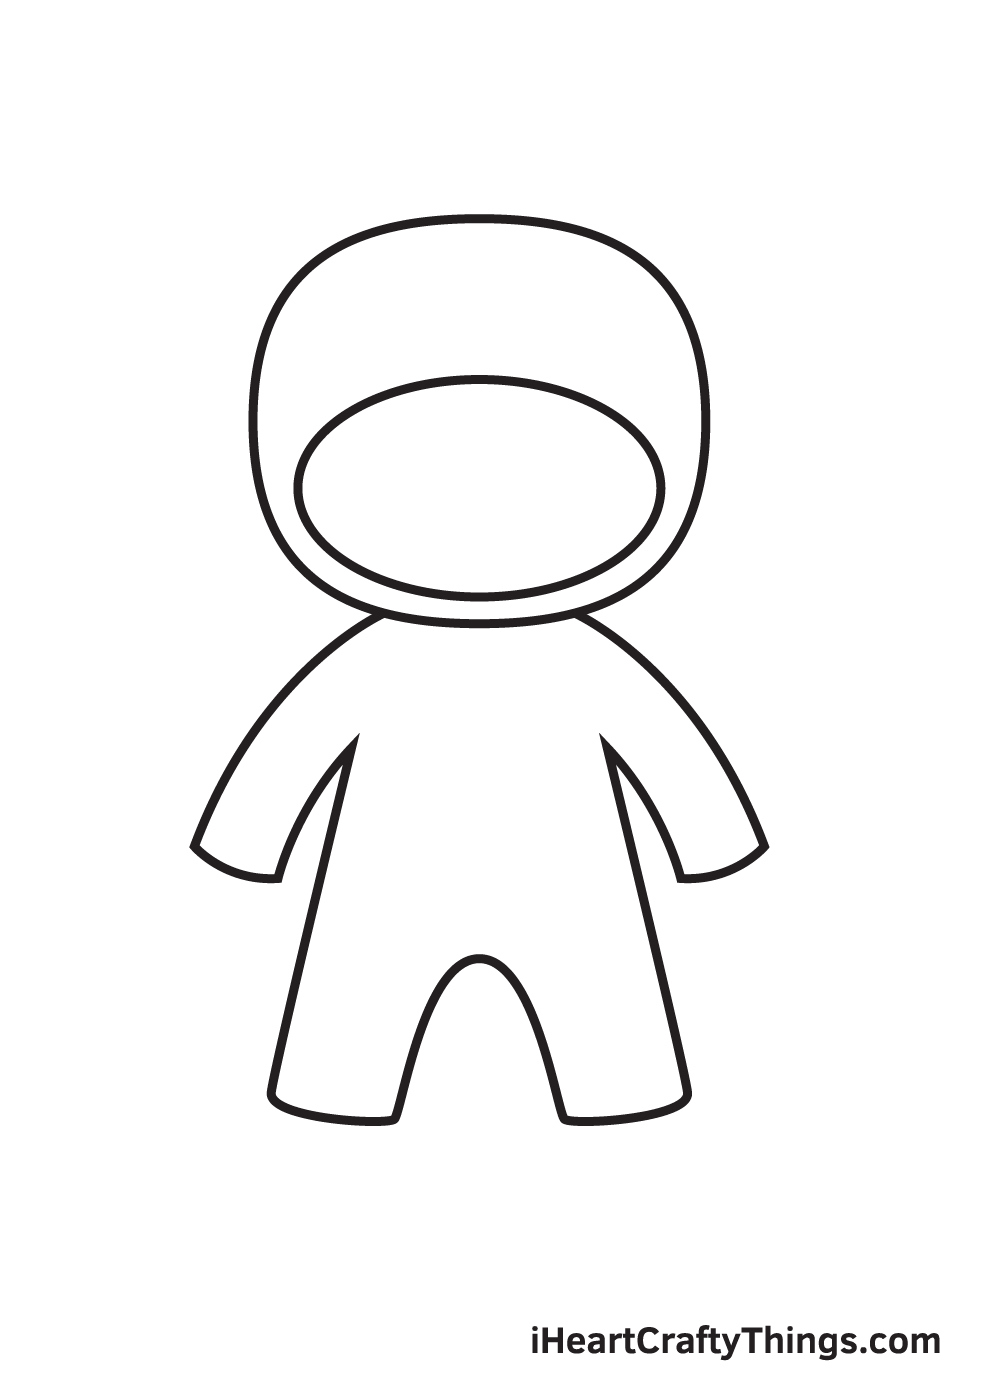
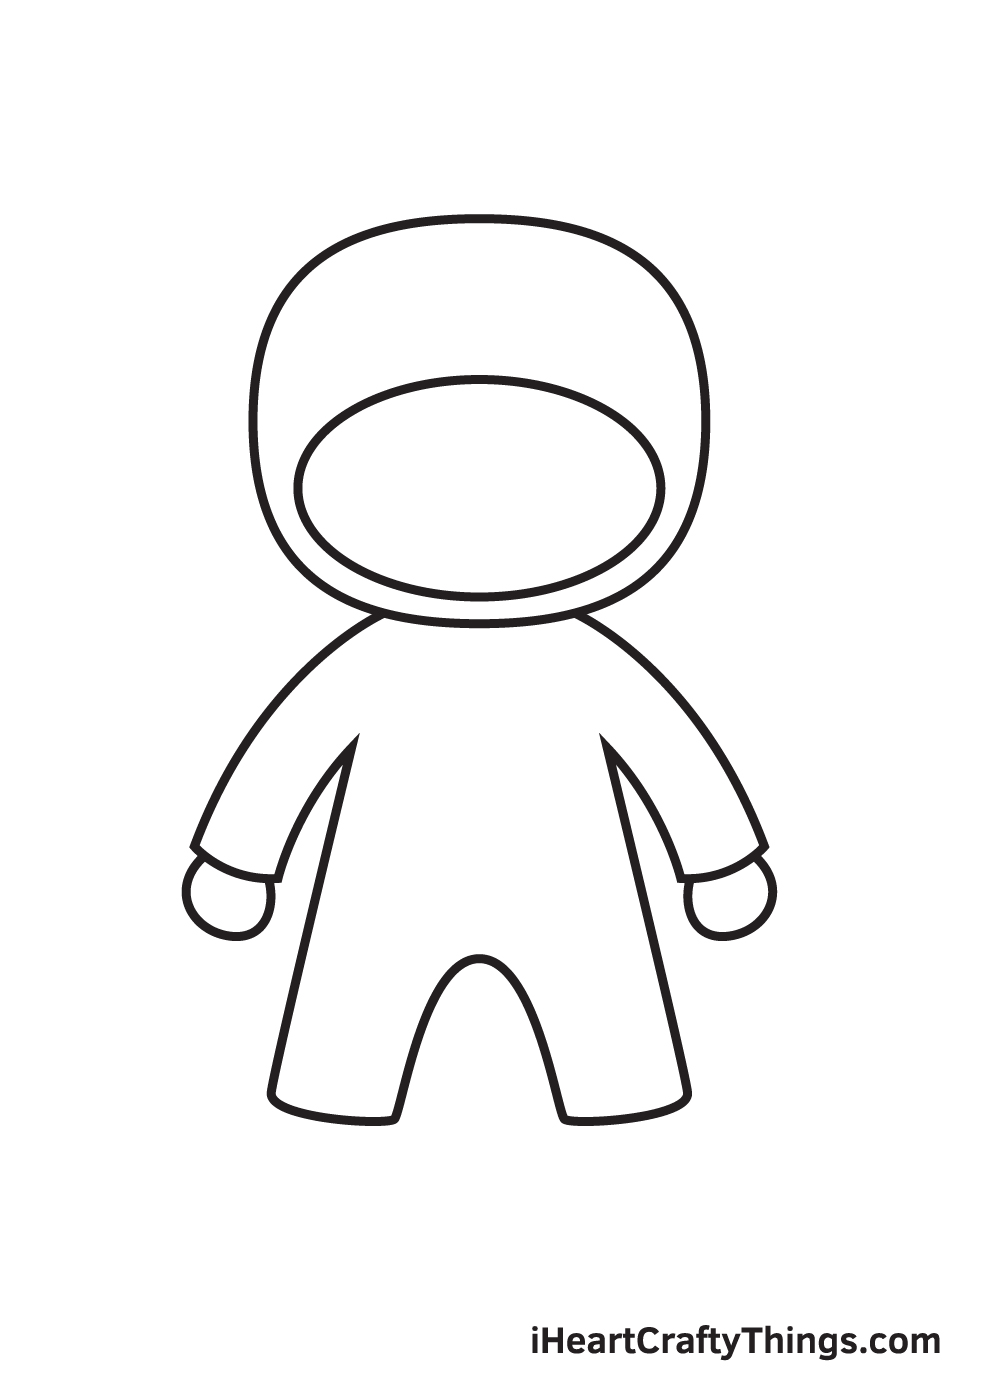
Step 4 – Crafting the Ninja's Hands
Draw circular shapes at the bottom of each arm to create the ninja's hands. Remember to keep them the same size for a balanced look.
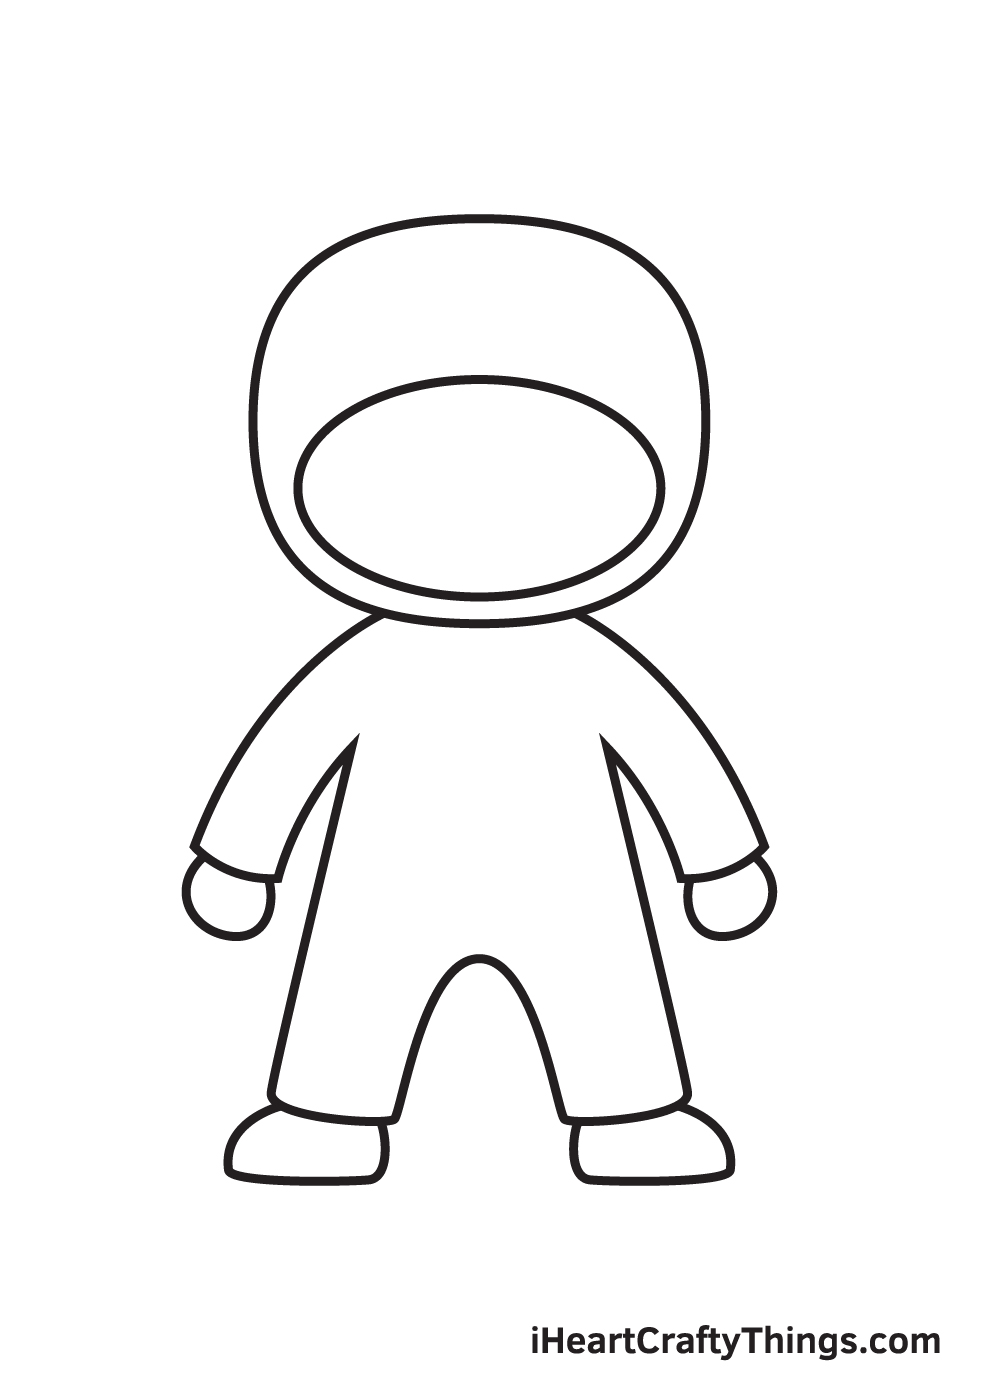
Step 5 – Fashioning the Ninja's Shoes
Add curved lines beneath each leg, forming the ninja's shoes. Notice that the feet are facing opposite directions, adding a dynamic touch to the drawing.
Step 6 – Completing the Ninja's Outfit
Draw a horizontal line across the ninja's abdomen, creating a belt. This completes the traditional outfit of a ninja.

Step 7 – Equipping the Ninja with a Sword
Ninjas are often depicted with a sword on their backs. Draw the handle of the sword first, then connect it to a sharp-edged blade. Don't forget to add intricate patterns to the handle!
Step 8 – The Ninja's Bold Eyebrows
Outline the eyebrows with two rectangular shapes below the forehead. Shade them to make them look thicker and fuller. Remember, men's eyebrows are usually thicker, so keep that in mind when drawing your ninja.

Step 9 – Captivating Eyes
Finalize your ninja drawing by adding a pair of eyes. Draw two circles under each eyebrow and a smaller circle inside each eye to create the pupil. Shade the eyes, leaving the small circle unshaded to give them a dramatic, gleaming effect.
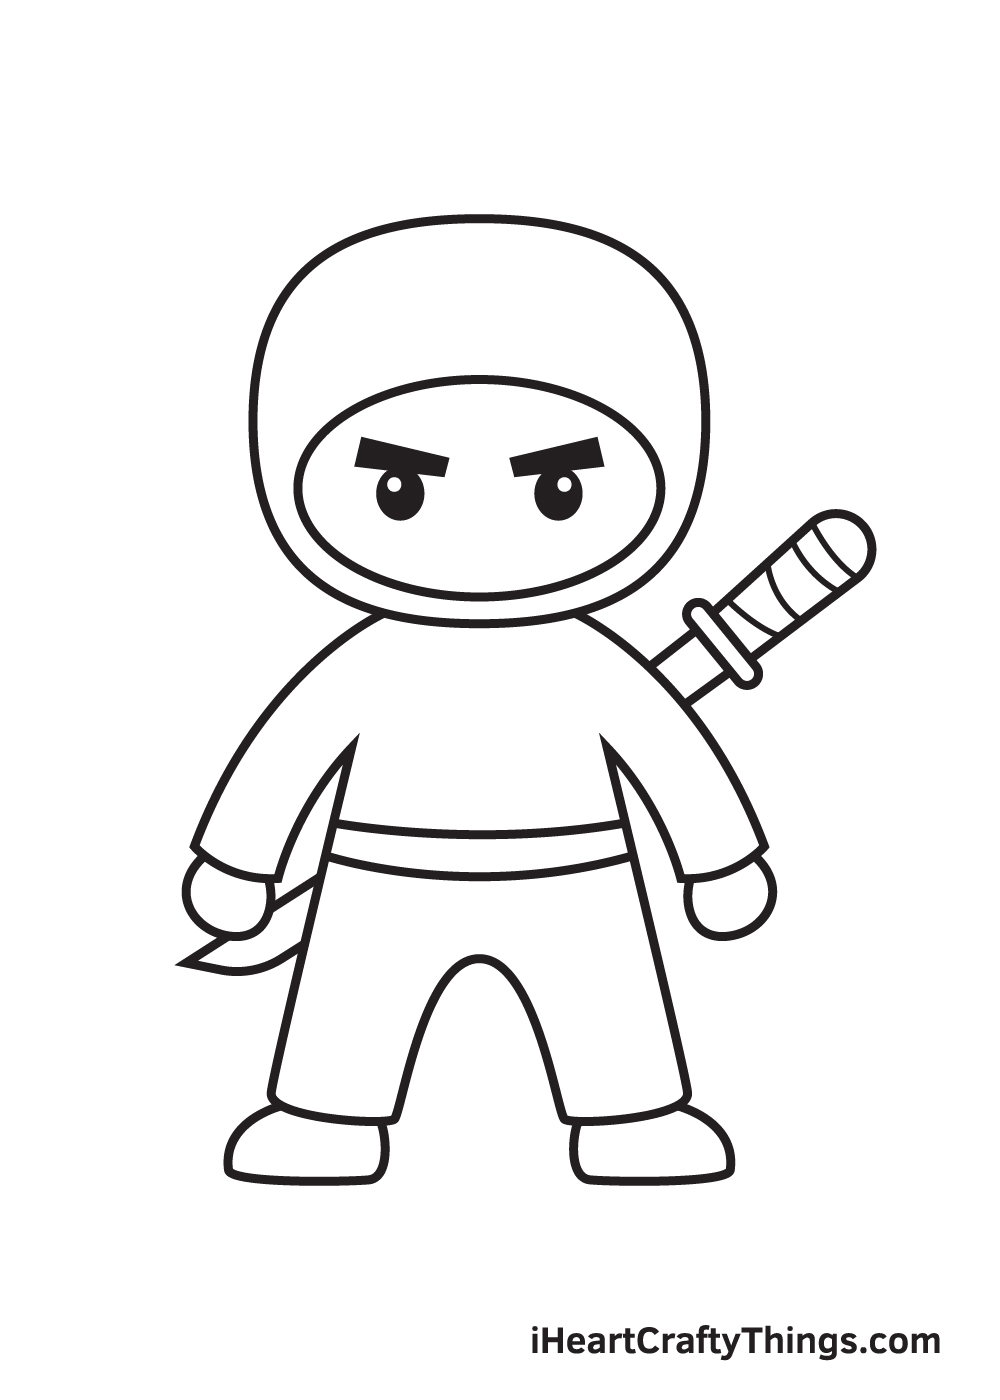
Congratulations! You've successfully drawn a ninja. Now it's time to let your creativity shine by choosing the perfect colors for your artwork. Did you know that the ninja's costume is called a ninja-yoroi, or ninja armor? It typically consists of all-black clothing, including a jacket, trousers, shoes, and a hooded cowl.
Feel free to follow the traditional color scheme or unleash your imagination and use a unique palette. It's your chance to make your ninja truly one-of-a-kind.
Remember, drawing is all about expressing your creativity and having fun. So grab your drawing tools, visit Shill Art – Express Your Creativity, and let the art of the ninja come to life on your paper!
Follow us on:
- Facebook fanpage: Shill Art – Official
- Facebook group: Free Coloring Pages to Print
- Pinterest: Shill Art Official
Follow us on:
- Facebook fanpage:https://www.facebook.com/ShillArt.Official
- Facebook group:https://www.facebook.com/groups/FreeColoringPagesToPrint
- Pinterest:https://www.pinterest.com/ShillArtOfficial
More Coloring Books at here, see now:https://shillart.com/coloring-books