
There are countless delicious treats to indulge in, and lollipops are among the most delightful. With their infinite array of colors, structures, and flavors, lollipops cater to even the mildest sweet tooth. Drawing a lollipop can be a challenge, especially when it comes to capturing its swirly shape. But fear not, because you've come to the right place to learn how it's done! In this step-by-step guide, we'll show you how to draw a lollipop in 6 easy steps.
Let's Get Started!
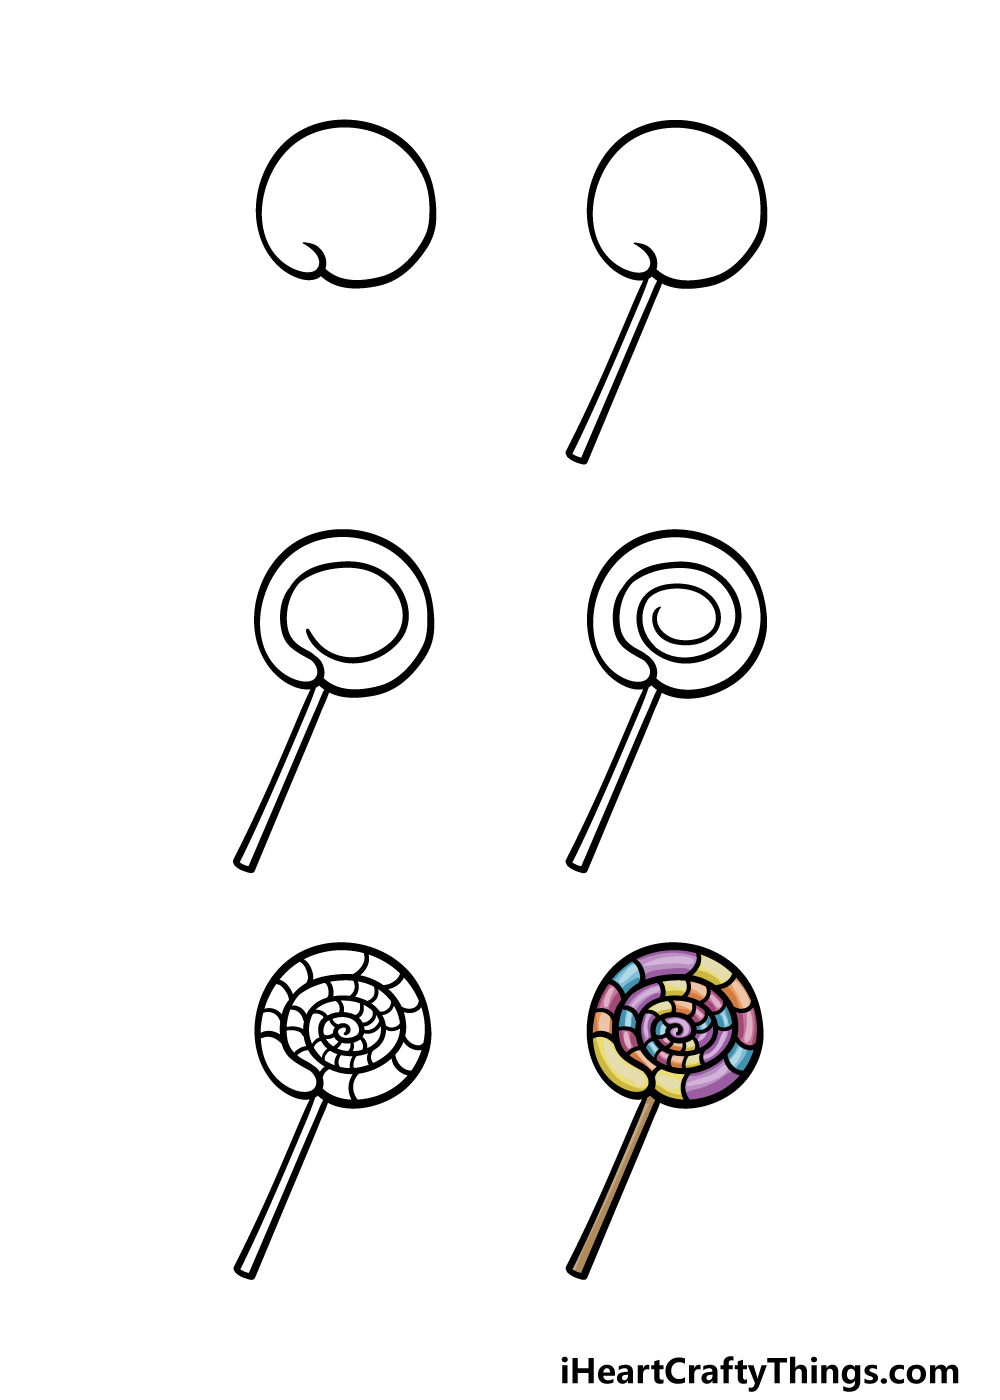
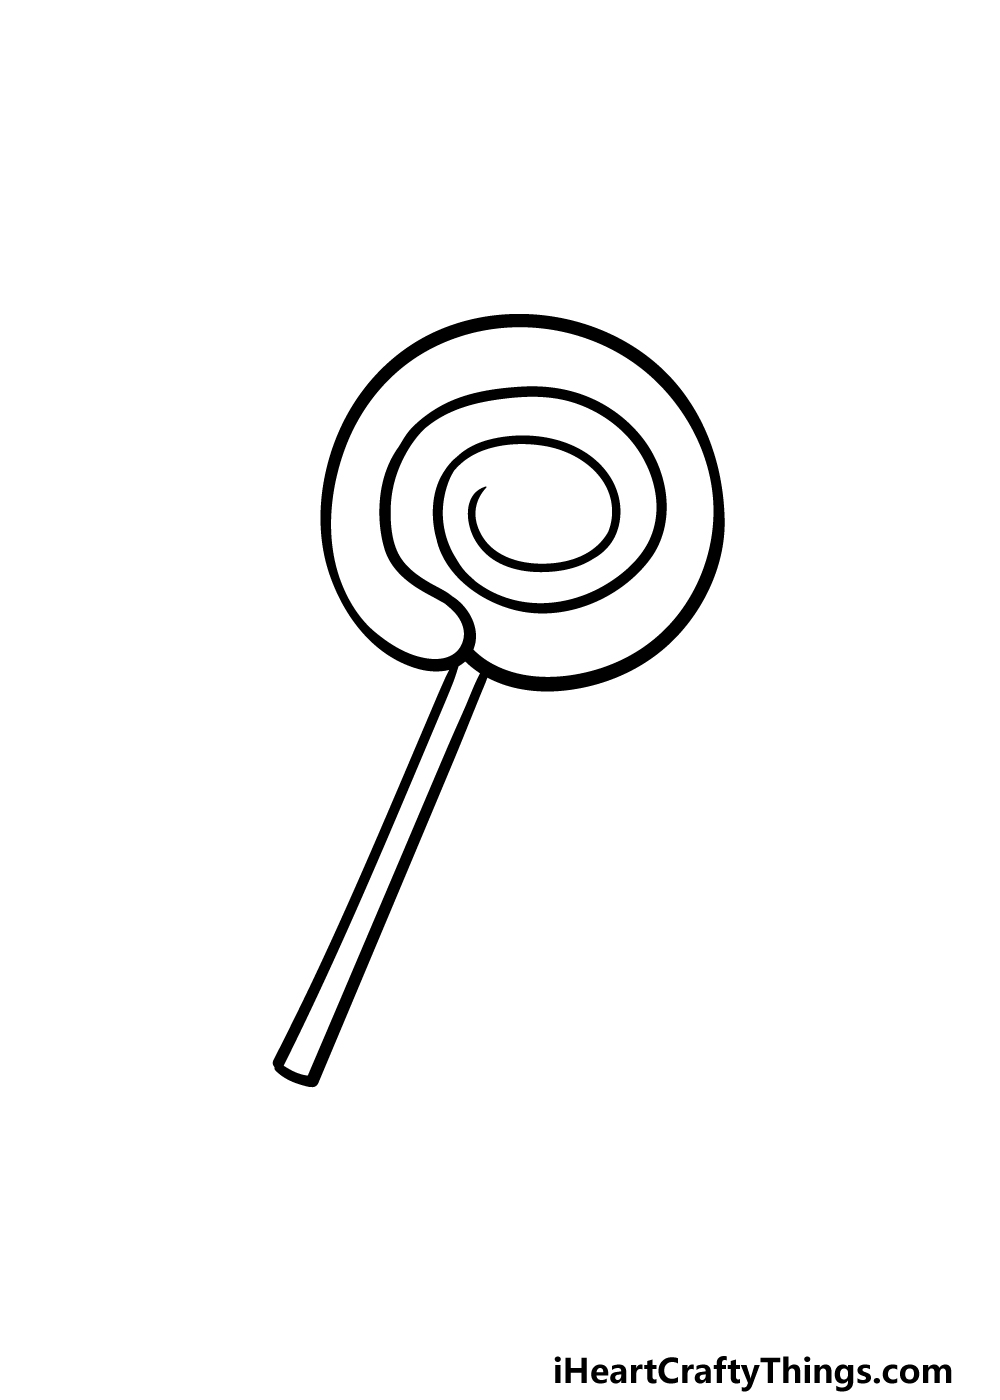
Step 1 – Outlining the Lollipop
To begin, we'll outline the lollipop's shape. Start with a circular outline, but remember, it doesn't have to be perfect. As you near the bottom of the lollipop, let the line curve inward. This inward curve will lay the foundation for the lollipop's swirling shape in the following steps. Don't worry, it's simpler than it sounds! Just refer to the image to stay on track.
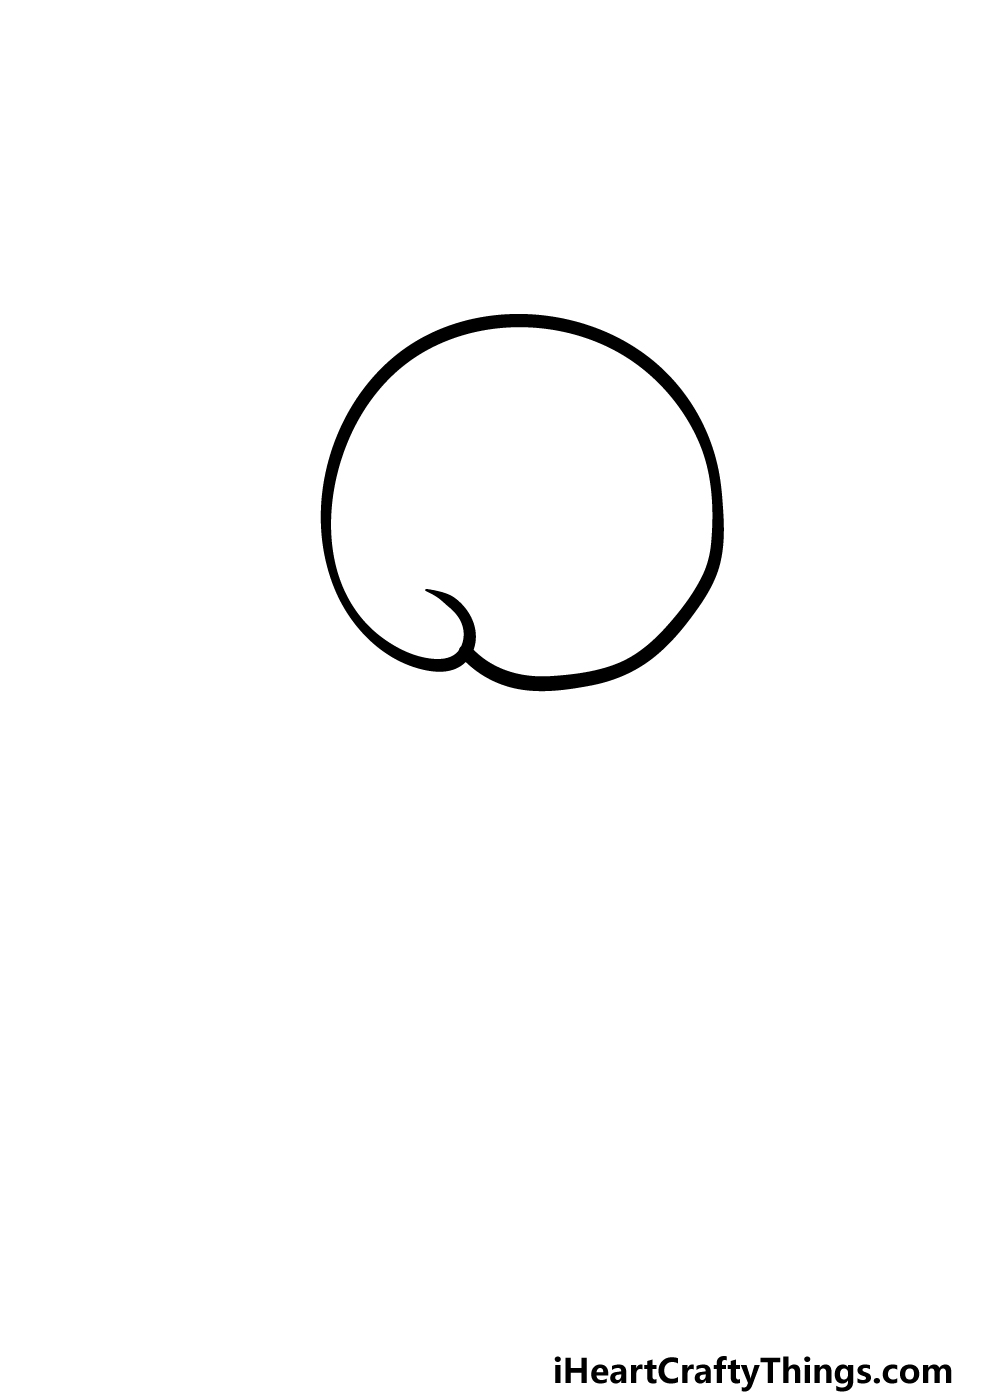
Step 2 – Adding the Stick
A lollipop wouldn't be complete without a stick to hold onto. In this step, we'll draw the stick. Using a ruler can make this step easier. Draw two straight lines close to each other, extending down from the lollipop's body. The stick should emerge from the point where the line curved inward in the previous step. To complete the stick, connect the lines with a short, flat line at the bottom. That's all there is to it! Now, let's move on to step 3.
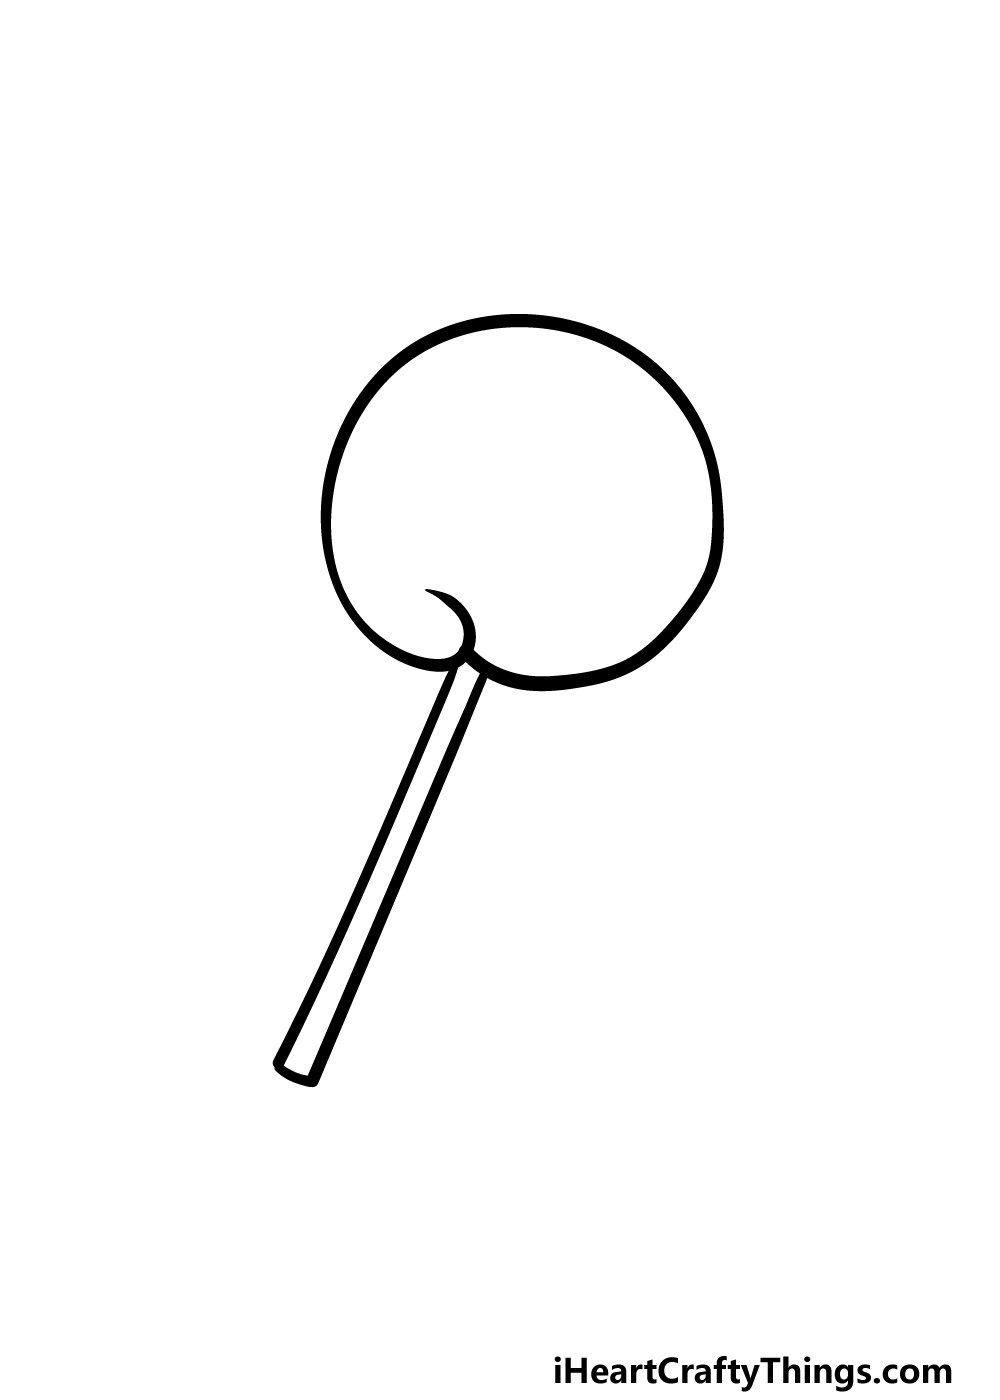
Step 3 – Creating the Swirl
In step 1, we began drawing the swirl of the lollipop. Now, it's time to build on that. You'll start to see the purpose of the line that was drawn into the lollipop's outline. Continuing from that line, draw a curved line that moves inward into the lollipop. Follow the curved line in our reference image to create the swirling shape.
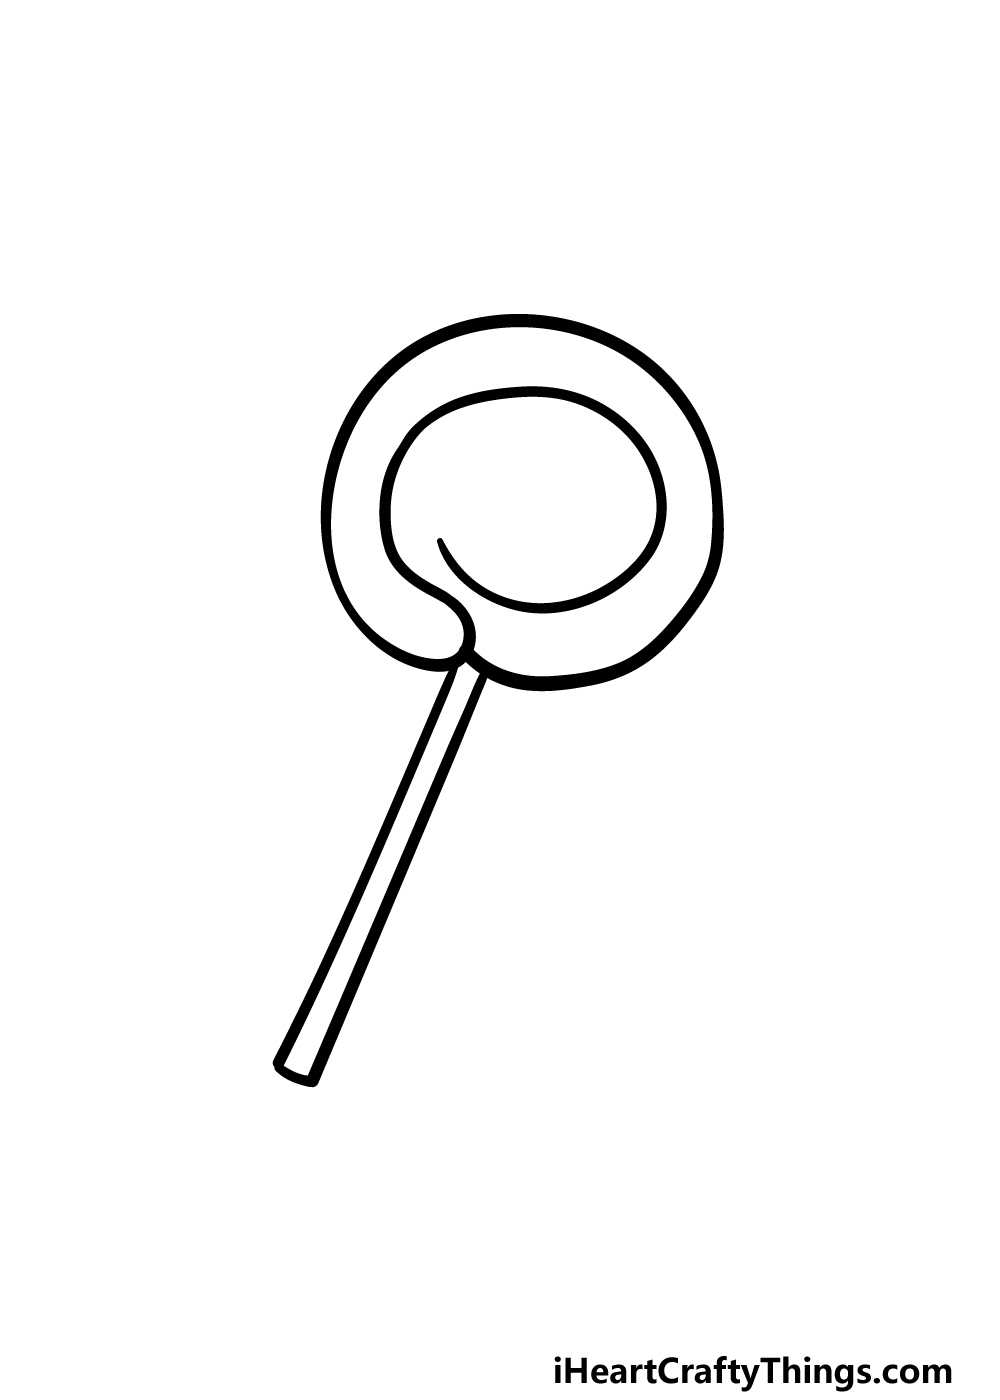
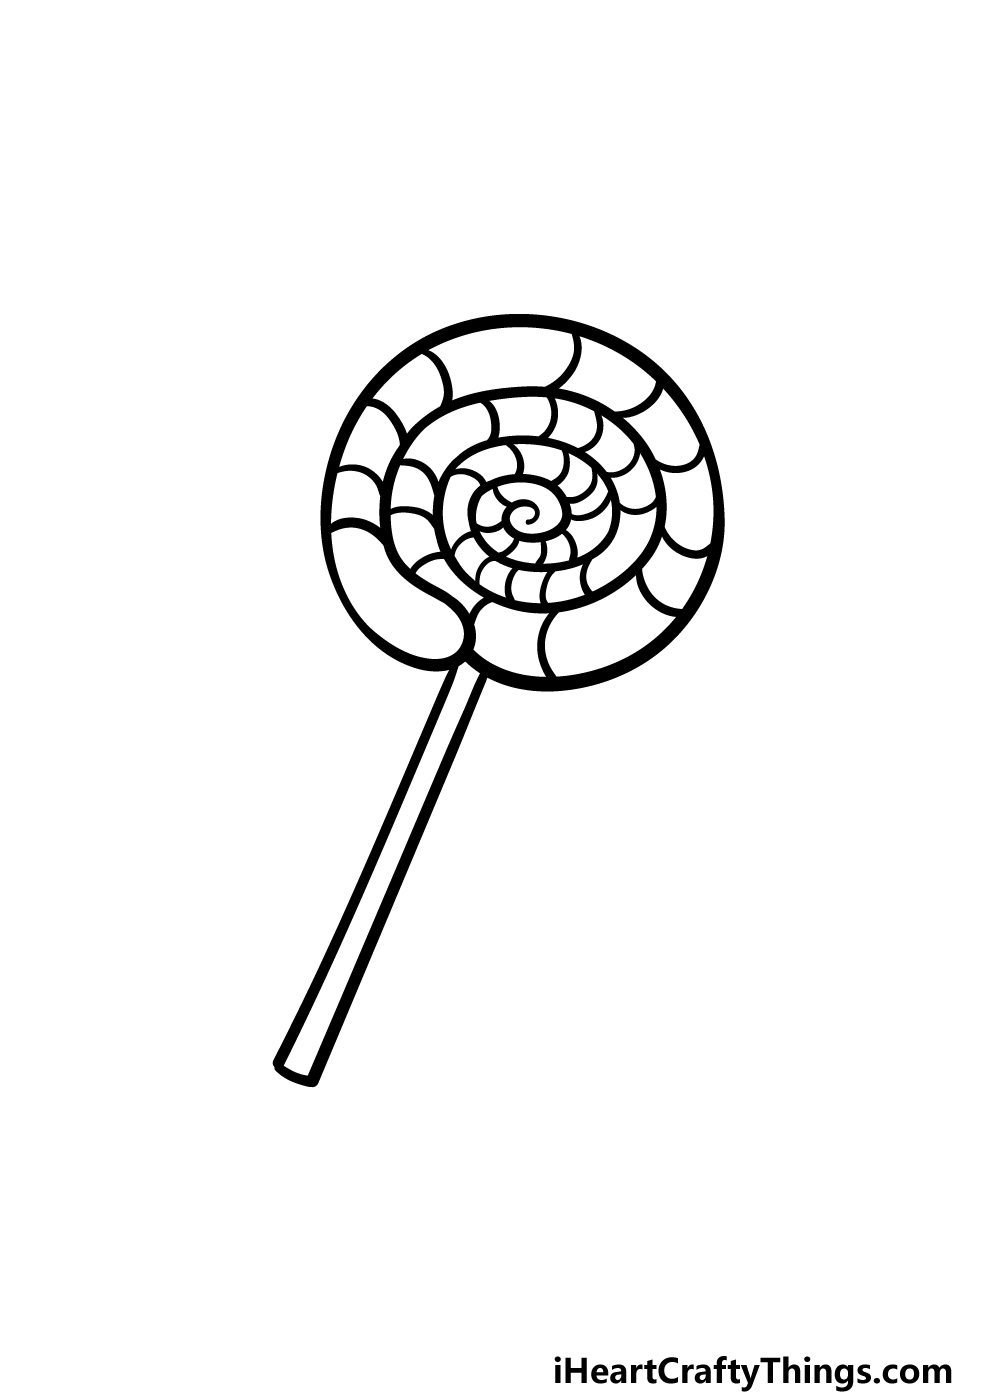
Step 4 – Extending the Swirl
In this step, we'll continue the swirling pattern. Simply keep the line from the previous step going as it twists further into the lollipop. By the end of this step, there will be a small space left at the center of the pattern. Don't worry, we'll fill that in along with some final decoration details in the next step.
Step 5 – Finishing Touches
Now it's time to add the finishing touches to your lollipop drawing. Extend the twisty swirl line further into the center of the lollipop. Once that's done, it's time to get creative and decorate your lollipop! You can use small curved lines across the various swirls of the lollipop pattern. These lines will create multiple sections inside the lollipop, giving you the freedom to add vibrant colors later. Feel free to add your own unique details too! Maybe a bite mark or a background to accompany your lollipop. Just remember, let's keep it a secret from your dentist!
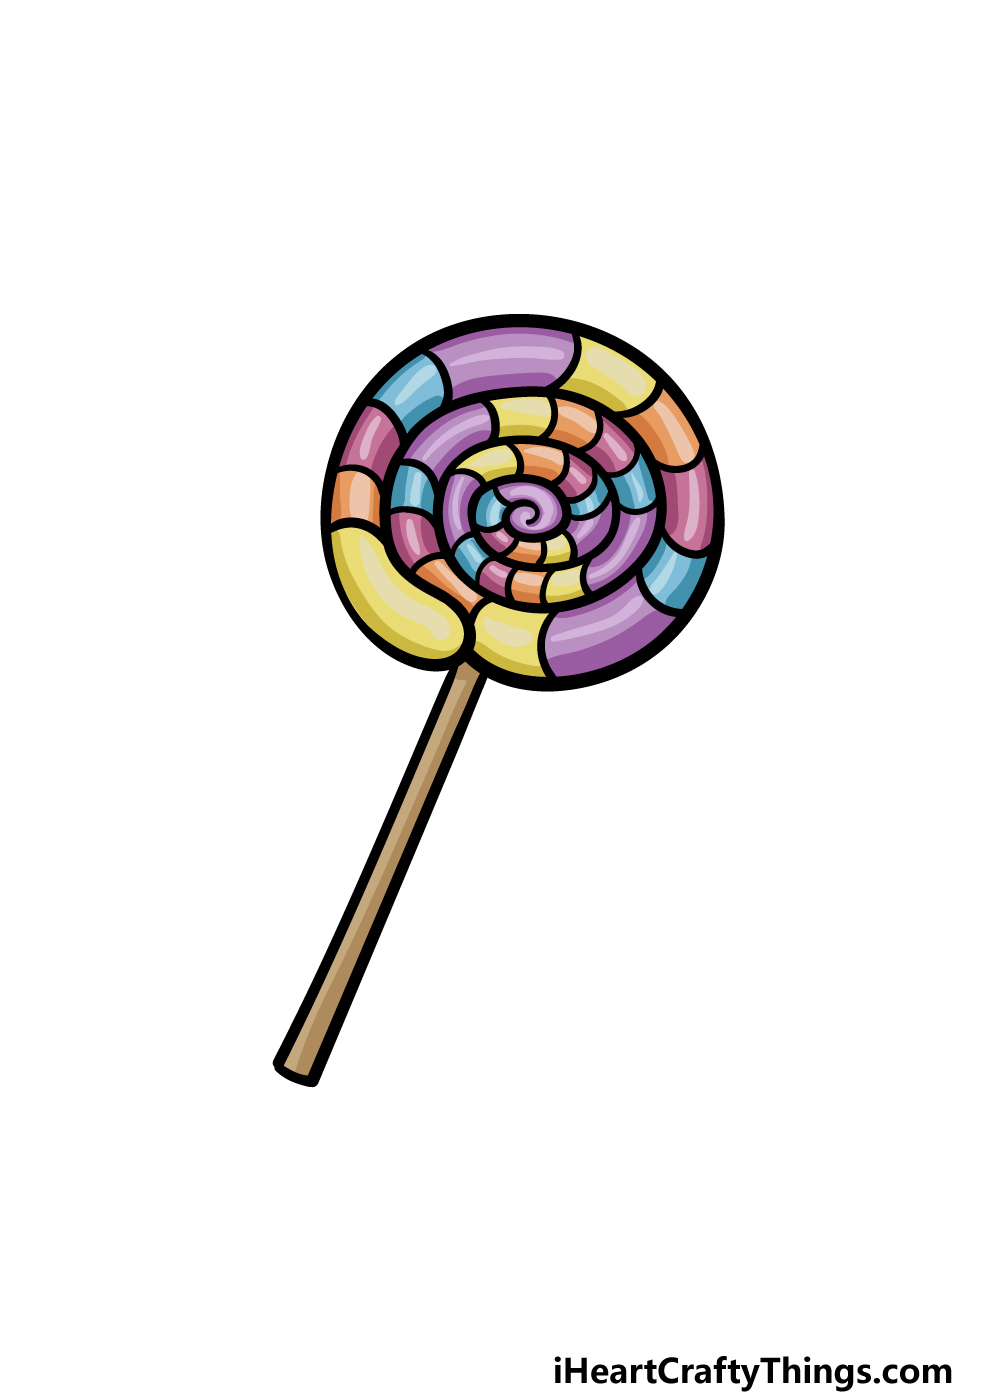
Step 6 – Color Your Lollipop
This is where the real fun begins! Use your favorite bright and beautiful colors to bring your lollipop to life. You can follow our suggested color scheme in the reference image, or let your creativity soar and choose your own unique colors. Feel free to experiment with different art tools and mediums to make your lollipop truly stand out. The possibilities are endless! We can't wait to see your amazing artwork.
Take Your Lollipop Drawing to the Next Level
Here are some tips to enhance your lollipop sketch even further:
Size: While the lollipop is already a good size, you can make it even bigger for added impact. Let your imagination run wild and make it as big as you want. Who says it can't be as large as someone's head or even bigger?
Colors: Don't limit yourself to just a few colors. Feel free to use your favorite colors or explore new ones. Mix and match, experiment, and have fun creating a colorful bonanza!
Shape: The classic round and twisty shape is just one possibility. Lollipops can come in various shapes, such as squares, stars, or hearts. Explore different shapes and make your lollipop uniquely yours.
Characters: Add a character to your drawing to showcase the lollipop's size. Create a character based on yourself, someone you know, or even an entirely original creation. Consider different art styles to bring your character to life.
Your Lollipop Drawing is Complete!
We hope you enjoyed this mouthwatering guide on how to draw a lollipop! Drawing a lollipop with its twisty pattern may seem tricky, but with this step-by-step guide, it can be easy and fun. But remember, the fun doesn't have to end here. Feel free to add your own details, background elements, or unleash your creativity with beautiful colors. For more drawing inspiration, check out our website, where we frequently upload new guides. We'd love to see your incredible artwork, so don't forget to share it with us on our Facebook and Pinterest pages.
Follow us on:
More Coloring Books available at Shill Art – Express Your Creativity.
Follow us on:
- Facebook fanpage:https://www.facebook.com/ShillArt.Official
- Facebook group:https://www.facebook.com/groups/FreeColoringPagesToPrint
- Pinterest:https://www.pinterest.com/ShillArtOfficial
More Coloring Books at here, see now:https://shillart.com/coloring-books