
Are you interested in learning how to draw a dress? Look no further! In this tutorial, we will guide you through six simple steps to help you create your very own dress design. Whether you're a beginner or a seasoned artist, these easy-to-follow tips and illustrated examples will make the process enjoyable and rewarding.
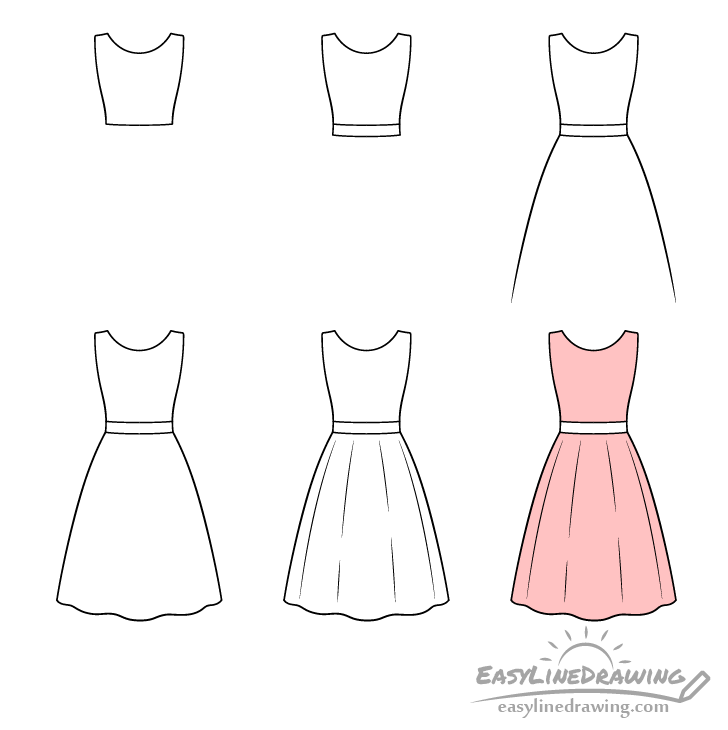
The dress we'll be drawing has a basic design, making it ideal for beginners. Take a glimpse at the picture above to see the different stages of the drawing.
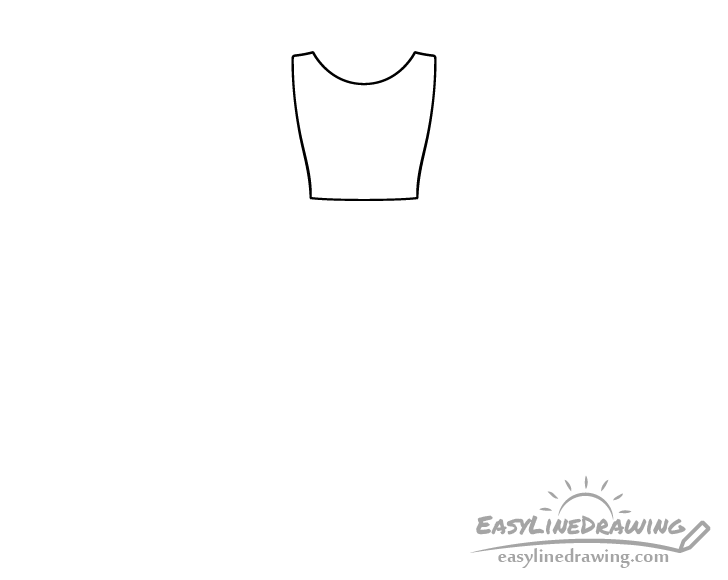
Step 1 – Draw the Top of the Dress
Let's start by drawing the top of the dress, including the openings for the neck and arms. Use simple curves to create these elements. Check out the illustration below for reference:
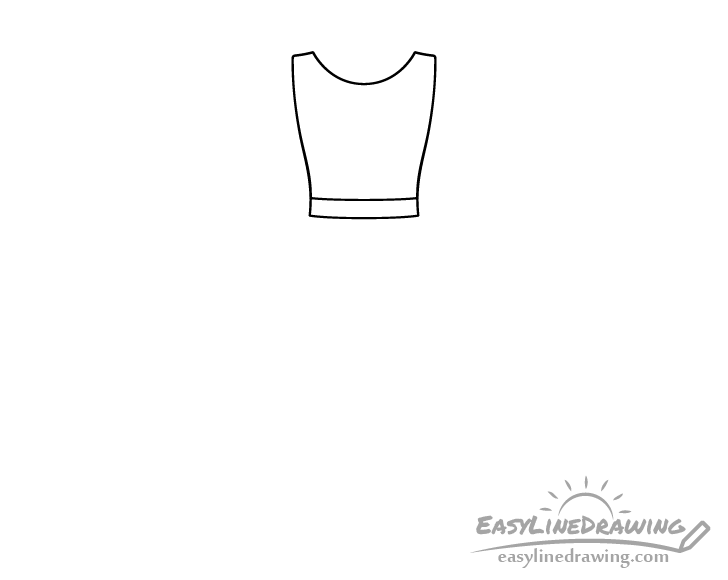
Step 2 – Draw the Waist Area
Next, add the lower body and waist area below the previous section. As you move downward, make the waist narrower. You can give the lines defining this part of the dress a slight curve, as shown in the image:
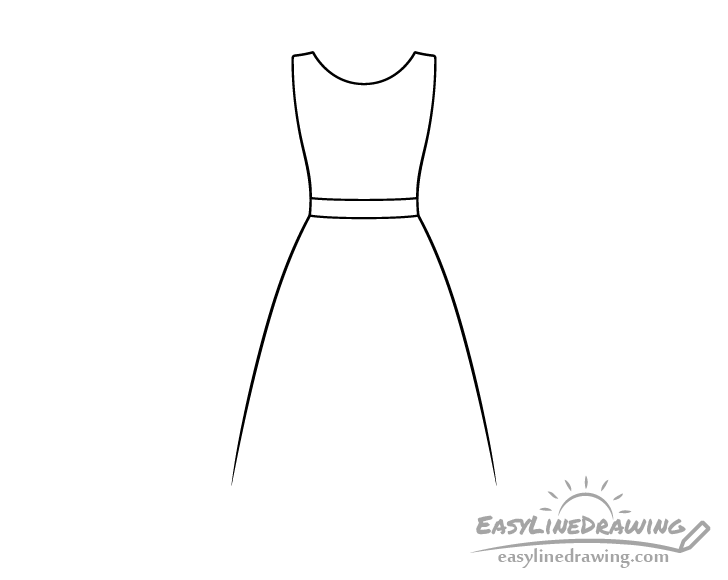
Step 3 – Draw the Sides
Now, let's draw the sides of the lower part of the dress. Use two curved lines that mirror each other. Make this section significantly longer than the upper part:
Step 4 – Draw the Bottom
To complete the outline of the dress, draw an uneven, wavy line for the bottom. This line should have a gentle curve, adding a touch of elegance to the overall shape:
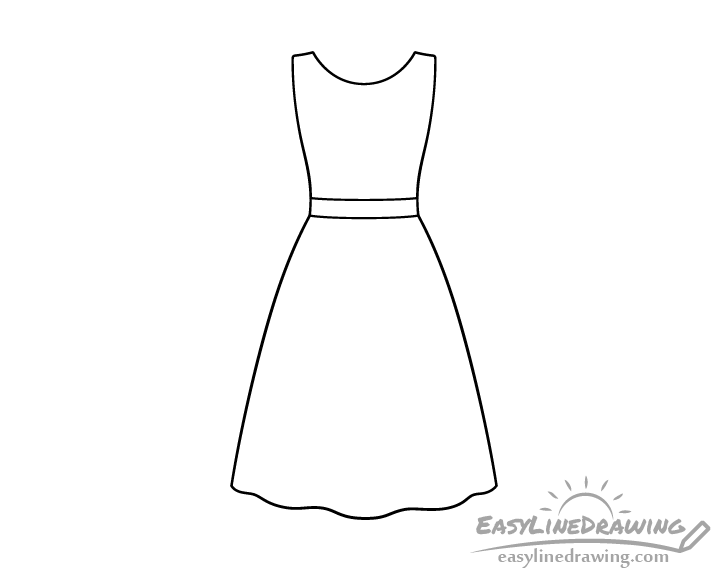
Congratulations! You now have a basic outline of the dress.
Step 5 – Draw the Folds & Finish the Line Drawing
To add depth and dimension to the lower part of the dress, incorporate some folds. Draw several curved lines of varying lengths, as demonstrated in the example below:
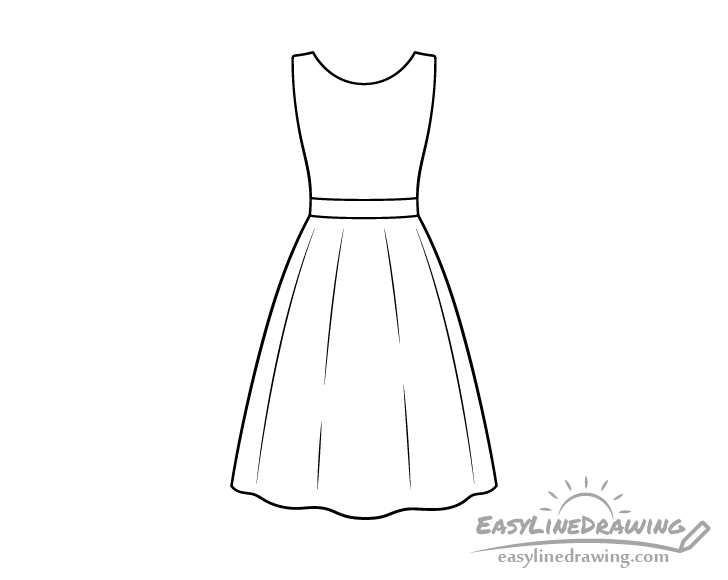
Once you're satisfied with the folds, trace over your drawing with a black pen or marker. This will give your dress a clean and defined look. Alternatively, you can darken the lines using a pencil if you don't have a pen or marker on hand.
Step 6 – Color the Dress
Now comes the fun part! It's time to add some color to your dress. Pink is used in the example, but feel free to choose any color that speaks to you. If you prefer vibrant shades, markers are a great option. For a softer look, consider using water-based paints or colored pencils:
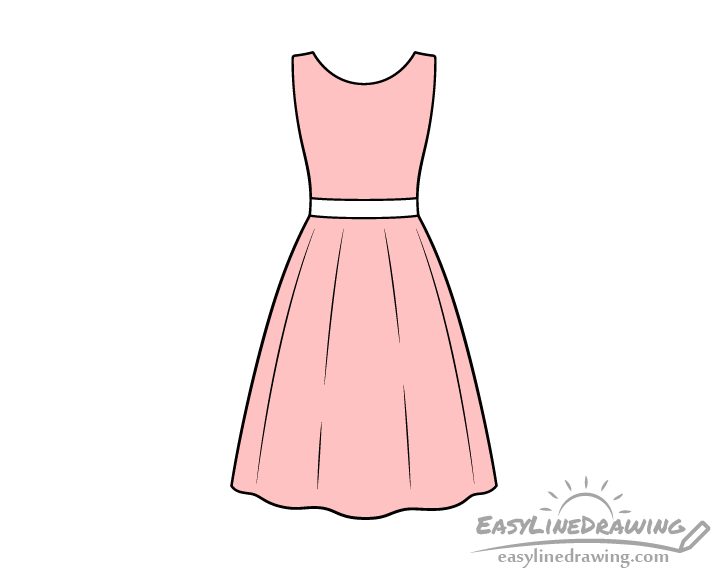
Once you've finished coloring, your dress drawing is complete!
Conclusion
Drawing a dress doesn't have to be complicated. This tutorial has provided you with a straightforward approach to creating your own dress design. If you're feeling adventurous, you can even try adding a pattern to the dress. Remember to outline it in pencil before tracing over it with a marker, just like the rest of the dress. This will allow you to make any necessary adjustments before finalizing your drawing.
For more tutorials on drawing clothes, be sure to check out the following:
- How to Draw a Suit Step by Step
- How to Draw a Scarf Step by Step
- How to Draw a Beanie Hat Step by Step
- How to Draw a Mirror Step by Step
Remember, practice makes perfect! So grab your pencils and start expressing your creativity. Happy drawing!
Follow us on:
More Coloring Books available at Shill Art – Express Your Creativity.
Follow us on:
- Facebook fanpage:https://www.facebook.com/ShillArt.Official
- Facebook group:https://www.facebook.com/groups/FreeColoringPagesToPrint
- Pinterest:https://www.pinterest.com/ShillArtOfficial
More Coloring Books at here, see now:https://shillart.com/coloring-books