
Minecraft, the beloved game with endless possibilities, has captured the hearts of millions of players worldwide. And while there are countless creatures within, there's one character that can send shivers down your spine – the Creeper.
True to its name, the Creeper not only looks creepy but also poses a major threat, appearing out of nowhere to take you by surprise. But despite its fearsome reputation, many people are fascinated by its cool appearance.
If you're looking to showcase your artistic talents, learning how to draw a Creeper is an excellent choice. This step-by-step guide will walk you through the process in just six simple steps, allowing you to recreate this terrifying being on paper.
Let's Get Started – Drawing a Creeper Head

As with anything in Minecraft, the Creeper is primarily composed of square blocks and cubes. So, grab a ruler to make drawing those straight edges a breeze!
Start by sketching a cube shape for the head. Draw a square at a slight angle for the front, and then add a shorter square for the side and top of the head, giving it a cube-like appearance. Refer to the example image closely to capture the essence of the Creeper's head.
Now, let's move on to step 2!
Step 2 – Craft the Creeper's Body
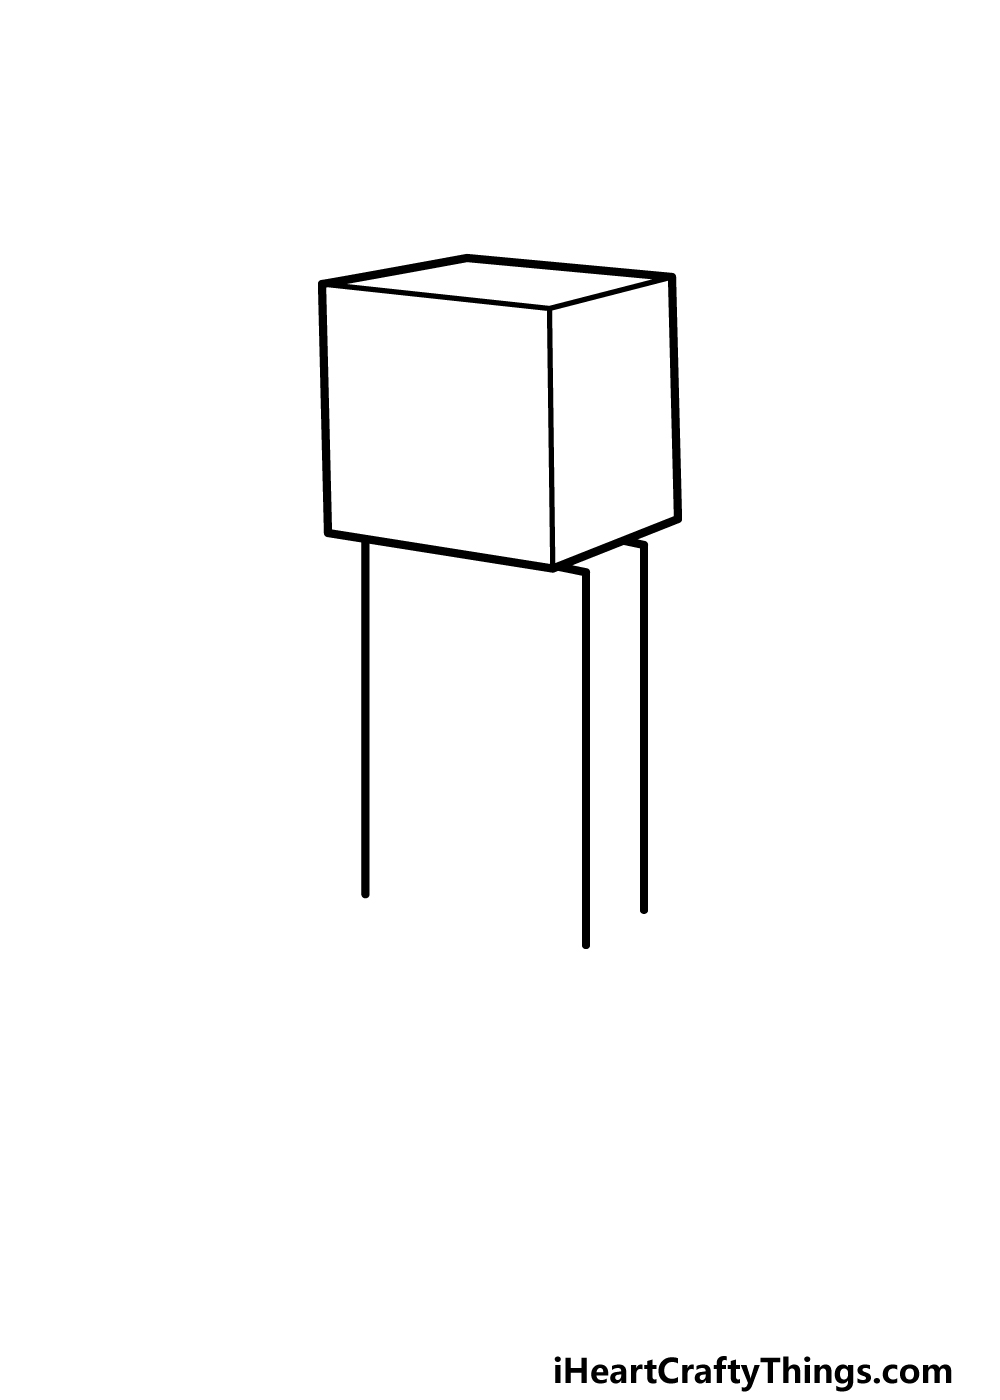
The Creeper's body is long and slender, and it's time to bring it to life in this step. Again, using a ruler will come in handy!
Draw two vertical lines to form the rectangular body of the Creeper. Then, add another line parallel to the right to provide depth. You'll notice there's space at the bottom of the body, but don't worry, we'll fill that in soon!
Step 3 – Add Facial Details and Foot Outlines
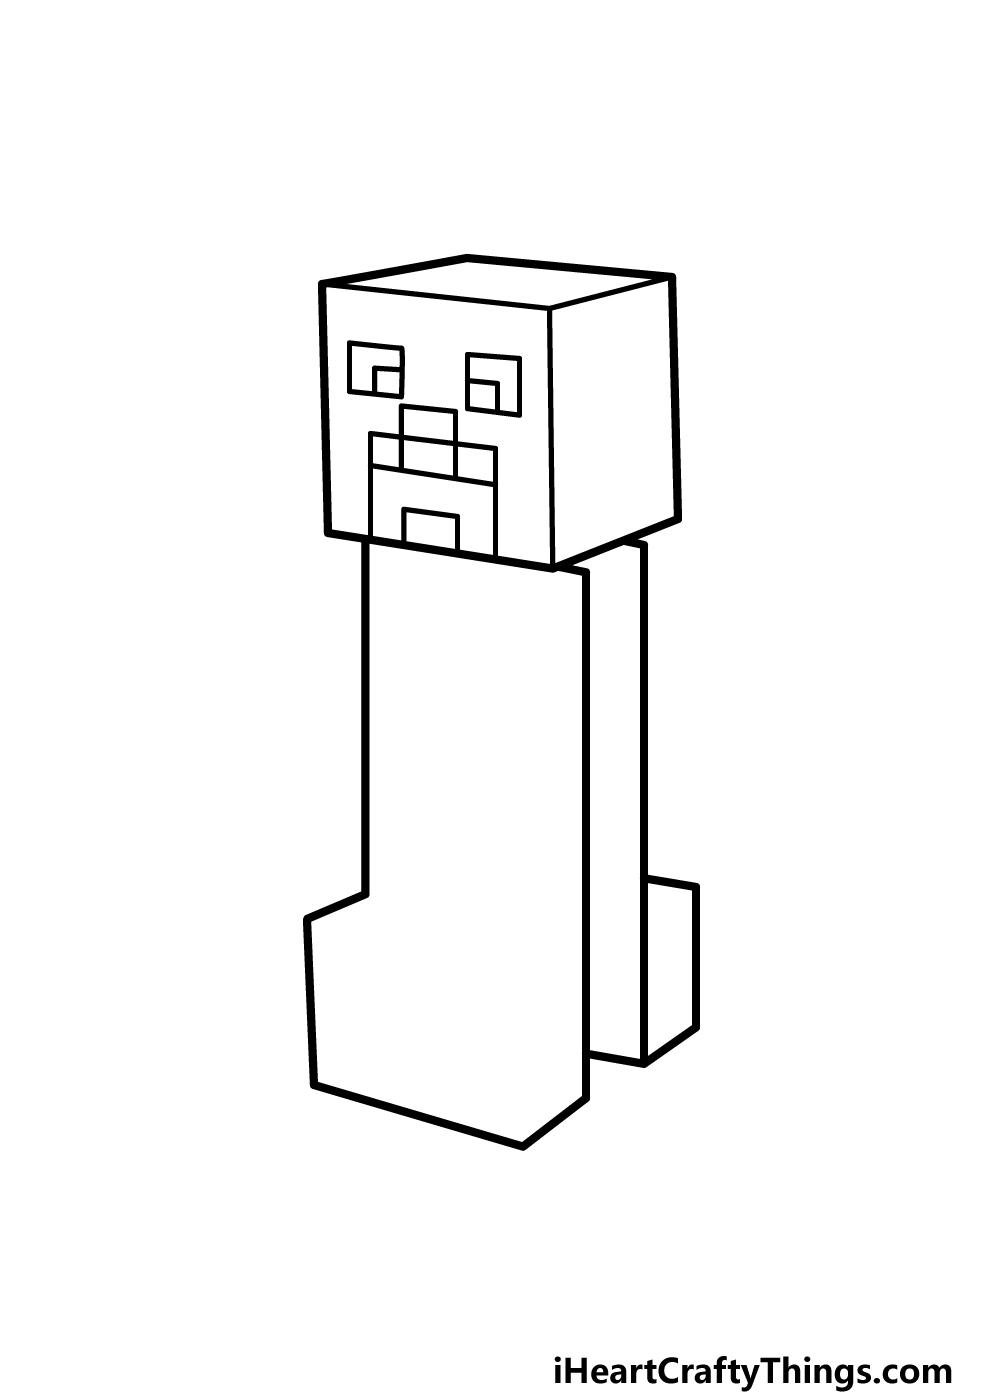
One of the Creeper's defining features is its distinctive face design, simple yet effective. This step will guide you in capturing this iconic look.
Draw two small square shapes for the eyes, slightly centered on the face. Inside the bottom inner corners of the eyes, add even smaller squares as pupils. For the mouth, create four small squares arranged against each other, then draw a horizontal rectangle below. Finally, sketch the Creeper's square-shaped feet.
Step 4 – Detailing the Feet
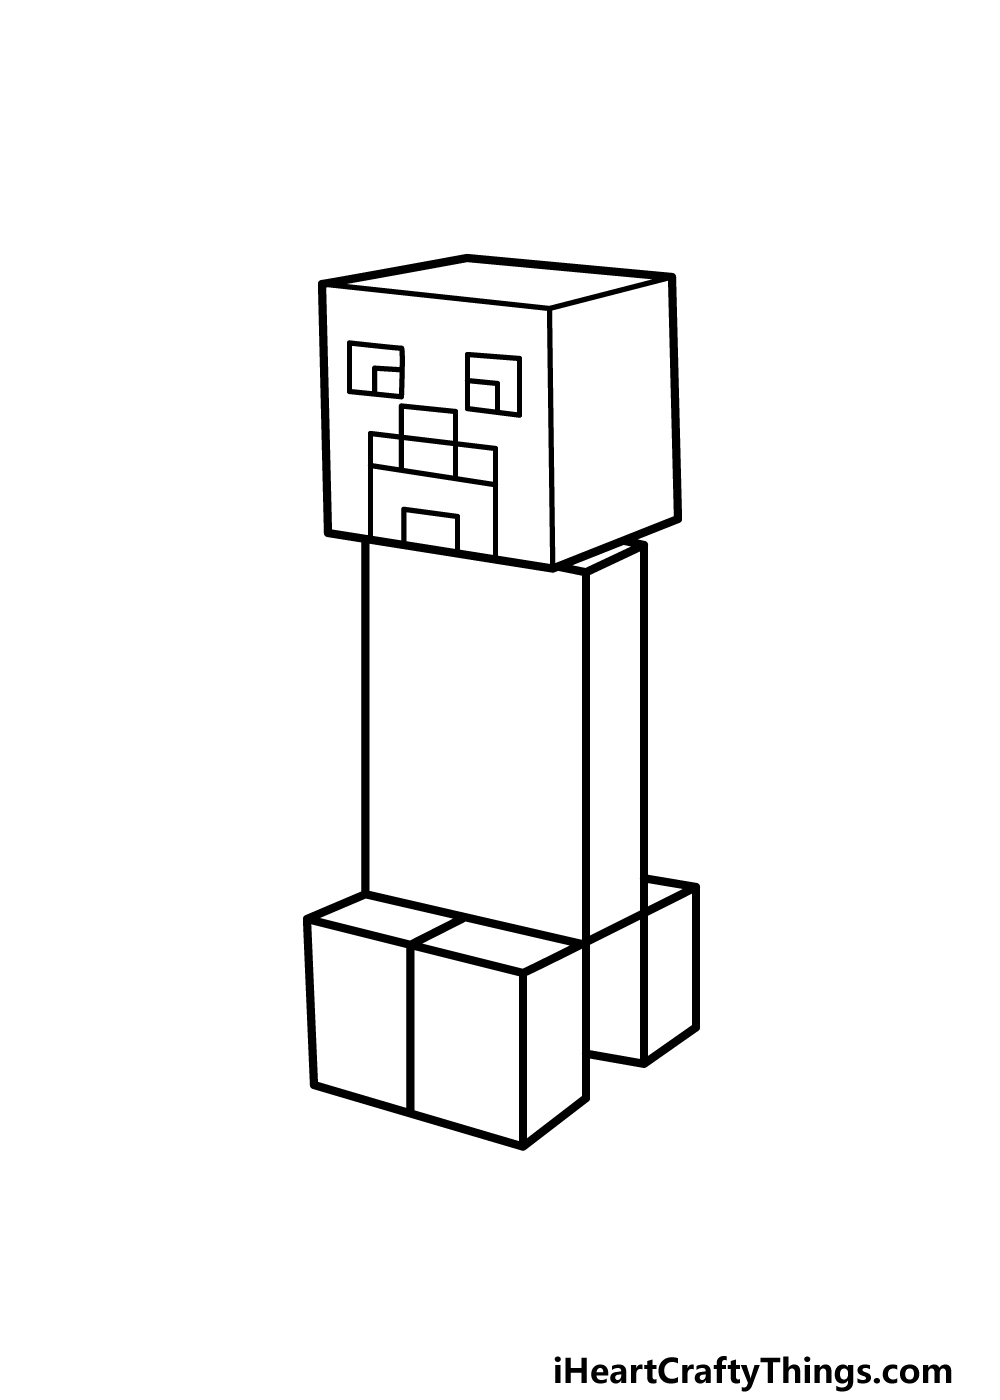
Let's continue refining the Creeper's appearance by completing the outlines of its feet.
The feet should resemble rectangular blocks placed side by side. Use the existing outlines as a guide and add more straight lines to achieve the desired effect. Also, add a short line near the top of the body to enhance its rectangular appearance. With these lines in place, we can now move on to the final details.
Step 5 – Adding the Finishing Touches
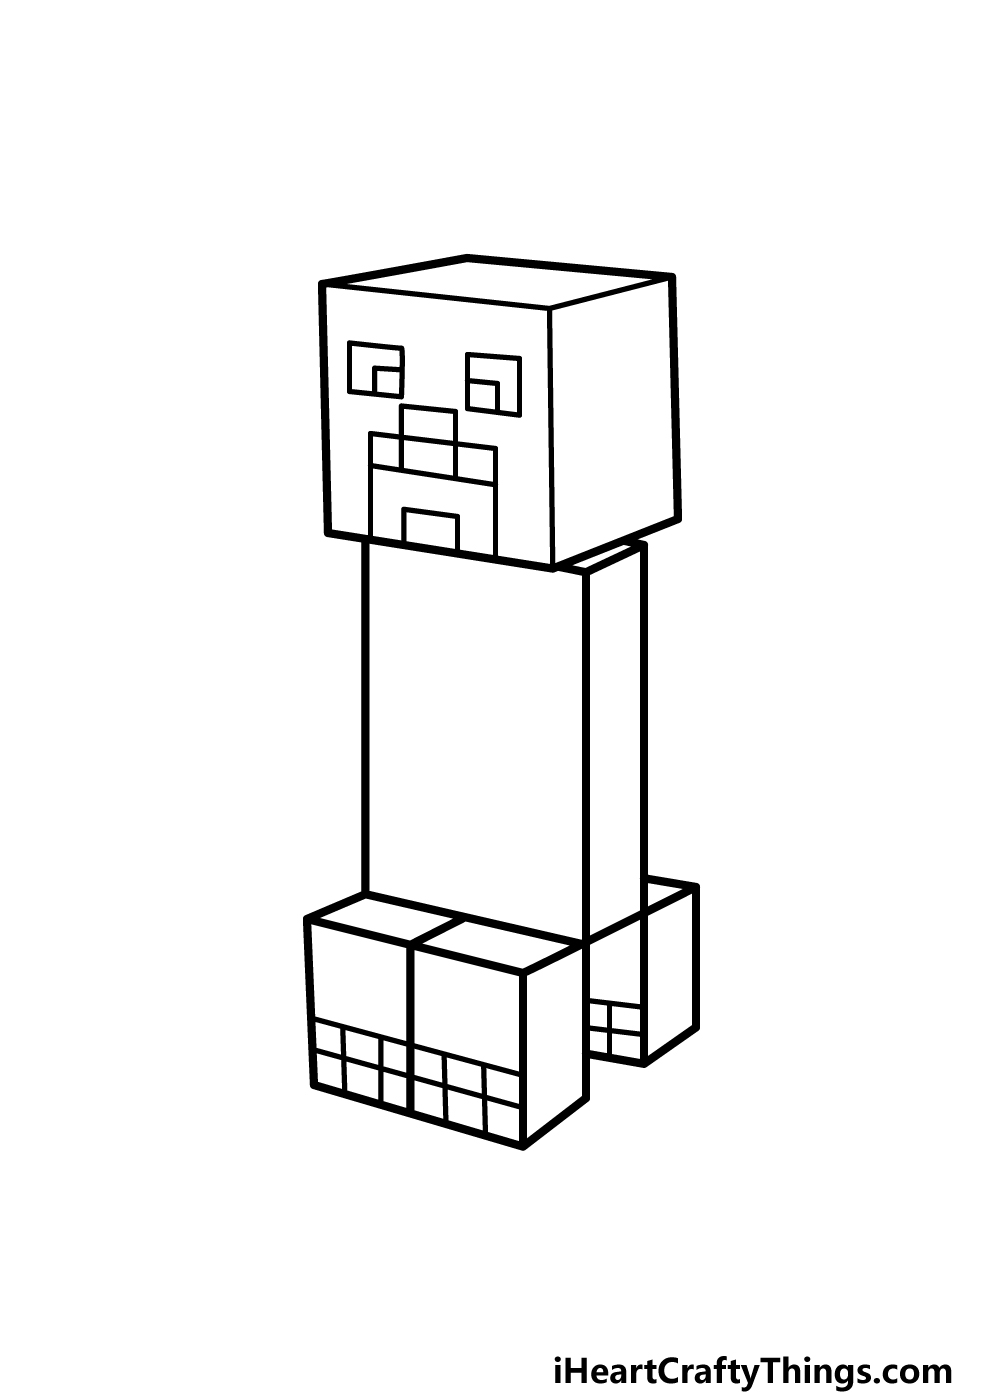
This step is all about the finer details that complete the Creeper's menacing look.
To start, draw a grid pattern near the base of the Creeper's feet. Create six small squares at the bottom of each foot to form the grid. The back feet will also have similar grids. With these details in place, you can let your creativity shine by adding your own additional touches.
Consider adding a background to showcase the Minecraft environment this Creeper is haunting. What kind of setting can you envision for this spooky creature?
Step 6 – Bring the Creeper to Life with Color
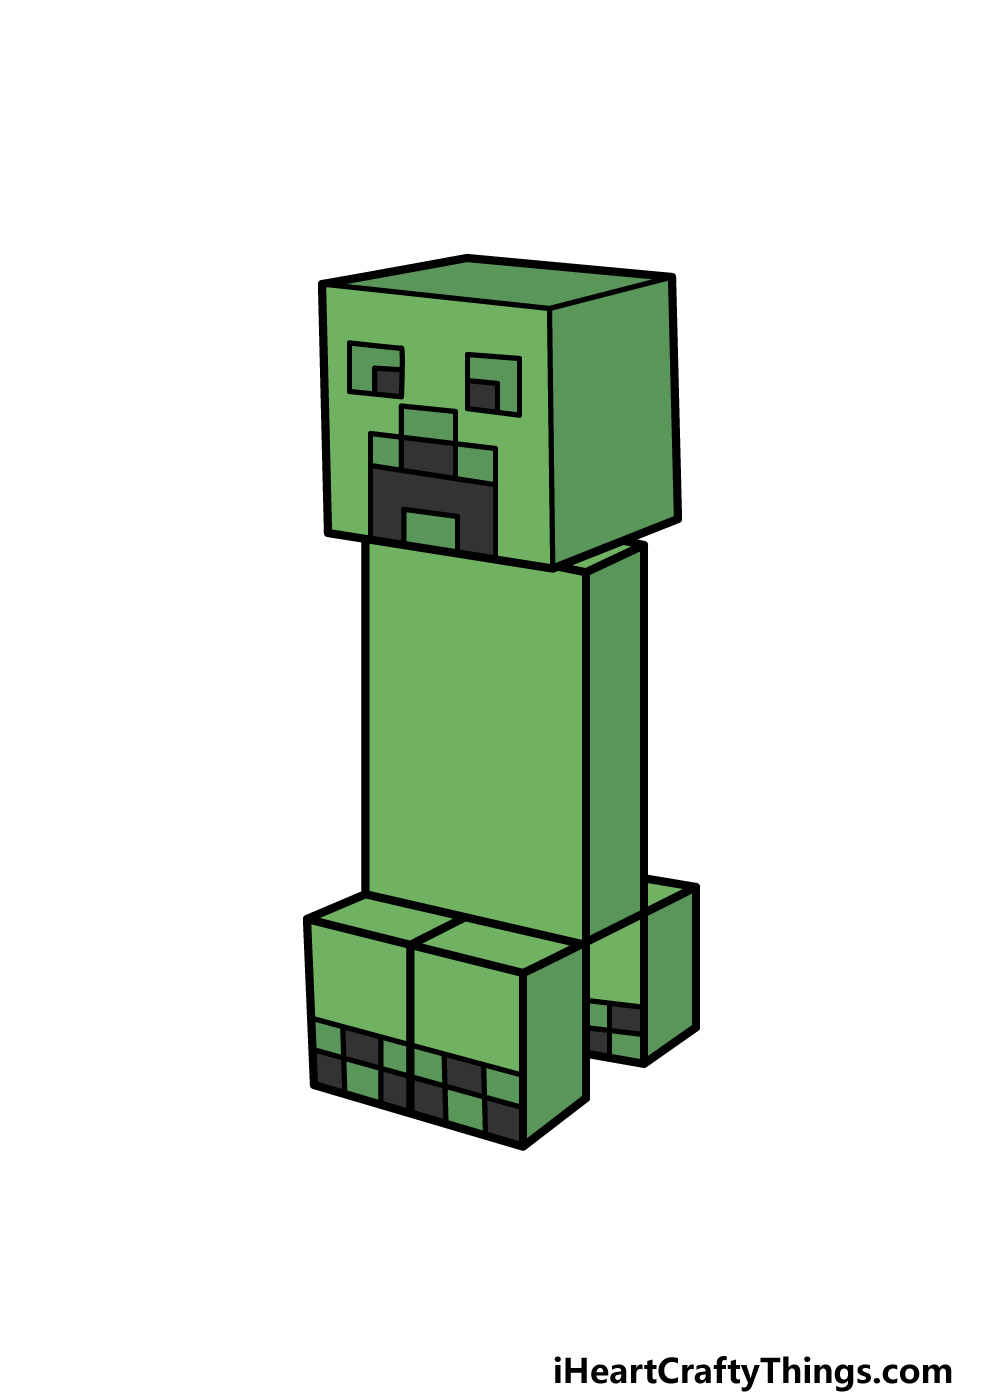
Creepers in Minecraft are known for their distinctive green color scheme, which we've incorporated in our example. You can use it as a blueprint or experiment with different shades of green to add variation.
While sticking to the original color palette is an option, don't be afraid to get creative with your color choices. You can even explore different art mediums to bring your Creeper drawing to life.
4 Additional Tips to Make Your Creeper Drawing Unique
Now that you've mastered drawing a Creeper, here are four ways to take your artwork to the next level:
Add more characters: To further immerse yourself in the Minecraft theme, consider adding other characters or creatures from the game. From animals to skeletons, the possibilities are endless.
Personalize your drawing: If you're a Minecraft player, include your own character avatar in the picture. This adds a personal touch and makes your drawing unique to your own Minecraft adventure.
Create a horde of Creepers: Once you've grasped the basics, challenge yourself by drawing multiple Creepers. Experiment with different orientations and positions to make each one distinct.
Set the scene: Elevate your artwork by adding a background. Minecraft offers various environments, biomes, and locations that you can explore. Whether it's a snowy tundra, a hot desert, or a lush forest, the choice is yours.
Your Creeper Drawing is Complete!
Congratulations! You've successfully learned how to draw a Creeper and created a fantastic portrayal of this iconic Minecraft monster. We hope this guide has made the process enjoyable and inspired your creativity.
Feel free to add your own ideas, details, and creative choices to take your artwork to new heights. And remember, you can find more amazing drawing guides on our website!
Don't forget to share your finished Creeper drawing on our Facebook and Pinterest pages for everyone to admire!
Follow us on:
For more coloring books, visit Shill Art – Express Your Creativity.
Follow us on:
- Facebook fanpage:https://www.facebook.com/ShillArt.Official
- Facebook group:https://www.facebook.com/groups/FreeColoringPagesToPrint
- Pinterest:https://www.pinterest.com/ShillArtOfficial
More Coloring Books at here, see now:https://shillart.com/coloring-books