
There's nothing quite like the magic of Christmas, and one of the enchanting characters that adds to the holiday spirit is Santa's humble and hardworking helper, the elf. These adorable creatures bring smiles to everyone's faces, especially children, as they tirelessly create toys for the little ones.
If you want to capture the joy of the Christmas season, why not learn how to draw an elf? In this step-by-step guide, we'll take you through the process of creating your very own elf drawing. With just eight simple steps, you'll be able to express your creativity and immerse yourself in the festive spirit, no matter the time of year.
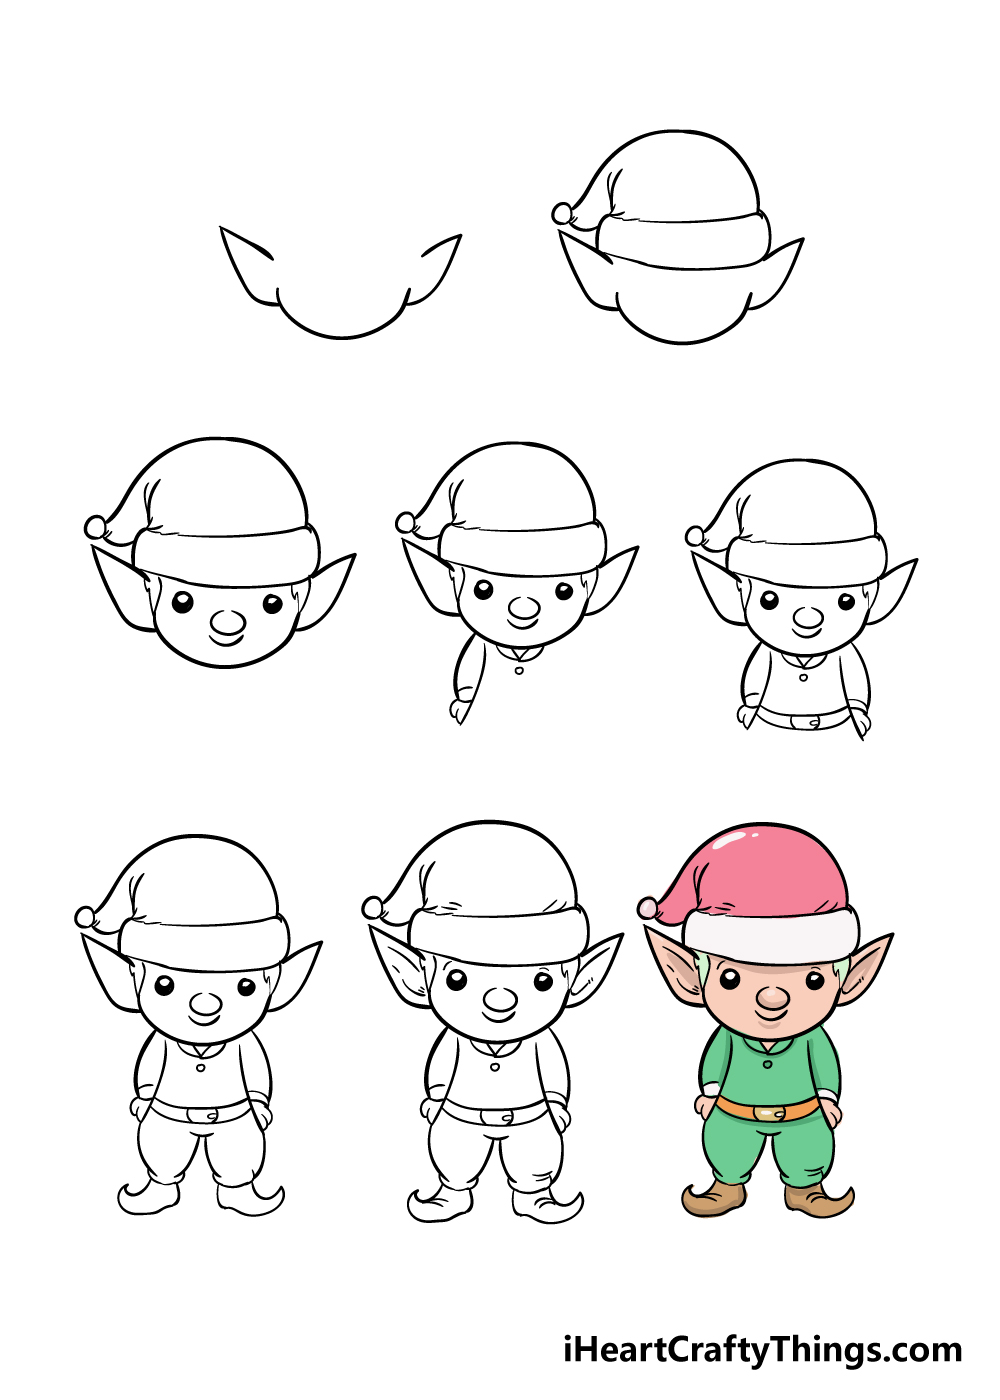
Let's Get Started!
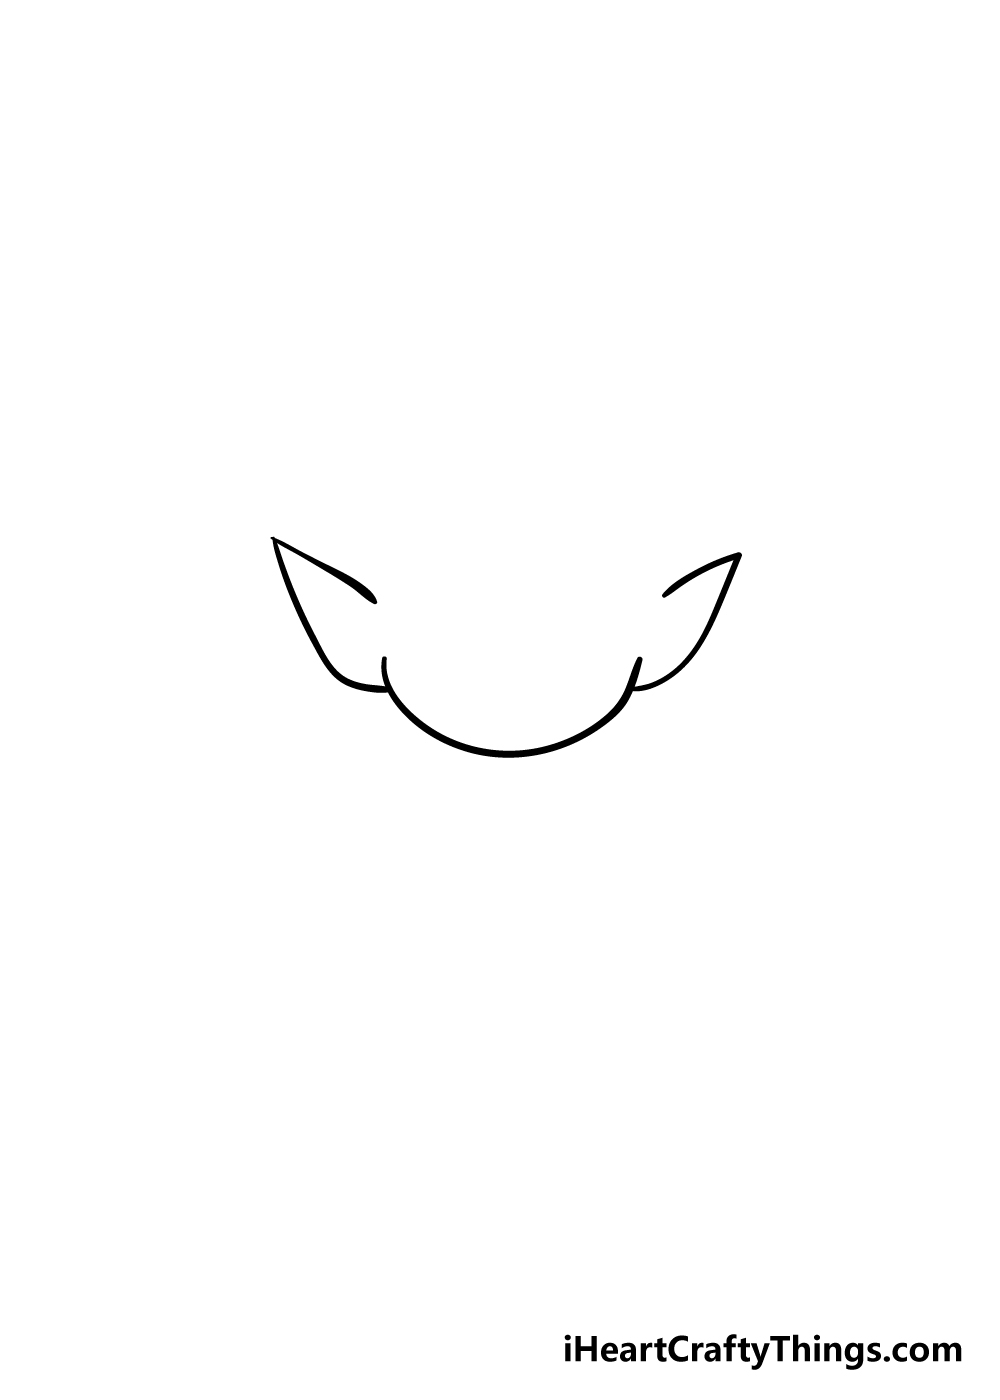
Step 1: Creating the Elf's Face and Ears
When you think of an elf, two distinct features come to mind: their pointy ears and their little hats. To begin, start by drawing the bottom of the elf's face with a curved horizontal line. Then, add the pointy elf ears on the sides of the face, as shown in our reference image. Once you have the chin and ears in place, you're ready for the next step.
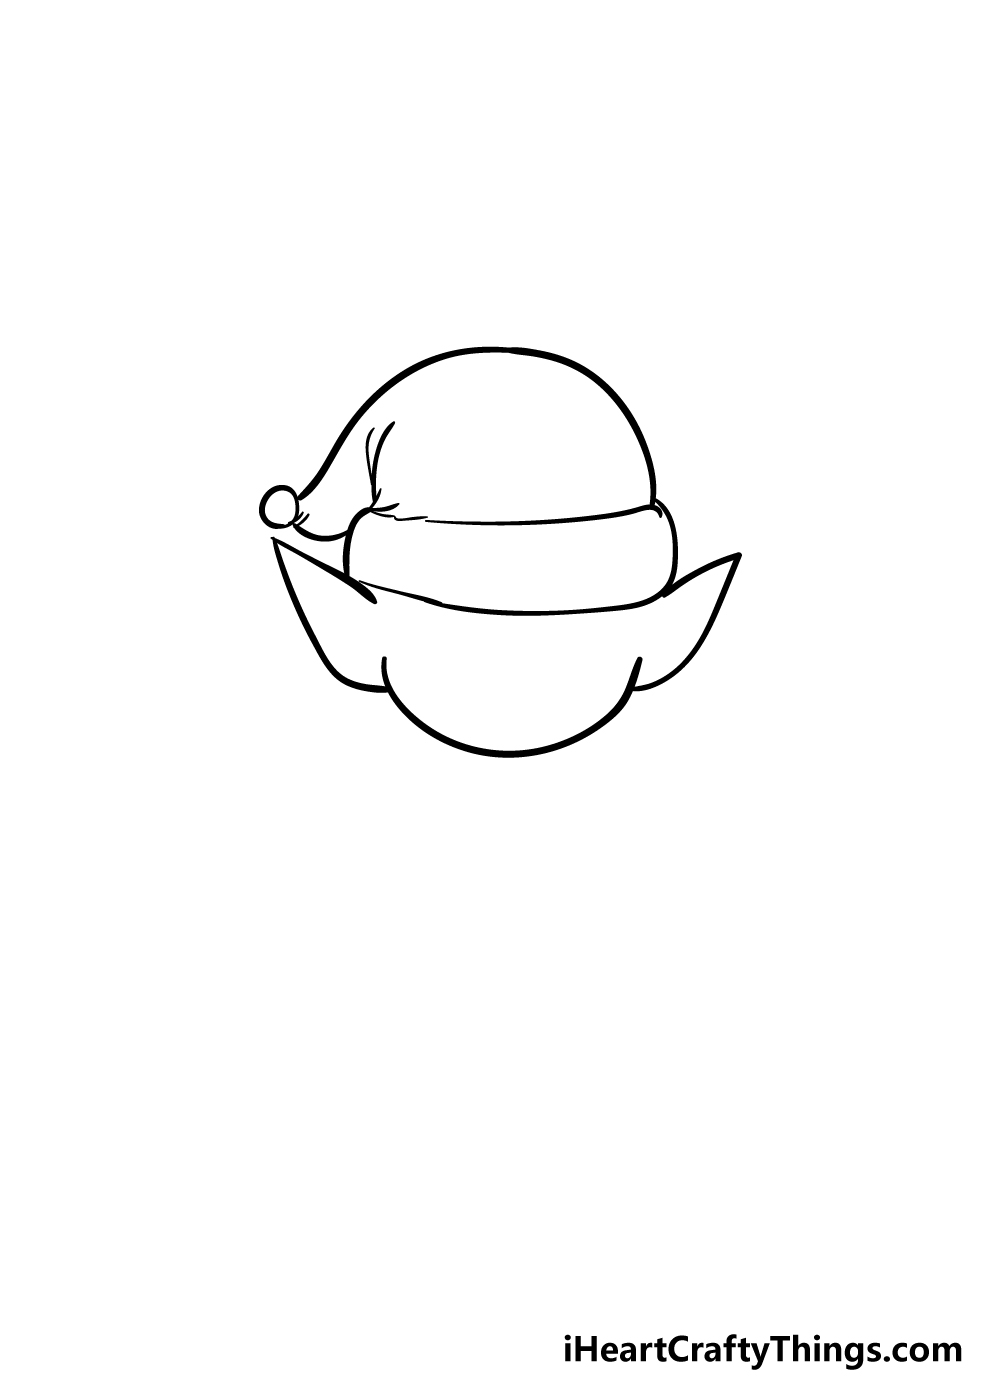
Step 2: Drawing the Elf's Hat
The elf hat is a signature feature, so let's add it to our drawing. Draw a slightly curved line between the tops of the ears to form the base of the hat. Then, create two vertical curved lines on either side of the base to represent the sides of the hat. Connect the top of these lines to complete the hat's base. Finally, add some curved lines to depict the hat folding over itself, as shown in the reference image. The famous elf hat is now complete!
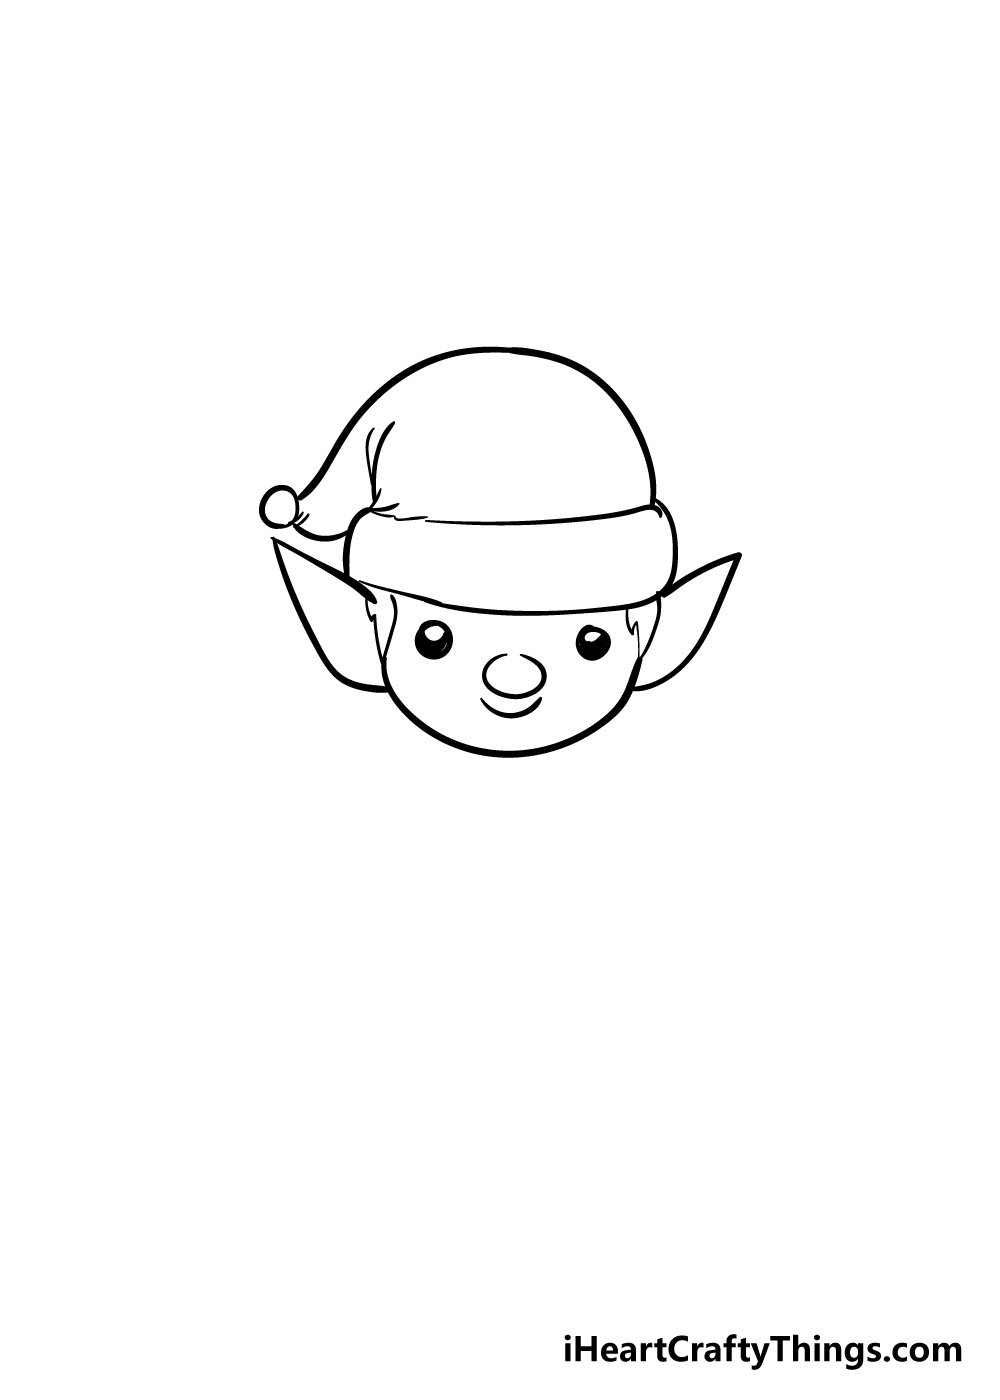
Step 3: Adding Facial Details
In this step, we'll add some adorable facial features to bring our elf to life. Use two filled black circles for the eyes, with smaller white circles inside to show the glinting of the eyes. Then, use curved lines to draw the round nose and a smiling mouth. Finally, let's not forget some hair peeking out from beneath the elf's hat.
Step 4: Creating the First Arm and Collar
Let's work on the elf's body now. Start by drawing some lines coming straight down from the head to form the first arm. Add a little hand at the end to complete this arm. Before moving on, be sure to add the collar under the elf's neck.

Step 5: Drawing the Second Arm and Belt
Drawing the second arm is easy now that you've done it once before. Follow the same steps as before, and once both arms are complete, use curved lines across the elf's body to represent the belt. You can also experiment with drawing the second arm in a different position, perhaps to make it look like the elf is waving!

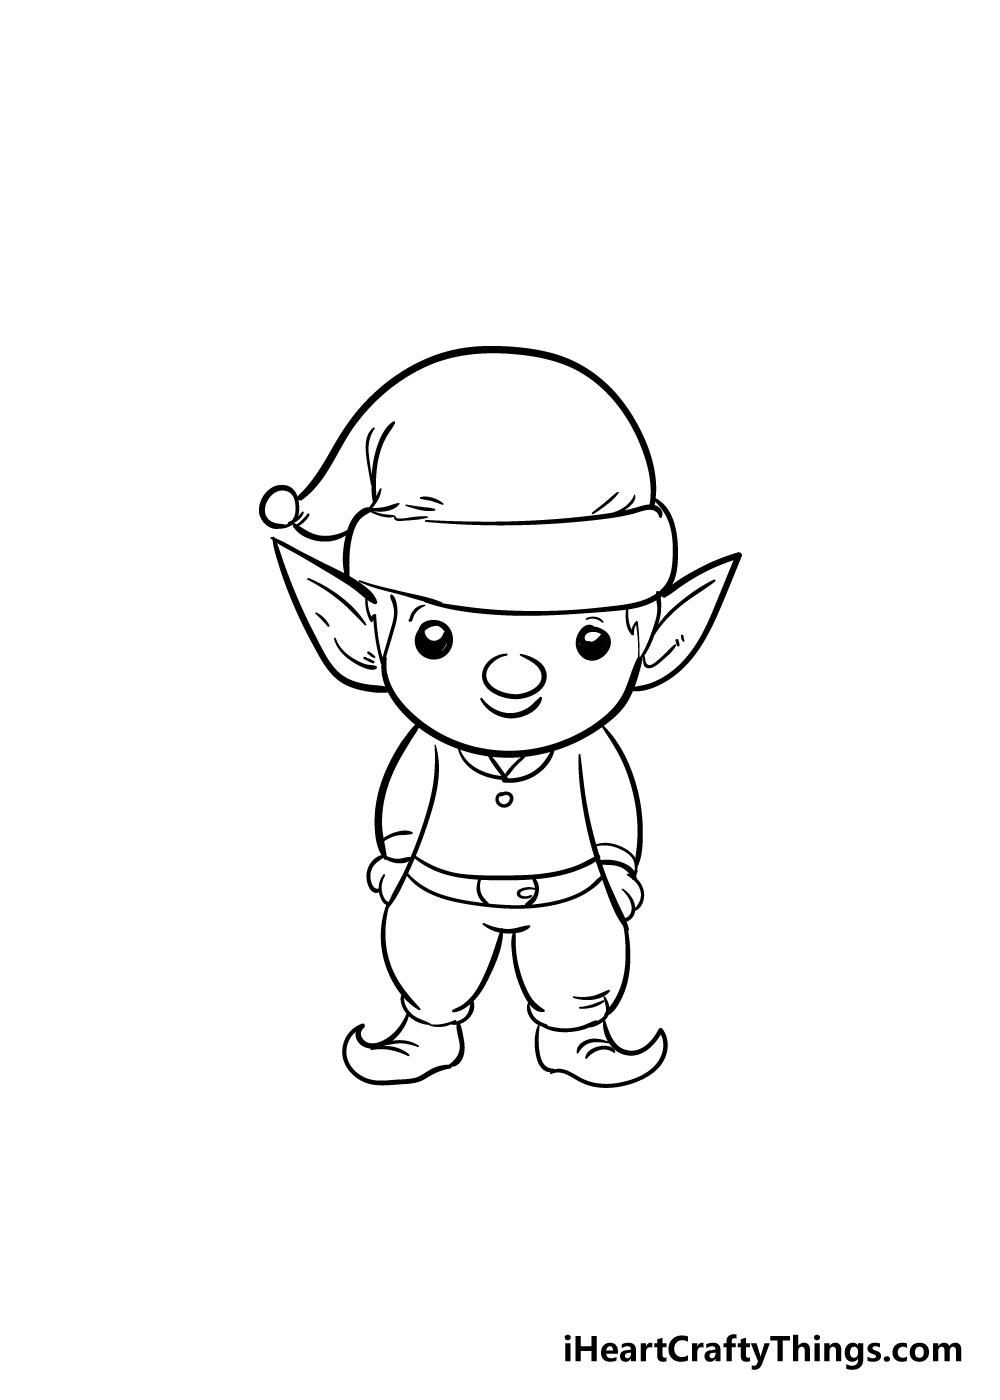
Step 6: Adding Legs and Pointy Shoes
Our cute little elf needs some legs! Draw small and rounded legs to ensure the elf is nice and short. Don't forget to add some pointy shoes, just as shown in our reference picture.
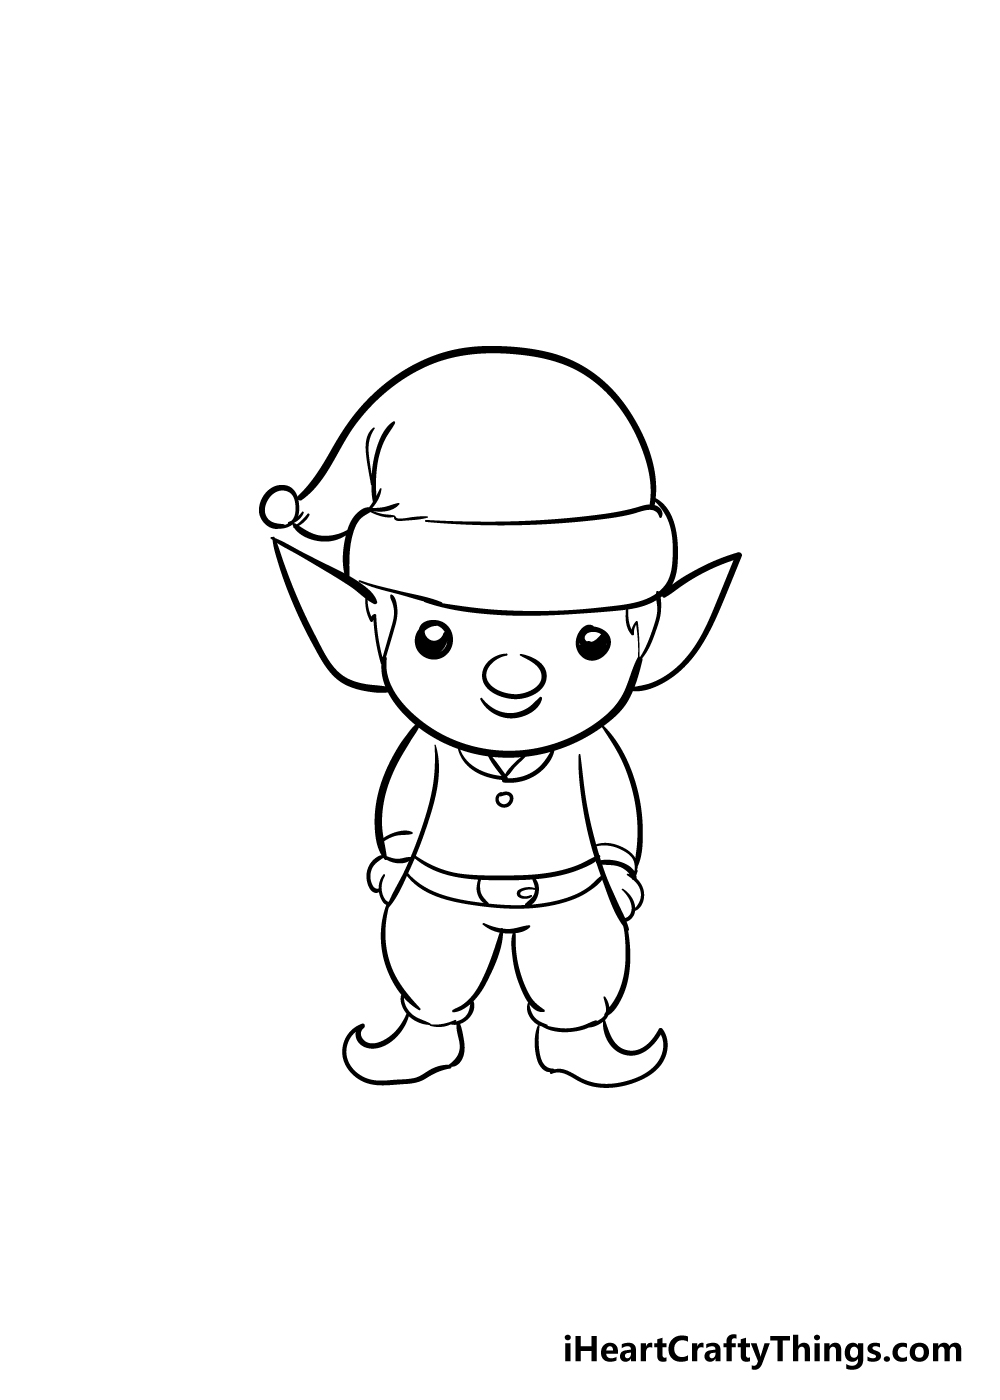
Step 7: Adding Final Details
Before we add colors to our elf drawing, let's add some simple lines to bring it to life. These lines will add creasing and detail to the elf's body and clothes. Take your time and pay attention to the small details, as they can make a big difference in the overall look of your drawing. You can also add a background or any other details you'd like to enhance the image further.
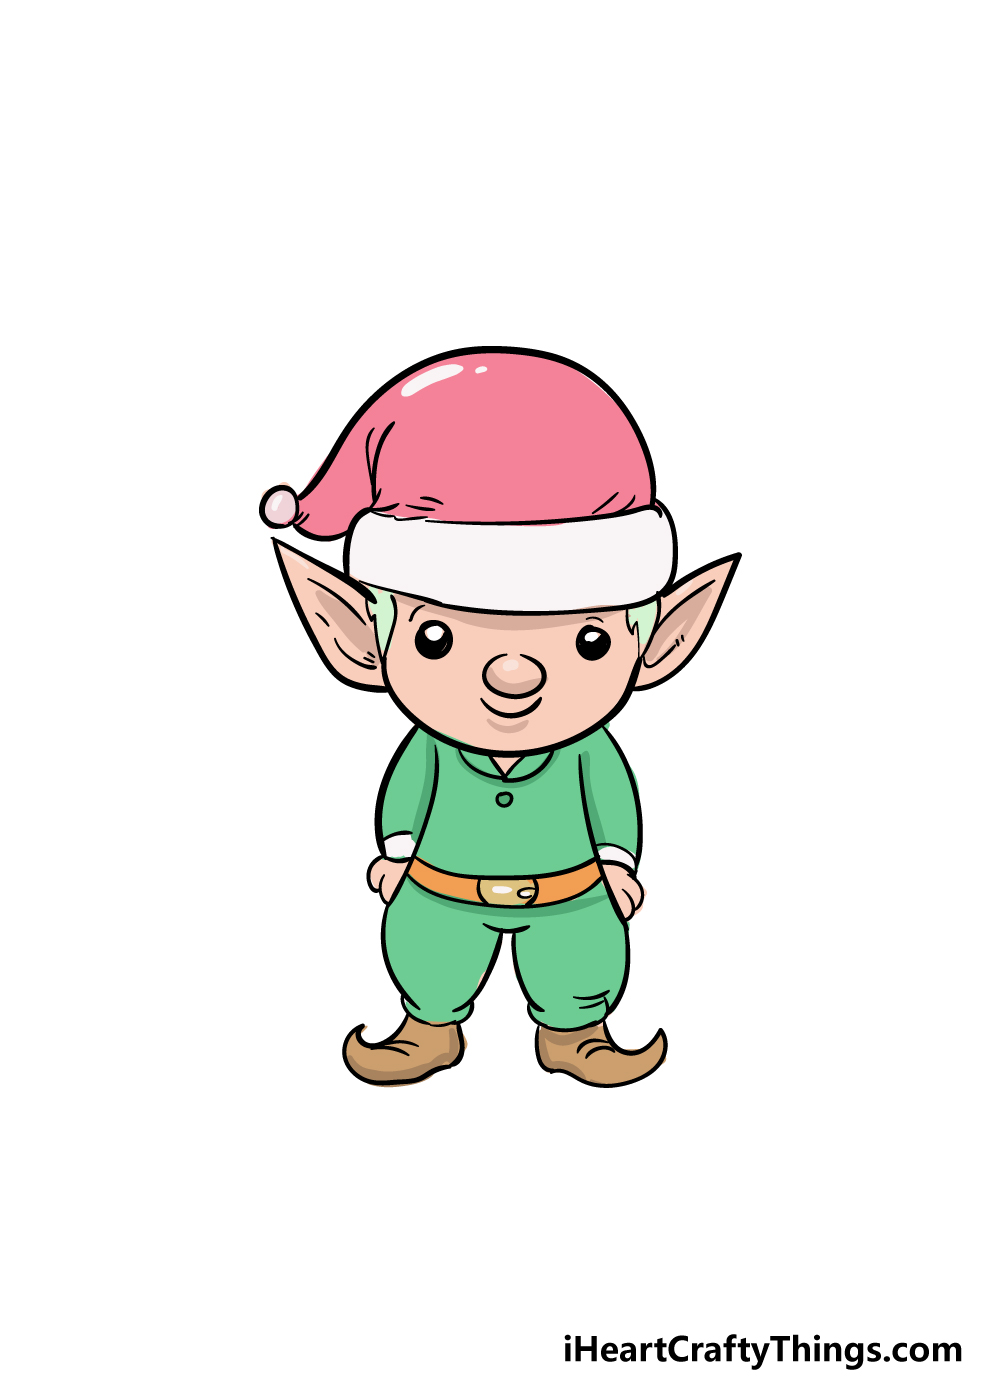
Step 8: Infusing Vibrant Colors
Now, it's time to bring your elf drawing to life with colors! While we used green and red for our example image, feel free to choose any colors that speak to you and make this little guy truly unique. You can go for traditional festive colors like reds, golds, and greens, or you can explore other exciting color combinations to add your personal touch. Acrylic paints, colored pens, markers, watercolor paints, or colored pencils are all great choices for coloring your elf.
Express Your Creativity Even Further
Congratulations! You've successfully created your own elf drawing. However, the fun doesn't have to end here. You can take your drawing to the next level by incorporating some additional elements and personalizing it according to your taste. Here are a few ideas to get you inspired:
- Add more elves to your drawing to capture the playful nature of these magical creatures. You can follow the same steps but experiment with different facial features and poses to create a variety of characters.
- Consider adding a background to your drawing. Santa's workshop or any other festive setting would be an excellent choice to complement your cute elf.
- Embrace the Christmas spirit by incorporating festive elements such as stockings, mistletoe, or baubles in your drawing. These decorations will instantly evoke the joyful atmosphere of the holiday season.
- Have fun with colors and explore different art tools and mediums to enhance the vibrancy of your drawing. Colored pens, acrylic paints, markers, or watercolor paints can all bring your elf to life in a unique way.
Remember, the only limit is your creativity! Let your imagination soar and don't be afraid to put your own spin on this adorable elf drawing.
Shill Art – Express Your Creativity
Follow us on:
- Facebook fanpage:https://www.facebook.com/ShillArt.Official
- Facebook group:https://www.facebook.com/groups/FreeColoringPagesToPrint
- Pinterest:https://www.pinterest.com/ShillArtOfficial
More Coloring Books at here, see now:https://shillart.com/coloring-books