
In folklore, fairies are enchanting creatures with supernatural powers. These winged beings, often depicted in human form, possess exquisite beauty and unique features like pointed ears and webbed fingers. Drawing fairies allows us to explore the captivating mystery surrounding their existence.
To help you in this artistic endeavor, we've curated a step-by-step guide on how to draw a fairy in 9 easy and simple steps. Whether you aspire to create a realistic-looking fairy or an animated version, these instructions will assist you in bringing your imagination to life. Each step comes with comprehensible illustrations to serve as your visual guide.
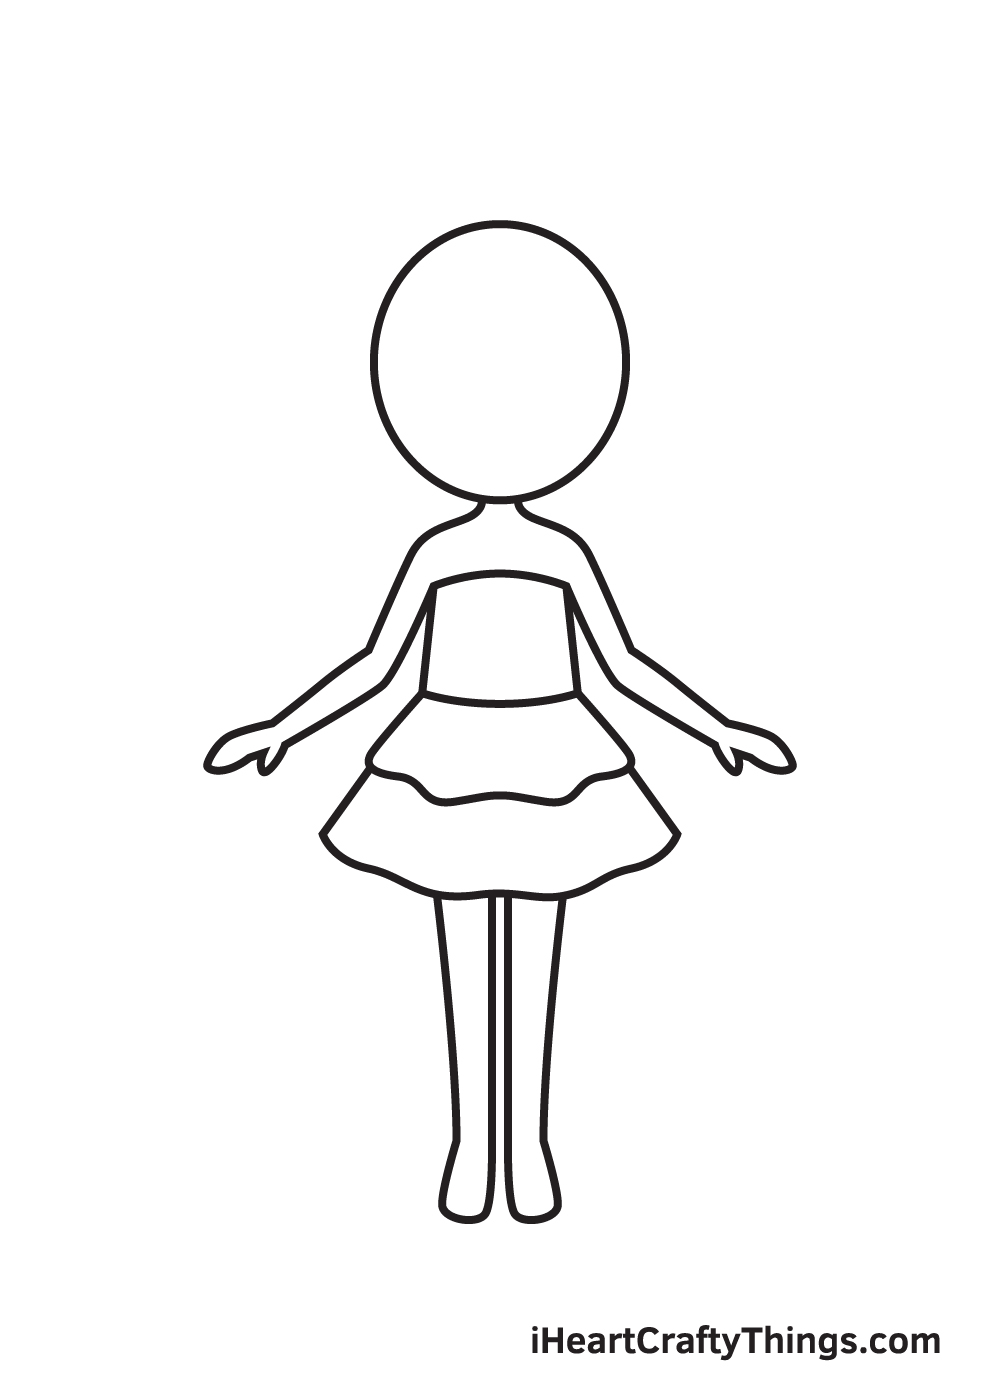
Step 1: Outlining the Face
Starting in the middle of your paper, draw an irregular circle to outline the face. Remember, the length of the face should be greater than its width. Extend two curved lines below the face to create the neck, shoulders, and arms. Align the arms evenly. As a helpful tip, draw reference lines by intersecting a horizontal and vertical line to ensure proper positioning.

Step 2: Drawing the Fairy's Upper Body
Give your fairy a cute top by drawing two vertical lines starting from the underarm. Connect the ends of these lines with a horizontal line at the bottom, resembling a cropped bandeau top.

Step 3: Completing the Outfit with a Skirt
Extend the top with a skirt by drawing multiple curves down the hem. Feel free to customize the skirt's shape and add patterns or designs to make it more creative.

Step 4: Adding a Second Layer to the Skirt
Below the first layer of the skirt, draw a slightly larger second layer. This creates a stylish flowing skirt effect.

Step 5: Drawing the Fairy's Legs
Draw a pair of aligned and evenly drawn legs below the skirt.
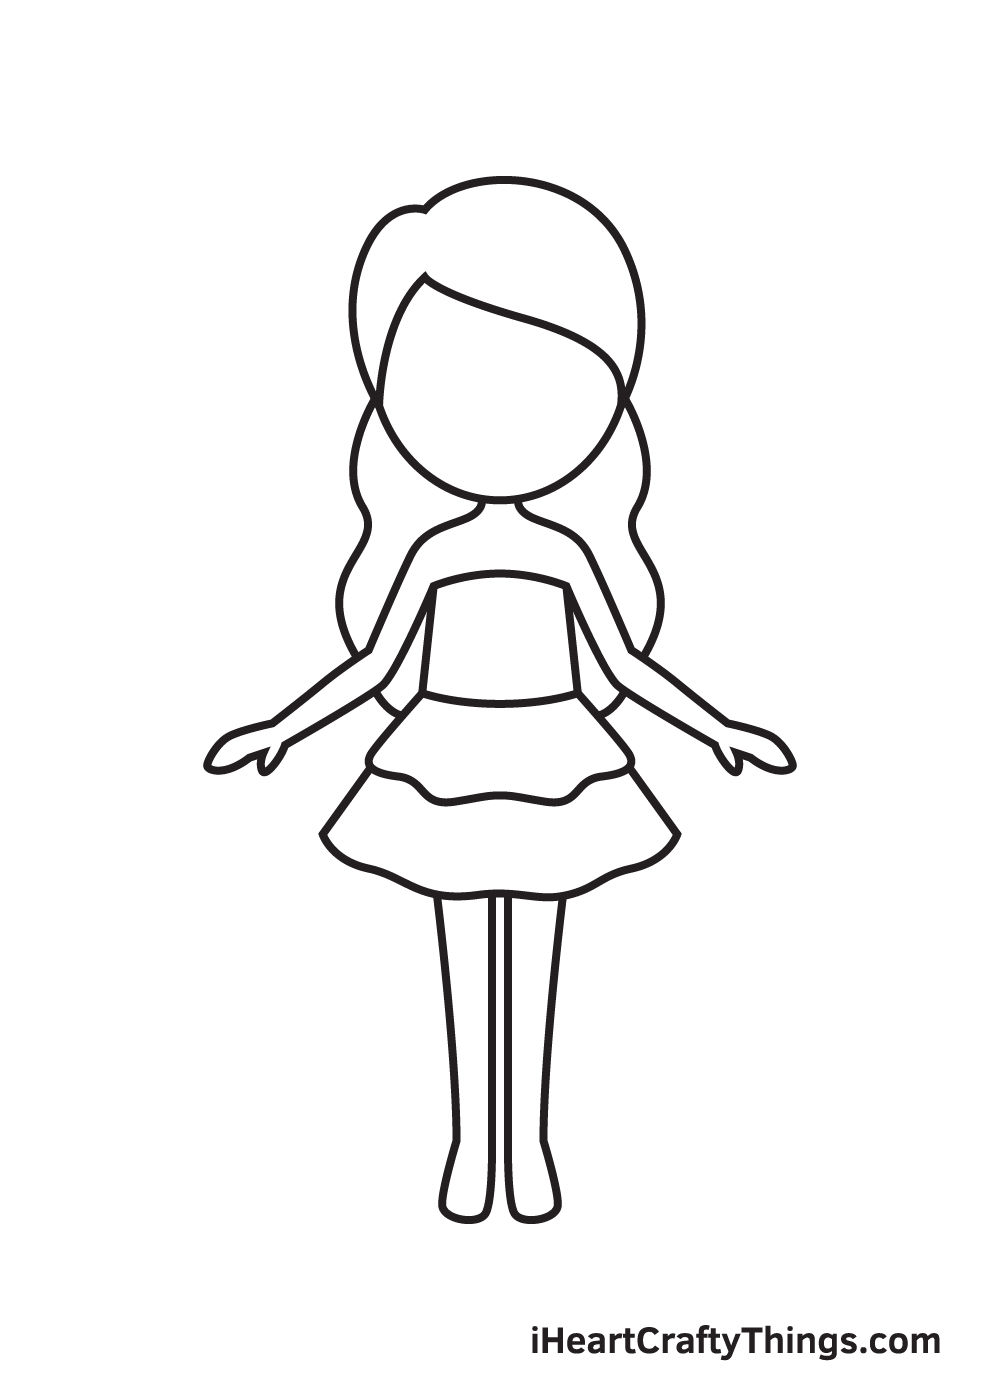
Step 6: Creating the Fairy's Hair
Above the forehead, draw a hairline. Let your creativity shine as you draw a wavy strand of hair flowing down to the fairy's lower back. Experiment with different hairstyles like straight, curly, ponytail, or bun.
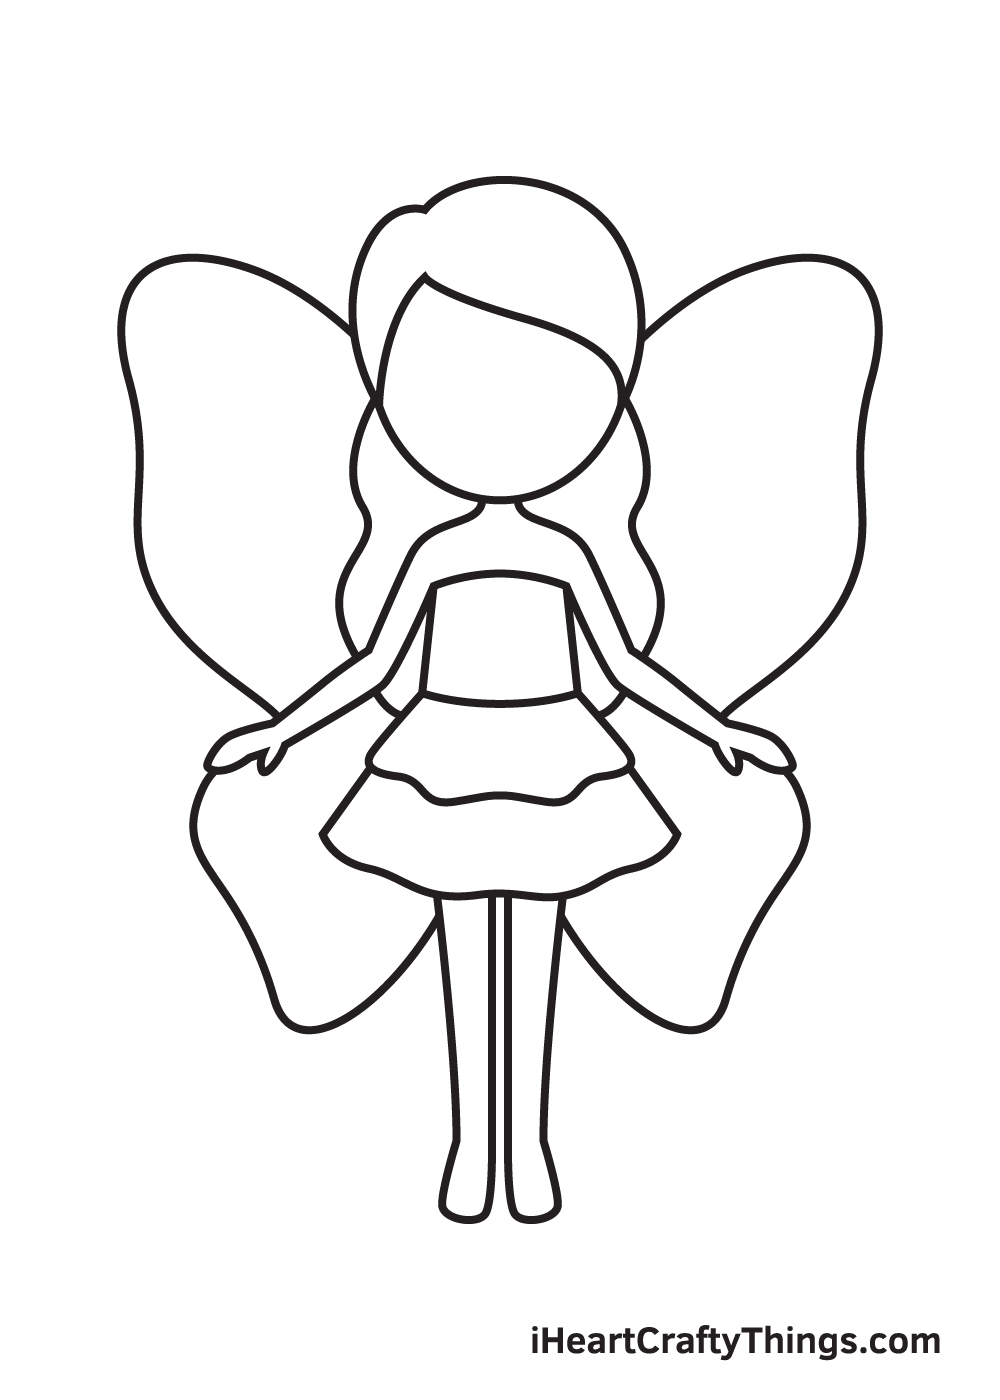
Step 7: Crafting the Fairy's Wings
Draw a pair of enormous wings extending from the fairy's head to the legs. Fairy wings come in various shapes and sizes, resembling those of butterflies or dragonflies. Choose the shape that best suits your artistic vision.
Step 8: Embellishing the Wings
Now it's time to make the wings even more enchanting. Add various shapes and patterns to the wings, allowing your imagination and creativity to flourish.

Step 9: Completing the Fairy's Face
To finalize the look, draw the fairy's facial features. Start with a pair of arched eyebrows above the eyes. Within the eyes, draw a tiny circle and shade the rest. Don't forget to add eyelashes for that extra fabulous touch! Finally, draw an upward curve just above the chin to give your fairy a wide, cheerful smile.
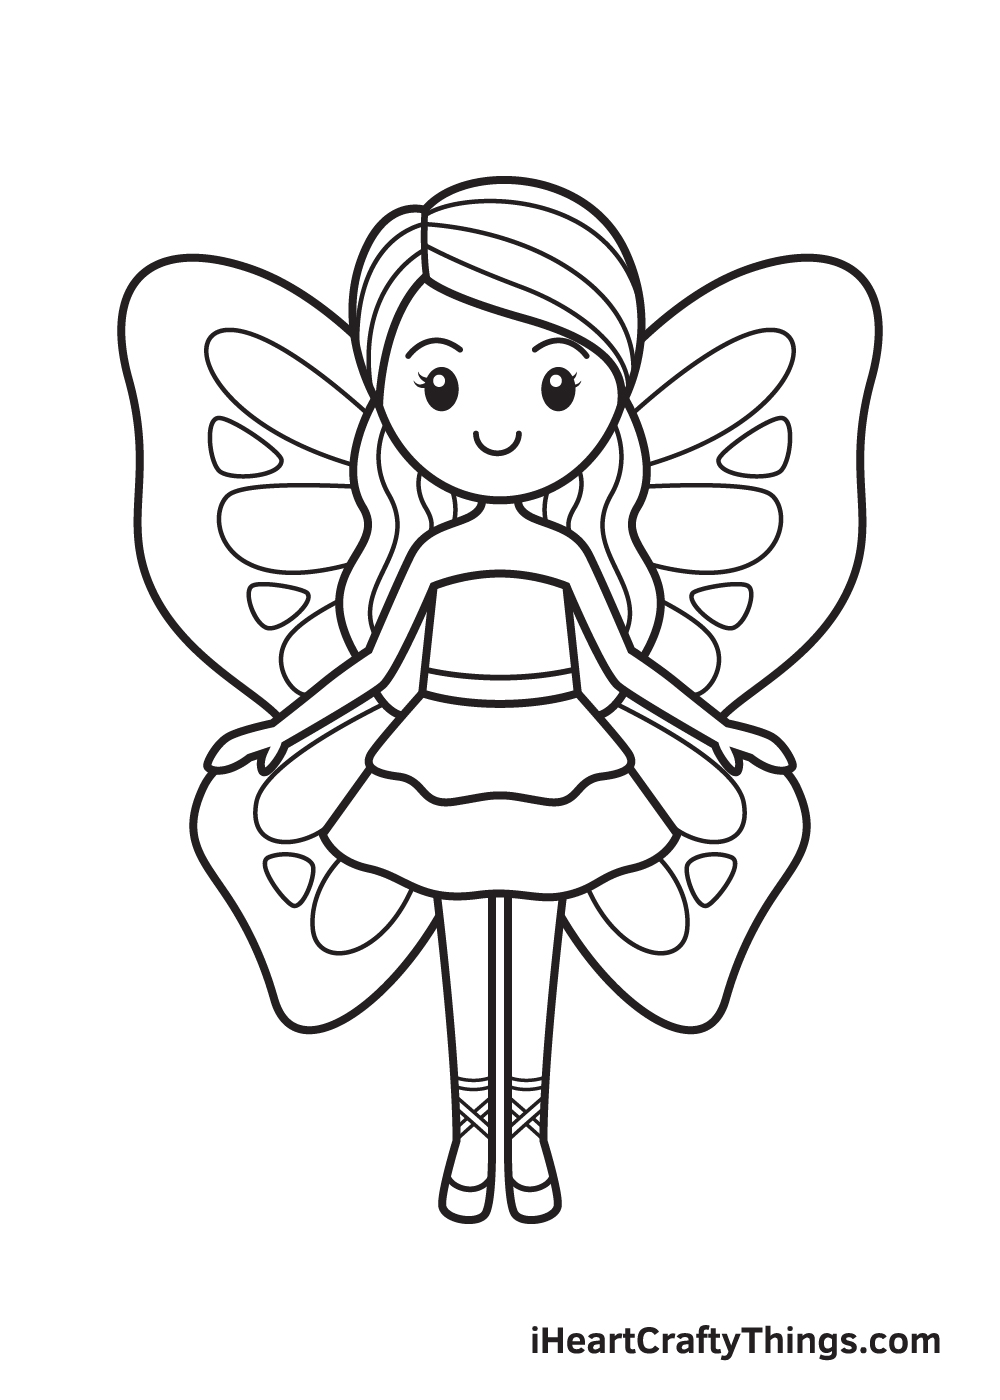
There you have it! By following these steps, you've successfully drawn a fairy. Now it's time to add a splash of vivid and vibrant colors to complete your artwork. Feel free to mix and match colors, customizing your fairy to make it truly unique. Express your creativity, let your imagination wander, and have fun embracing your artistic skills!
For more inspiration and creative resources, visit Shill Art – Express Your Creativity. Happy drawing!
Follow us on:
- Facebook fanpage:https://www.facebook.com/ShillArt.Official
- Facebook group:https://www.facebook.com/groups/FreeColoringPagesToPrint
- Pinterest:https://www.pinterest.com/ShillArtOfficial
More Coloring Books at here, see now:https://shillart.com/coloring-books