
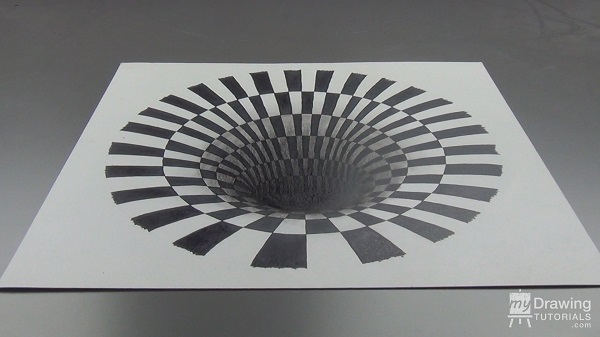
Do you want to impress your friends with some mind-blowing artwork? In this article, I will show you how to create a stunning 3D hole optical illusion. Get ready to amaze everyone with your drawing skills!
Step 1 – Drawing the Ellipses
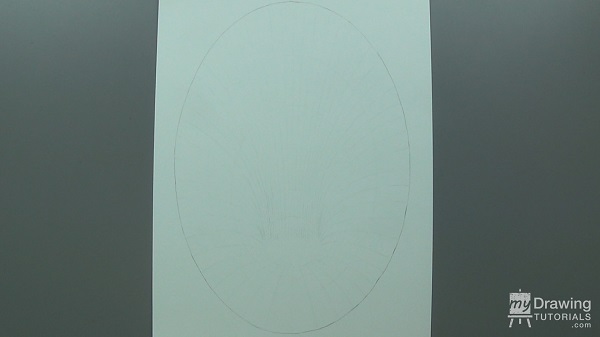
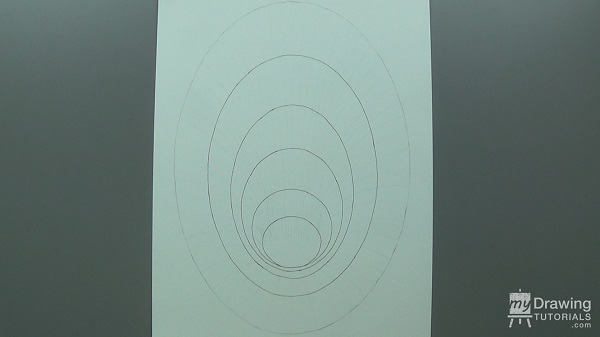
To start, draw a large ellipse in pencil. This will serve as the base for your drawing. The rest of the drawing will be done in ink, but we'll erase this initial ellipse later.
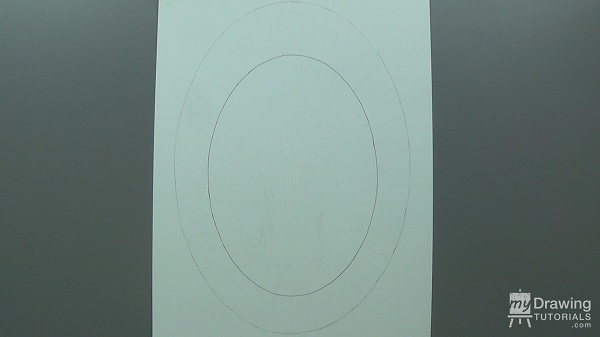
Inside the first ellipse, draw a smaller ellipse using ink. Make this one slightly shorter and more rounded. Place it slightly below the center.
For the next step, repeat the process. Draw another smaller ellipse inside the previous one, making it more rounded and placing it closer to the bottom.
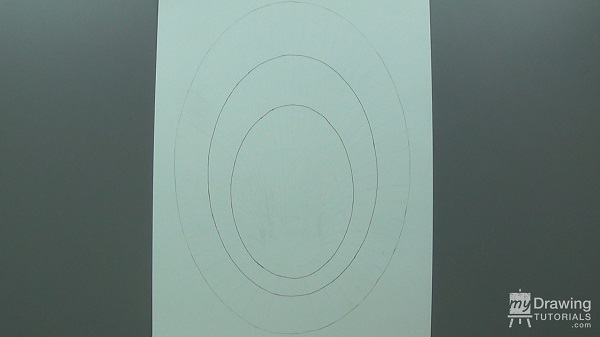
Continue this pattern three more times. Each ellipse should resemble a circle, and they should group together at a single point.
Step 2 – Drawing the Tiles
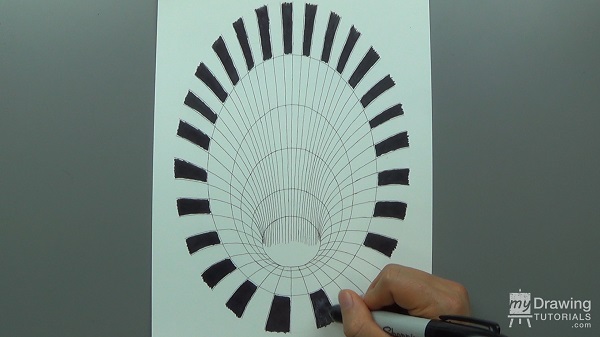
Next, draw straight lines from the center outward, creating a tile-like effect.
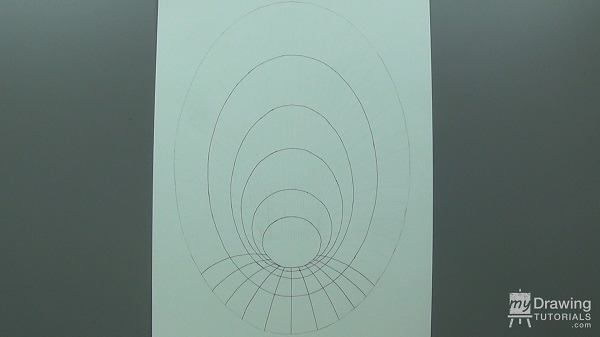
The gaps between these lines should be widest at the bottom and gradually become narrower as they move upward. To ensure consistency, start at both ends simultaneously. This way, you can plan the width of the stripes at the top accordingly.
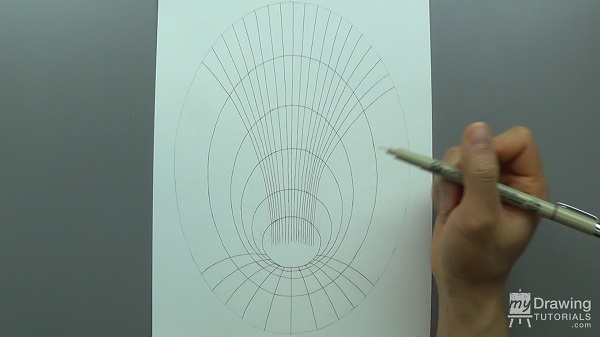
Remember to create an even number of stripes. This is crucial for the next step as it maintains the pattern's synchronization.
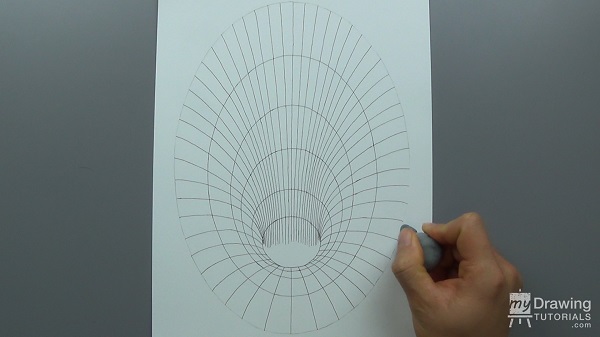
Step 3 – Inking and Shading
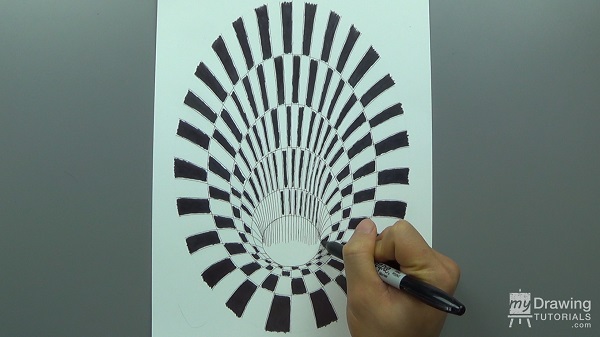
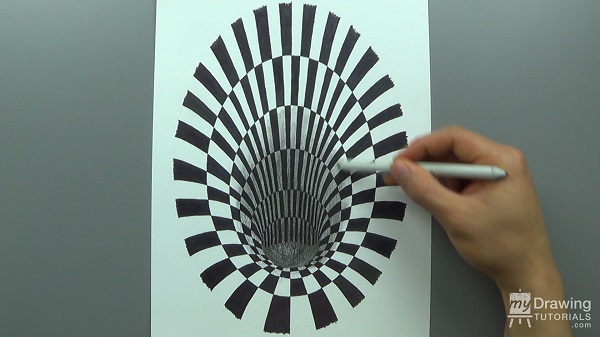
Now, it's time to fill in the outer circle using a sharpie marker. Alternate the pattern to achieve the desired effect. The larger marker may not color the squares near the edge completely, but that's okay for now.
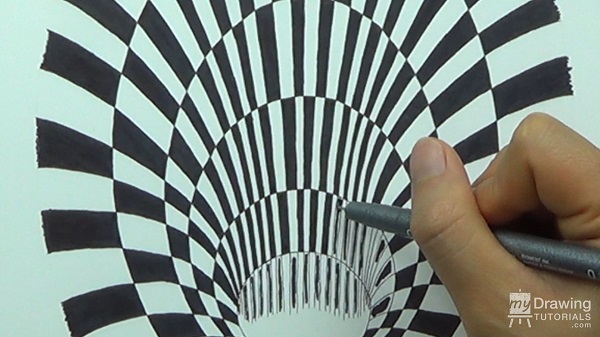
Continue this process for all the circles. Then, use a smaller pen to fill in the small gaps that were missed with the larger marker.
Finally, create a dark gradient at the center hole. Use a 9xxb graphite pencil (or a 4B or 6B pencil) as the base tone. Smooth out the tone using a blending stump. To add depth, use a charcoal pencil to create a dark layer for the hole.
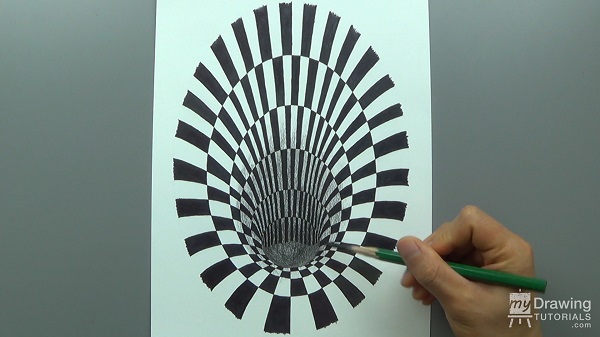
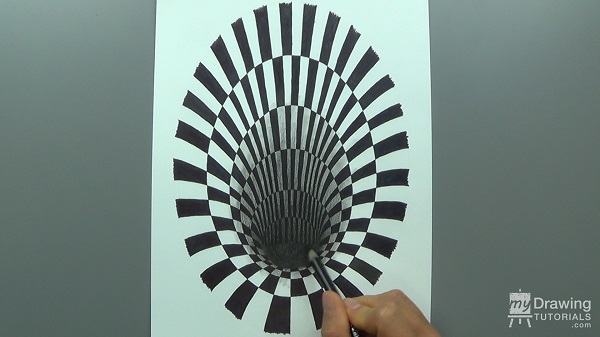
And voila! You have successfully created a fascinating 3D hole optical illusion. Simply tilt your head and enjoy the mesmerizing effect.
Now, aren't you proud of your artistic skills? Show off your masterpiece to your friends and let them marvel at your talent. Remember, practice makes perfect, so keep exploring different optical illusions and continue expressing your creativity through art.
For more inspiring art tutorials and creative techniques, visit Shill Art – Express Your Creativity.
Follow us on:
- Facebook fanpage:https://www.facebook.com/ShillArt.Official
- Facebook group:https://www.facebook.com/groups/FreeColoringPagesToPrint
- Pinterest:https://www.pinterest.com/ShillArtOfficial
More Coloring Books at here, see now:https://shillart.com/coloring-books