
Books hold infinite possibilities within their pages. They contain knowledge, recipes, personal stories, and grand adventures that transport us to new worlds. But have you ever wanted to bring the magic of books to life by learning how to draw an open book?
Drawing an open book may seem daunting at first, but with this step-by-step guide, you'll discover that it's as simple as turning a page! So grab your pencil and let's get started!
Step 1: Set the Stage
To begin drawing an open book, imagine a book lying flat on a surface with its pages fluttering in the wind. Start by drawing the flat spine of the book on the surface. Use a ruler to ensure straight lines and create a small square shape in the center. Then, draw lines extending from the ends of the covers, with the left-hand side longer than the right.

Step 2: Bring the Pages to Life
The pages of your open book should appear as if caught in a gust of wind. Use thin, curved rectangle shapes and erratic lines to create the illusion of flapping pages. Refer closely to the image for guidance as you draw.

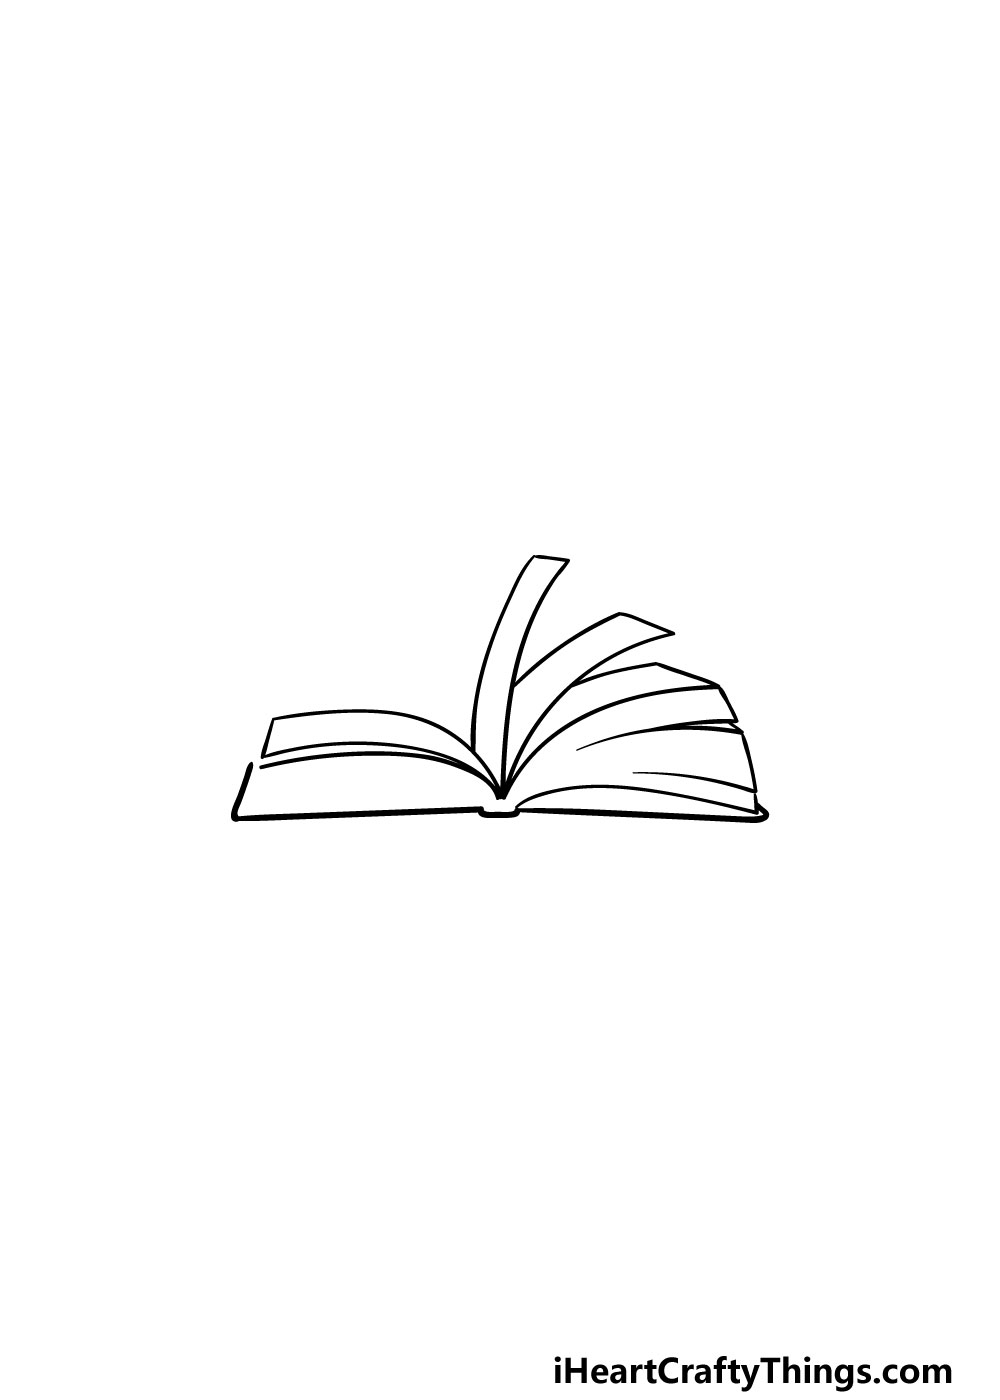
Step 3: Add Detail to the Pages
Continue working on the flapping pages by connecting the lines you drew in the previous step using curved lines. These lines will form thin rectangle shapes that give the pages their distinctive appearance.
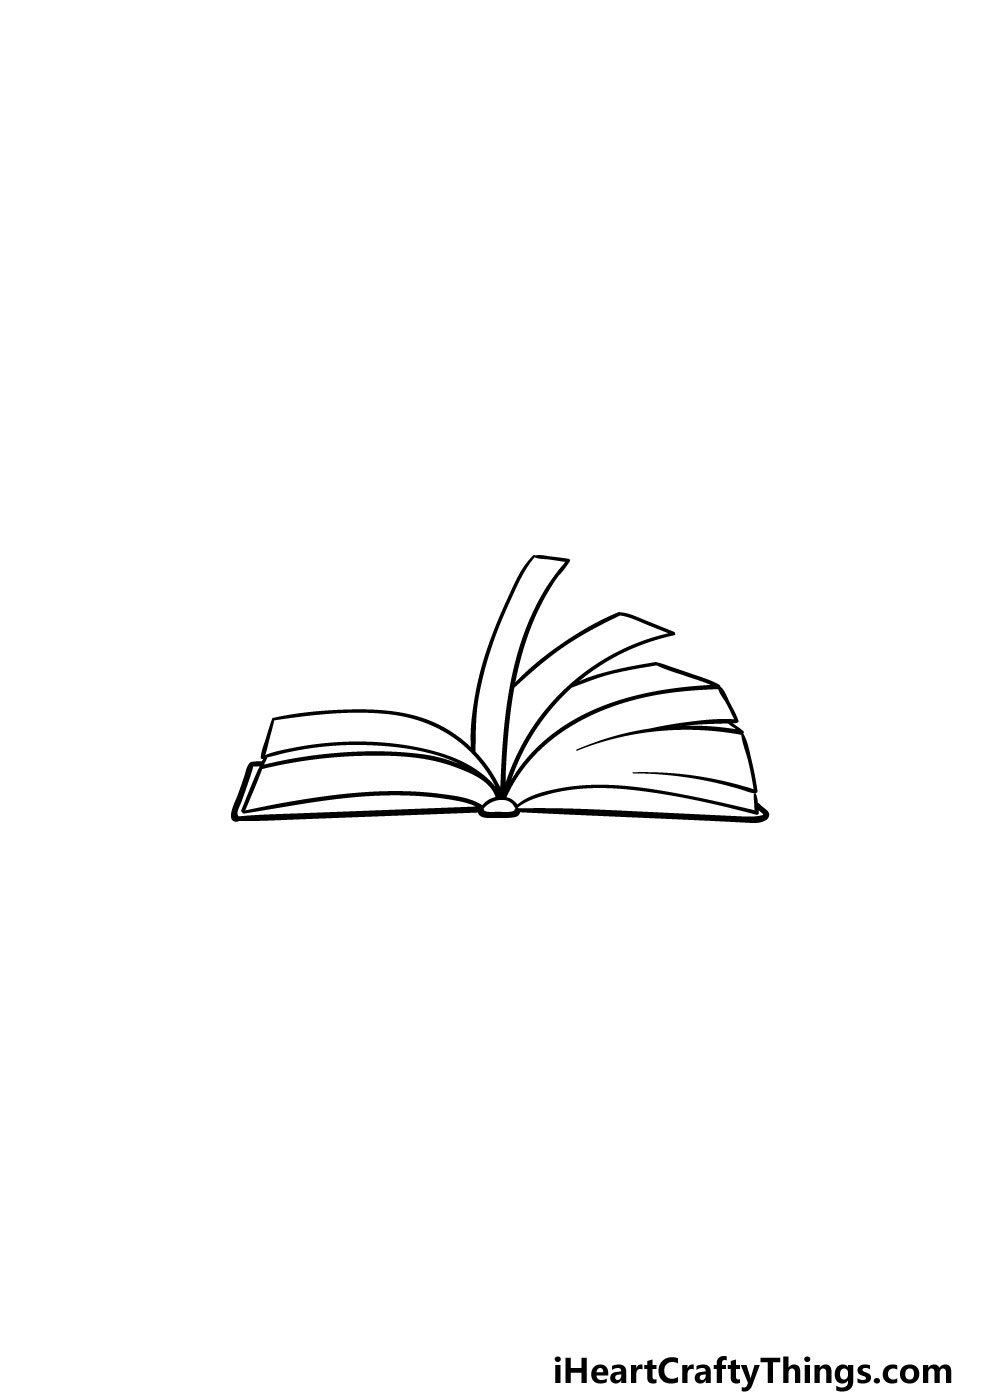
Step 4: Complete the Cover
Before adding the final details, finish outlining the cover of the open book. Use a combination of straight and curved lines to create the shape of the left-hand side of the cover. Take your time and be precise.
Step 5: Add the Finishing Touches
To give your open book drawing more depth, add thin, curved lines inside the rectangle shapes representing the pages. These lines create the illusion of multiple pages stacked closely together. Feel free to get creative and add your own personal touch. You could draw a background, include additional books, or even project a scene from your favorite book from the open pages!

Step 6: Colors that Pop!
You've reached the final step of your open book drawing, where you can relax and have fun coloring. While we used beige for the pages and red for the cover in our reference image, the choice of colors is yours. Let your imagination run wild and use any colors you love to bring your drawing to life. Mix different art mediums, such as acrylic paints, colored pens, and watercolor paints, to create vibrant effects.

Make Your Open Book Drawing Unique!
Here are four additional ways you can make your open book drawing even more special:
- Add More Books: Surround your open book with as many books as you like. Arrange them in different positions to create a captivating book collection.
- Add Details: Bring your drawing to life by adding words to the pages or including small details like book titles or illustrations. Let your creativity shine!
- Create a Background: Draw your favorite reading nook as the backdrop for your open book. Add cozy elements like a warm beverage or decorations to make it truly inviting.
- Tell a Story: Draw a bumpy cloud outline emerging from the pages, and inside, illustrate scenes from a story you love. It could be from a book you enjoy or a tale of your own invention.
Your Open Book Drawing Is Complete!
Congratulations on mastering the art of drawing an open book! We hope you enjoyed this step-by-step guide and discovered the joy of expressing your creativity through drawing. Don't stop here! Explore our website for more amazing drawing guides and keep the fun going.
Remember, Shill Art – Express Your Creativity!
Shill Art – Express Your Creativity
Follow us on:
- Facebook fanpage:https://www.facebook.com/ShillArt.Official
- Facebook group:https://www.facebook.com/groups/FreeColoringPagesToPrint
- Pinterest:https://www.pinterest.com/ShillArtOfficial
More Coloring Books at here, see now:https://shillart.com/coloring-books