
Nothing compares to the joy of receiving and unwrapping a present. Whether it's Christmas or your birthday, presents are always something to look forward to. So, why not learn how to draw a present and create your own artistic masterpiece?
In this step-by-step guide, we'll show you how to draw a present in nine simple and easy-to-follow steps. Each instruction is accompanied by illustrations to make the process even more enjoyable. Plus, you'll have the freedom to customize your drawing, adding your personal touch to the gift wrapper and the bow on top.
Let's Get Started!
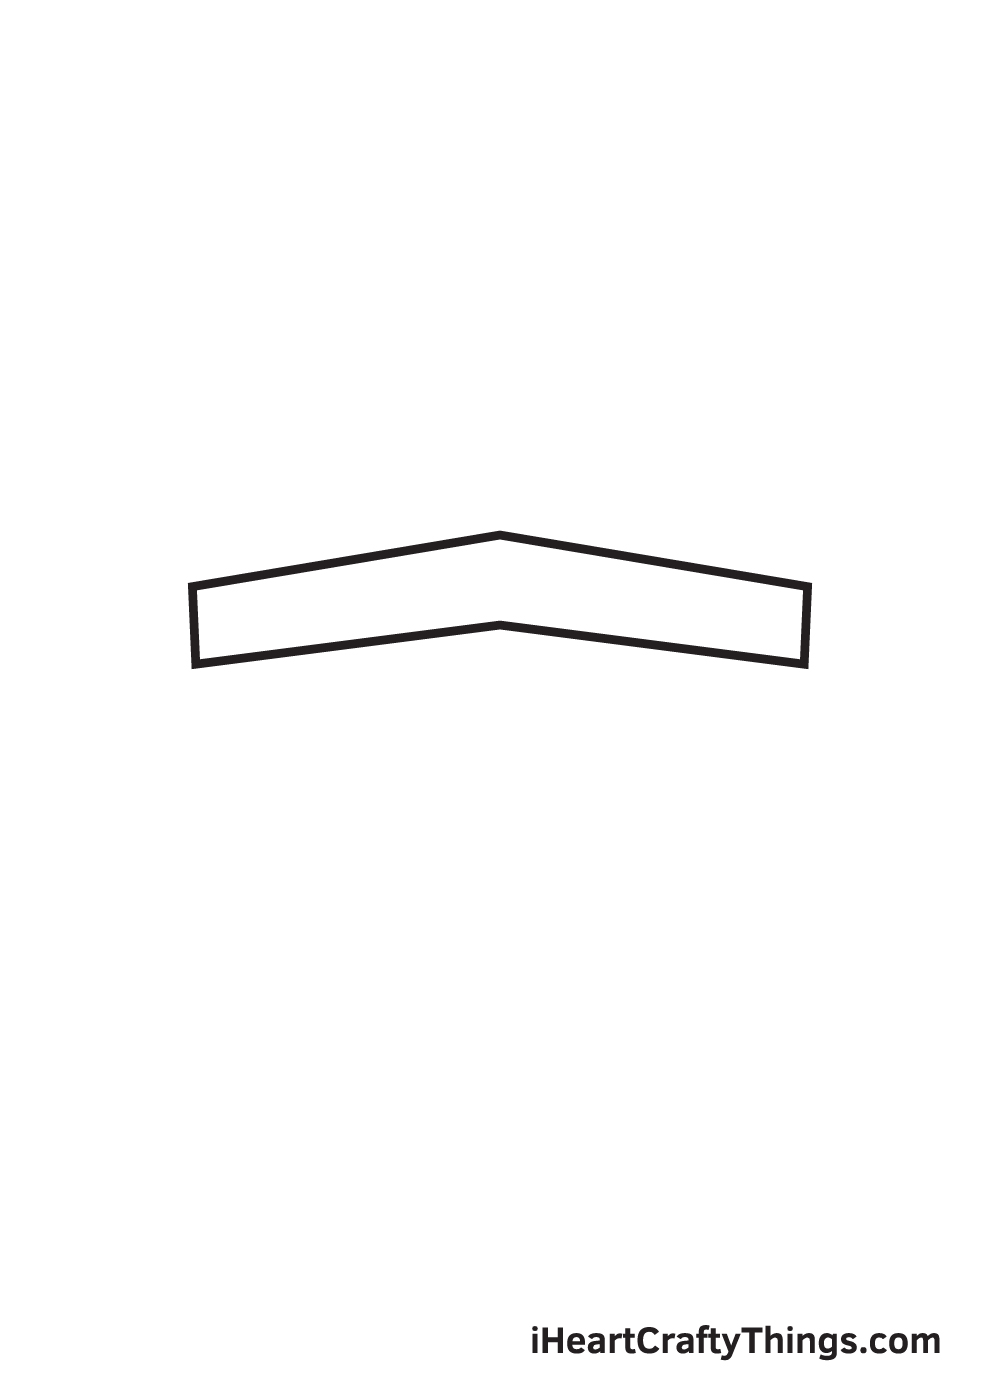
Step 1: Creating the Upper Part of the Present
To begin, draw two diagonal lines connected in the middle. These lines form the upper part of the present. You can use a ruler to ensure your lines are straight and precise.

Step 2: Outlining the Present's Lid
Repeat the previous step to draw another set of diagonal lines right underneath the first ones. These lines create the bottom part of the lid. Now, you should see two parallel lines that are arched in the middle.

Step 3: Finalizing the Lid of the Present
Connect the two sets of diagonal lines on both sides to complete the lid. Add a short vertical line on each side, and voila! The lid structure is now fully formed.
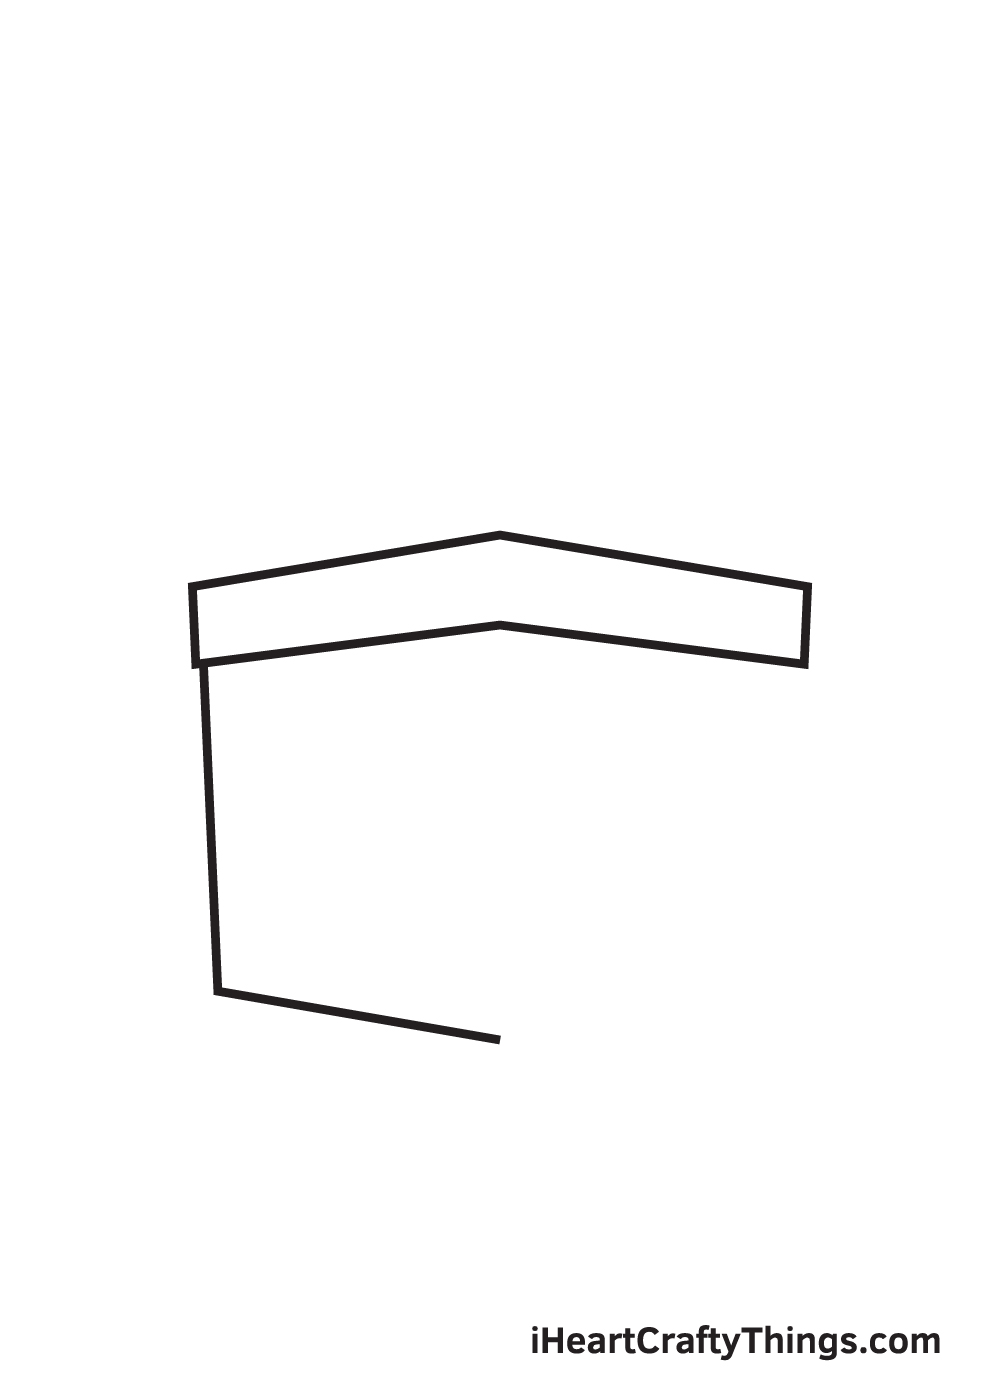
Step 4: Drawing the Bottom Half of the Present
It's time to draw the box part of the present. Start by creating the left side of the box with a long, nearly vertical line. Connect it with a shorter diagonal line at the bottom. This forms the half of the present's box.
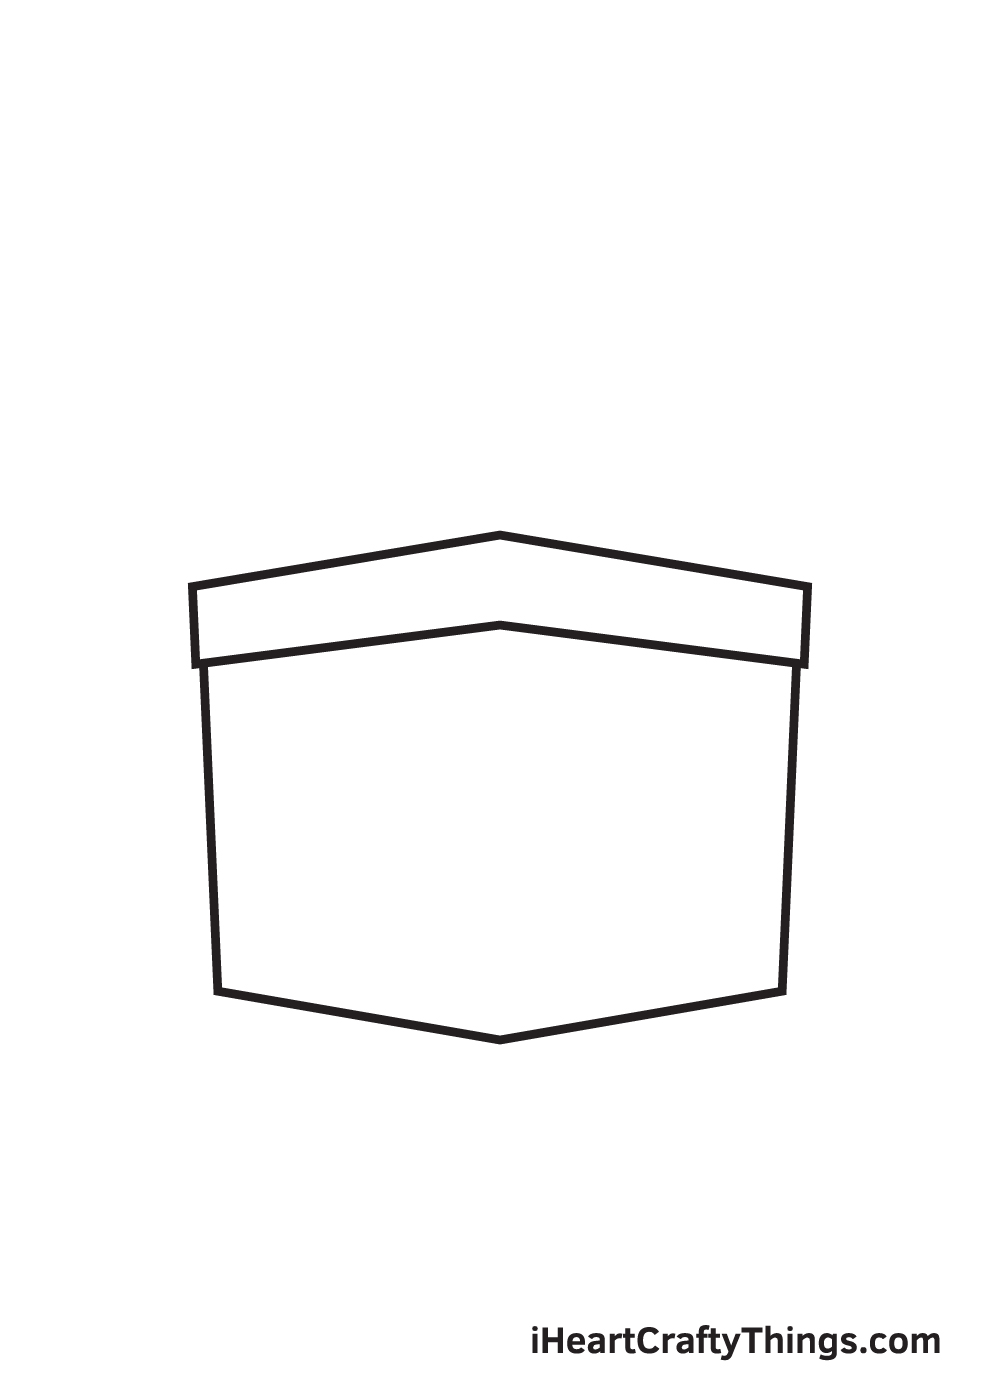
Step 5: Finalizing the Structure of the Present
Repeat Step 4 for the right side of the box, completing the box's structure.
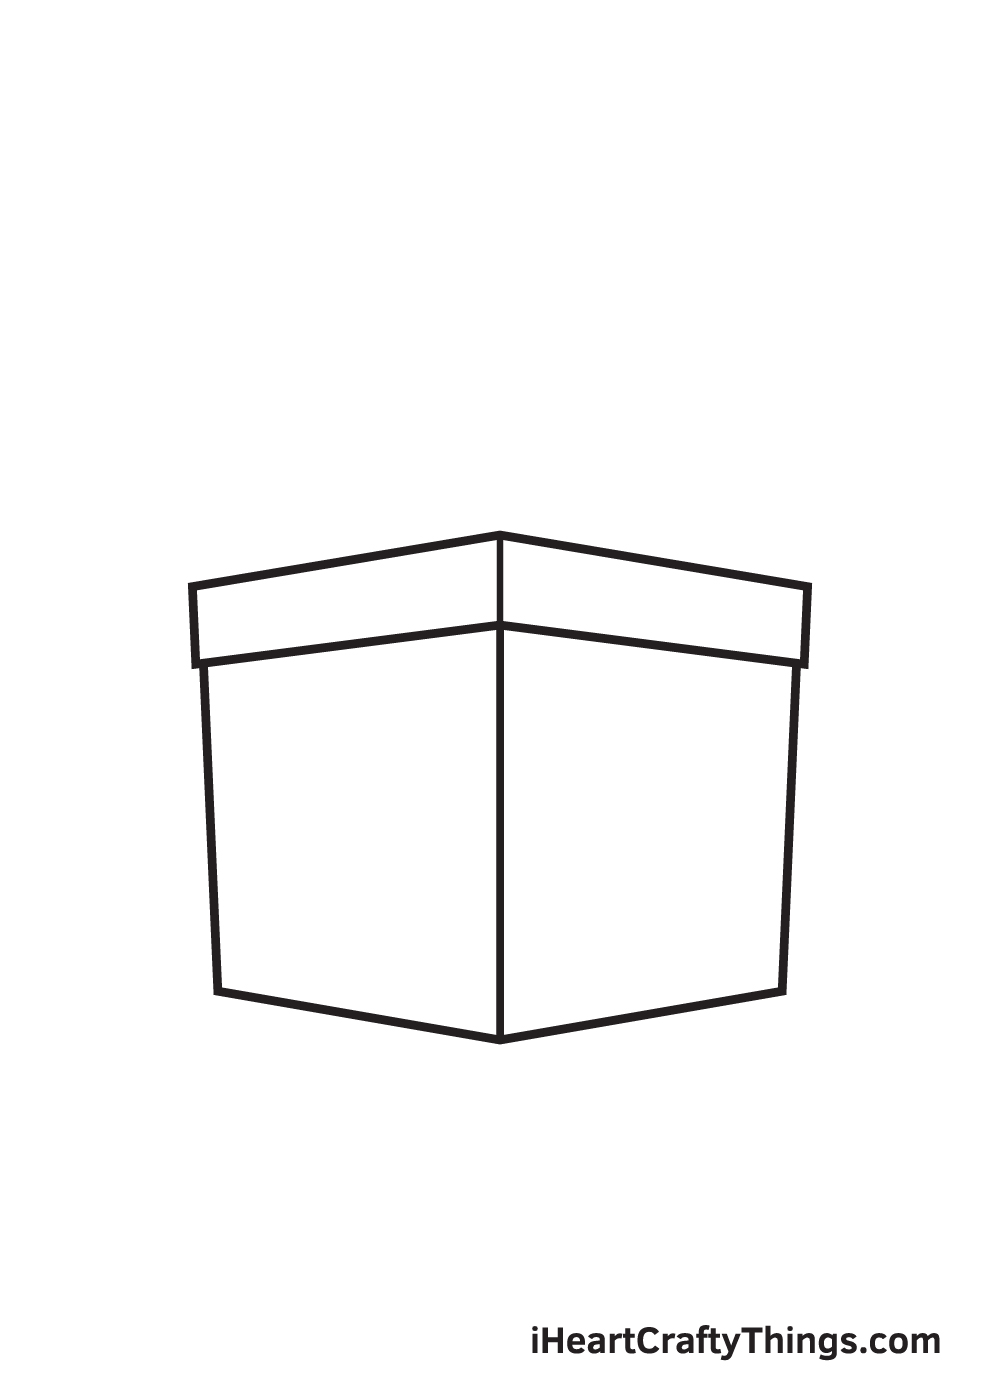
Step 6: Adding Dimensions to the Present
To make your present look realistic, add a short vertical line in the middle of the lid and a longer vertical line in the middle of the box. These lines create the edges of the box, giving it a three-dimensional appearance.
Step 7: Drawing the Ribbons
No present is complete without a gift bow on top! Draw two sets of inverted U-shaped curves at the top of the lid to create the bow.

Step 8: Completing the Bow
Add another U-shaped curve in the middle of the first two curves from the previous step. This completes the third set of gift bows. Make sure this curve is slightly bigger than the others.

Step 9: Gift Wrap the Present
To finish off your gift, add the lace wraparound. Draw two parallel vertical lines on both sides of the present to create this effect. Remember to erase any overlapping parts within the lace.

Now, it's time to bring your present to life with colors! In the illustration above, we used a combination of gold and pink colors to make the present vibrant and colorful. Feel free to use any colors you like and let your creativity shine!
Remember, drawing a present is not just about following instructions; it's an opportunity to express your artistic skills and add your personal touch to the design. So, have fun, experiment with colors, and watch as your present comes to life on paper!
Don't forget to check out Shill Art – Express Your Creativity for more inspiring ideas and tutorials.
Follow us on:
- Facebook fanpage:https://www.facebook.com/ShillArt.Official
- Facebook group:https://www.facebook.com/groups/FreeColoringPagesToPrint
- Pinterest:https://www.pinterest.com/ShillArtOfficial
More Coloring Books at here, see now:https://shillart.com/coloring-books