
There's nothing quite like encountering a beautiful deer in the woods. These graceful creatures symbolize the tranquility and harmony of nature, making them beloved in many cultures. If you've ever wanted to learn how to draw a deer yourself, then you're in luck! This step-by-step guide will teach you just that.

Let's Get Started!
Step 1
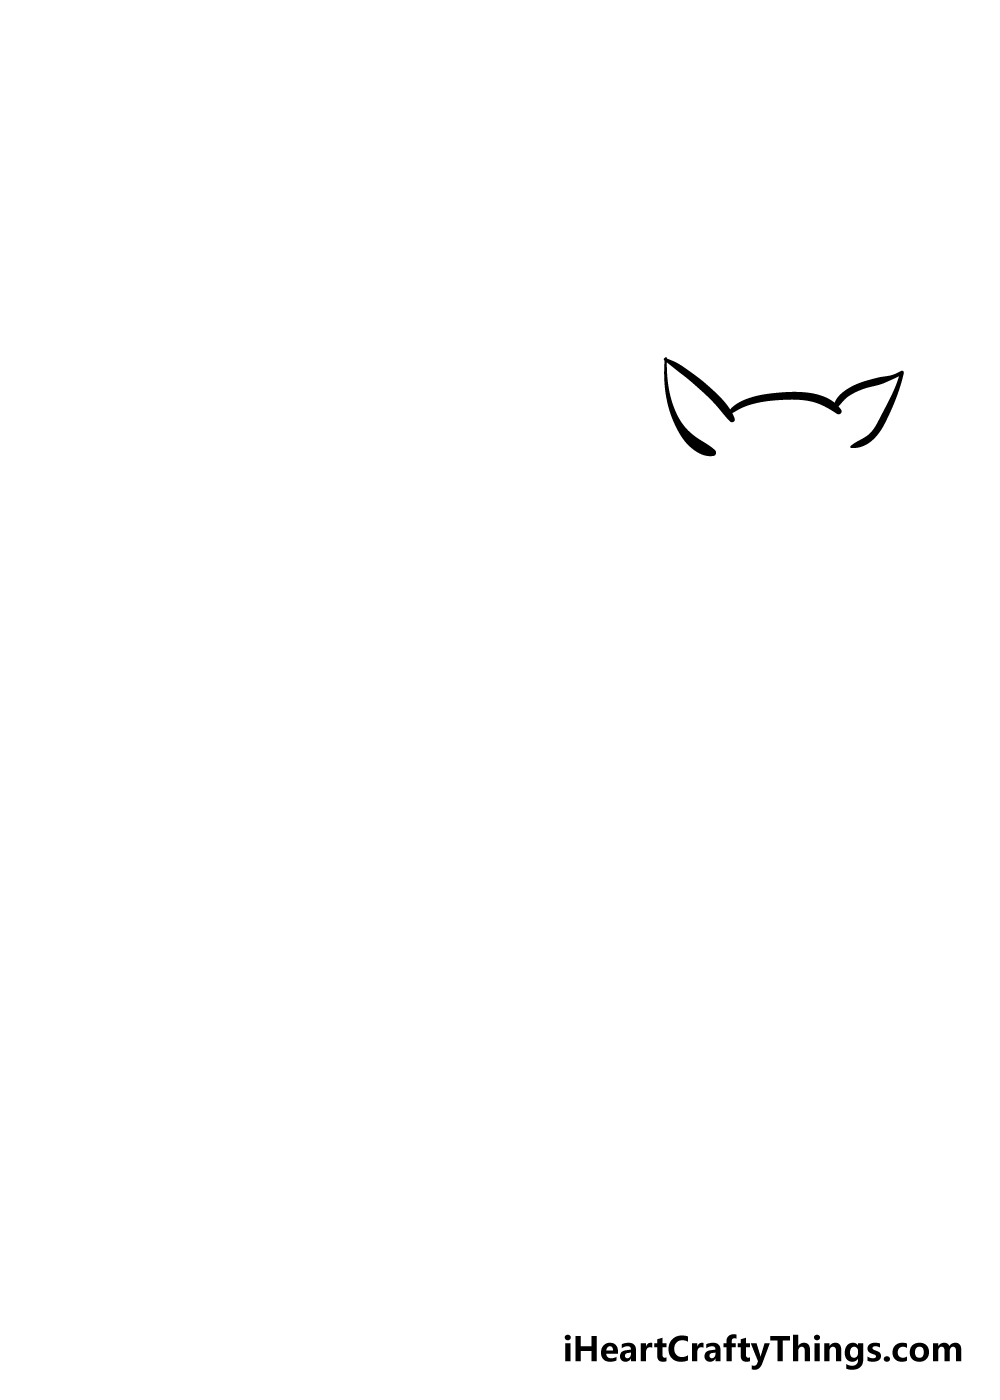
We'll begin by drawing the deer's cute, pointy ears. Use curved lines with a point in them, resembling the reference image. Connect them with a rounded line to form the top of the head.
Step 2
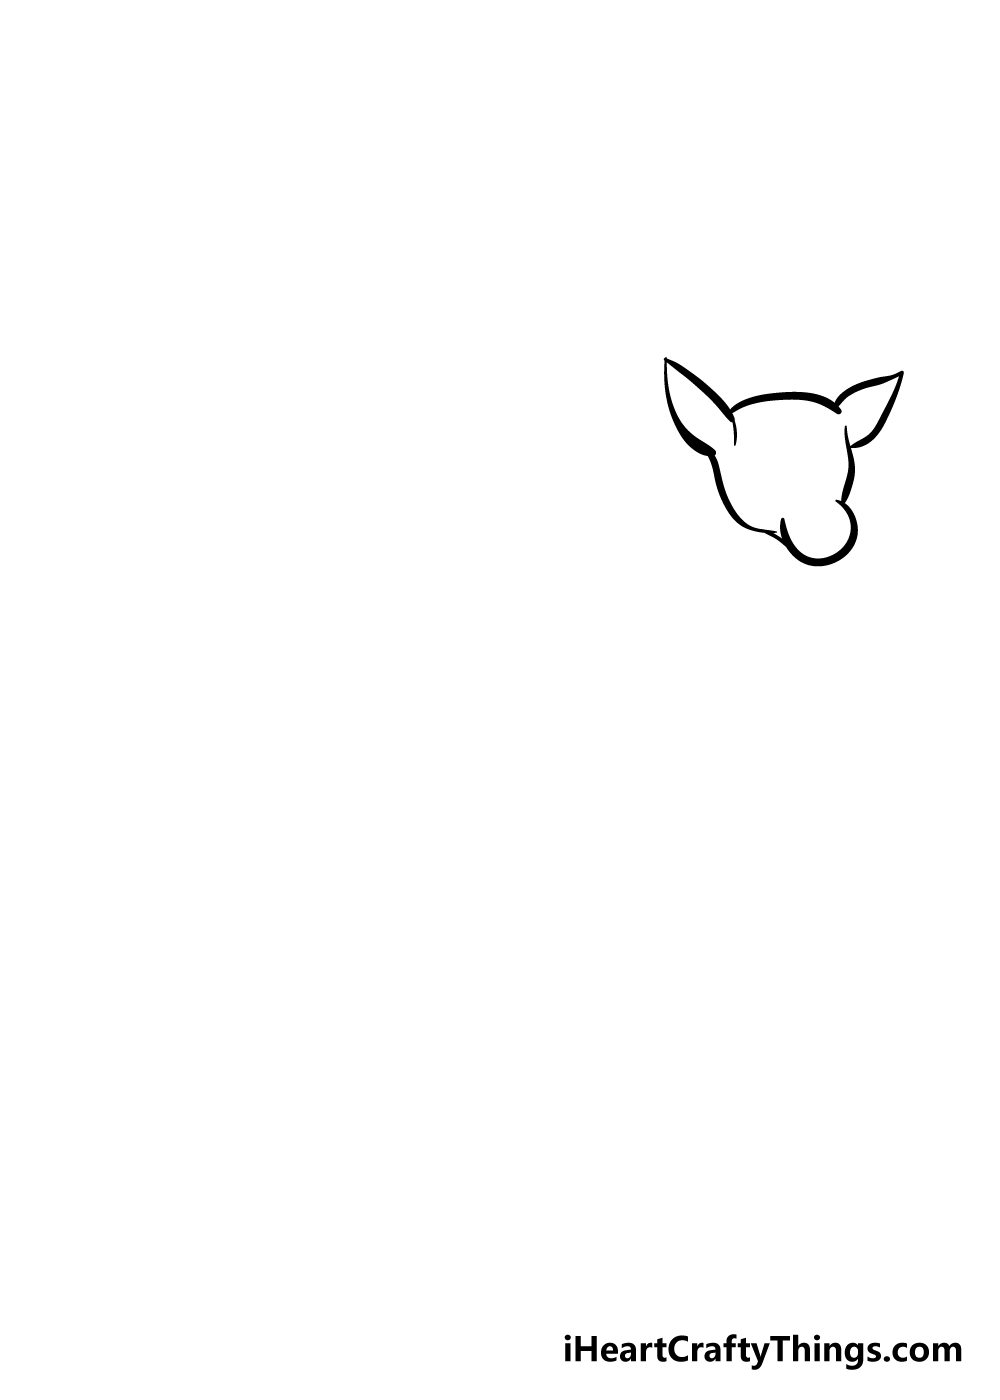
In this step, add the rest of the head outline beneath the ears. Use angular shapes to form the main outline, and create a rounded shape at the front for the deer's face.
Step 3
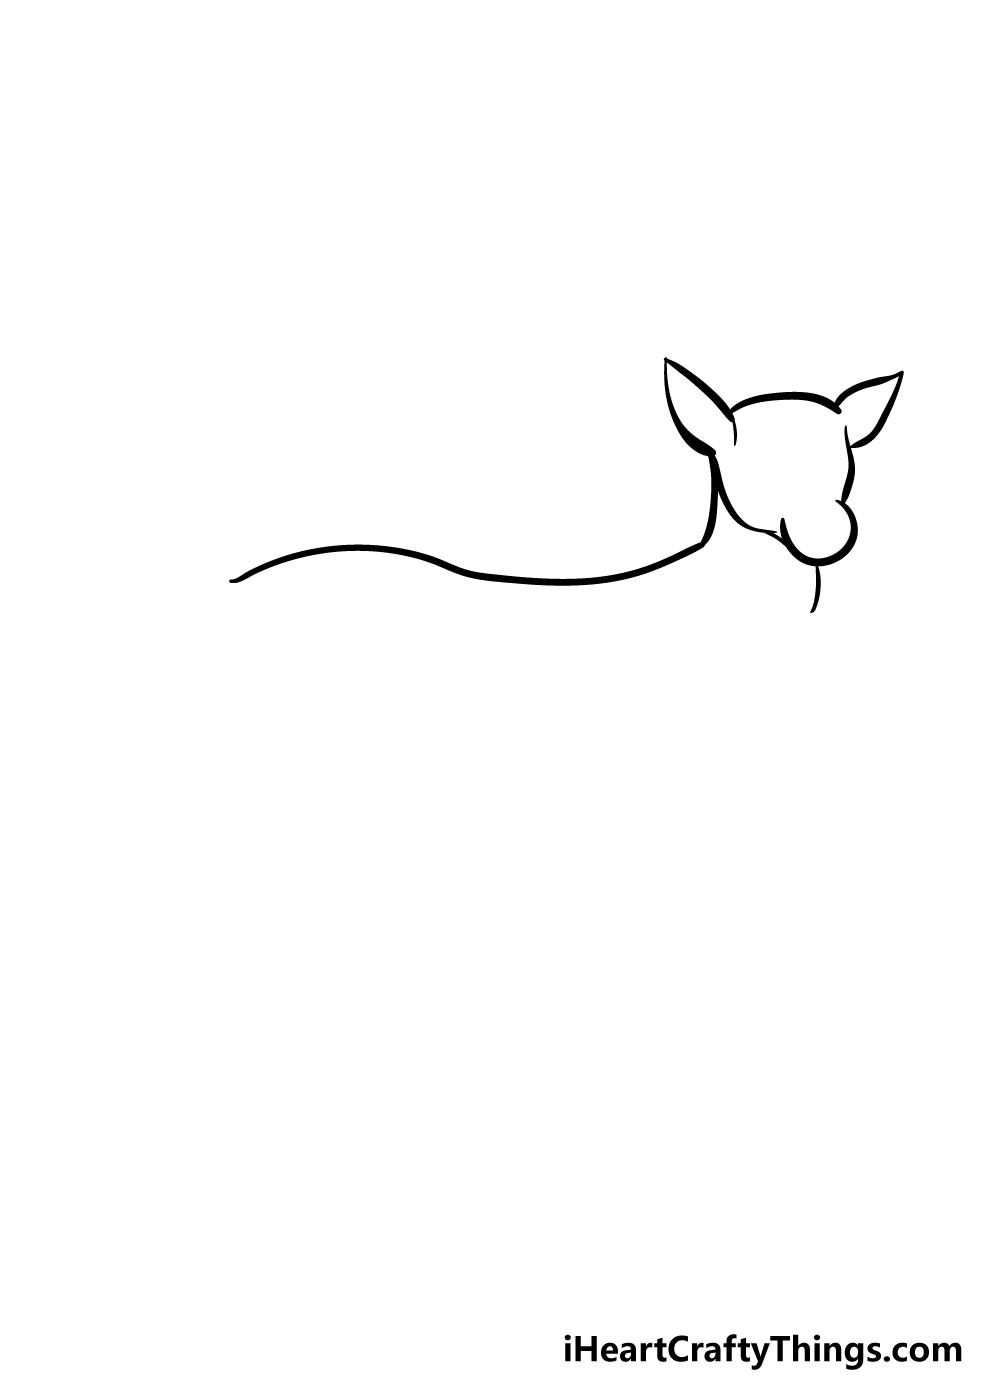
Now, it's time to draw the deer's body. Start with a curved line extending down from under the ear, forming the back. Add one more curved line under the face to begin the chest.
Step 4
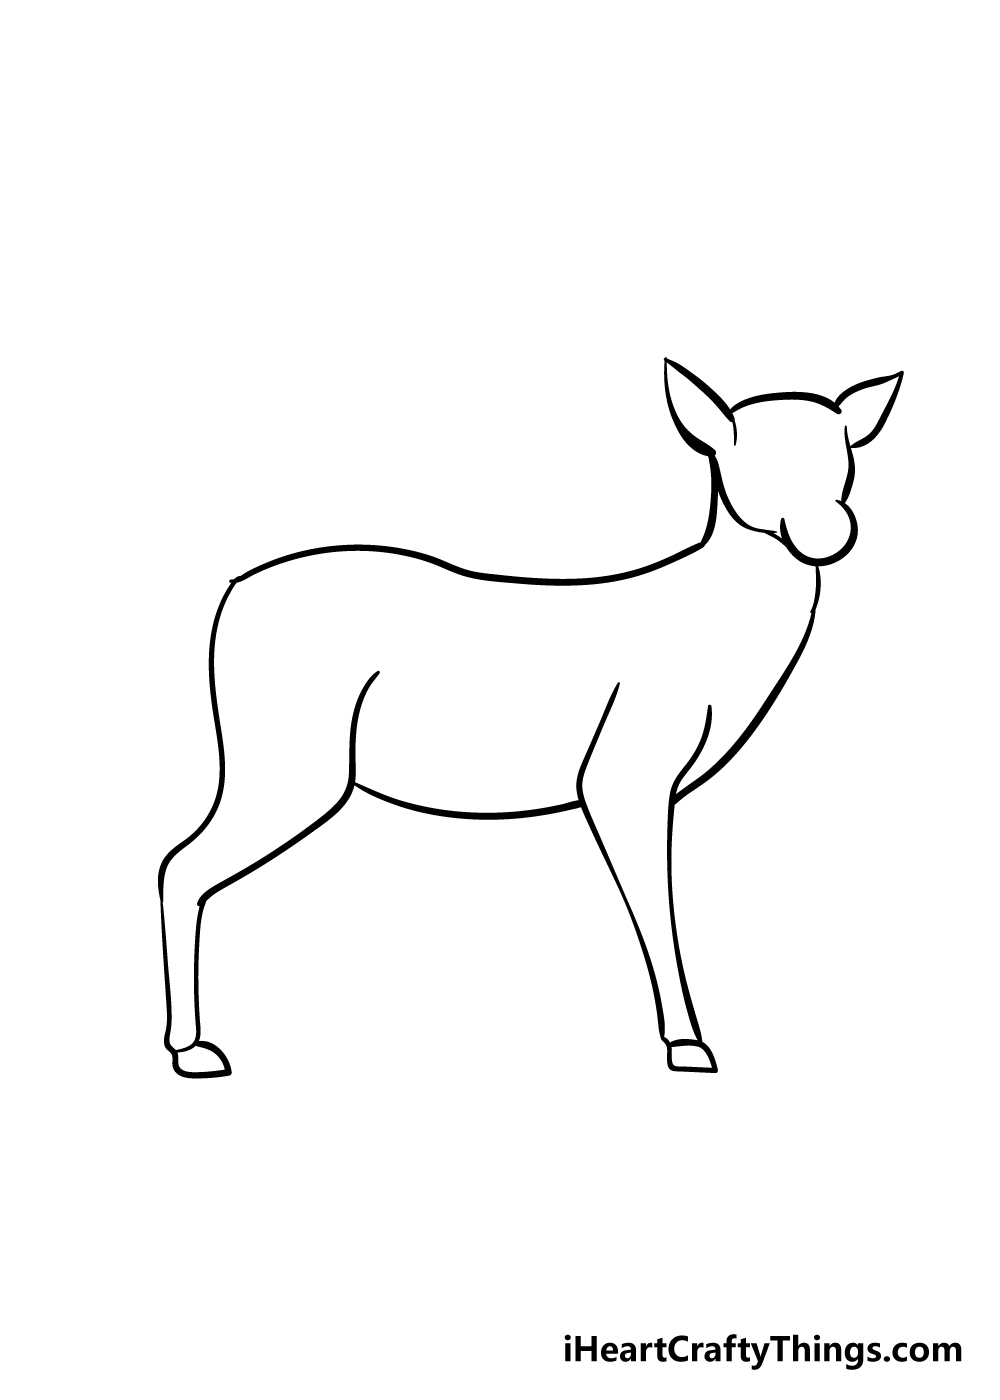
We're building up the deer drawing nicely! Follow the back and chest lines you drew in the previous step to sketch the legs. The legs are thicker at the top and gradually become more angular. Connect the legs with a curved line to create the belly, and extend the chest line down.
Step 5
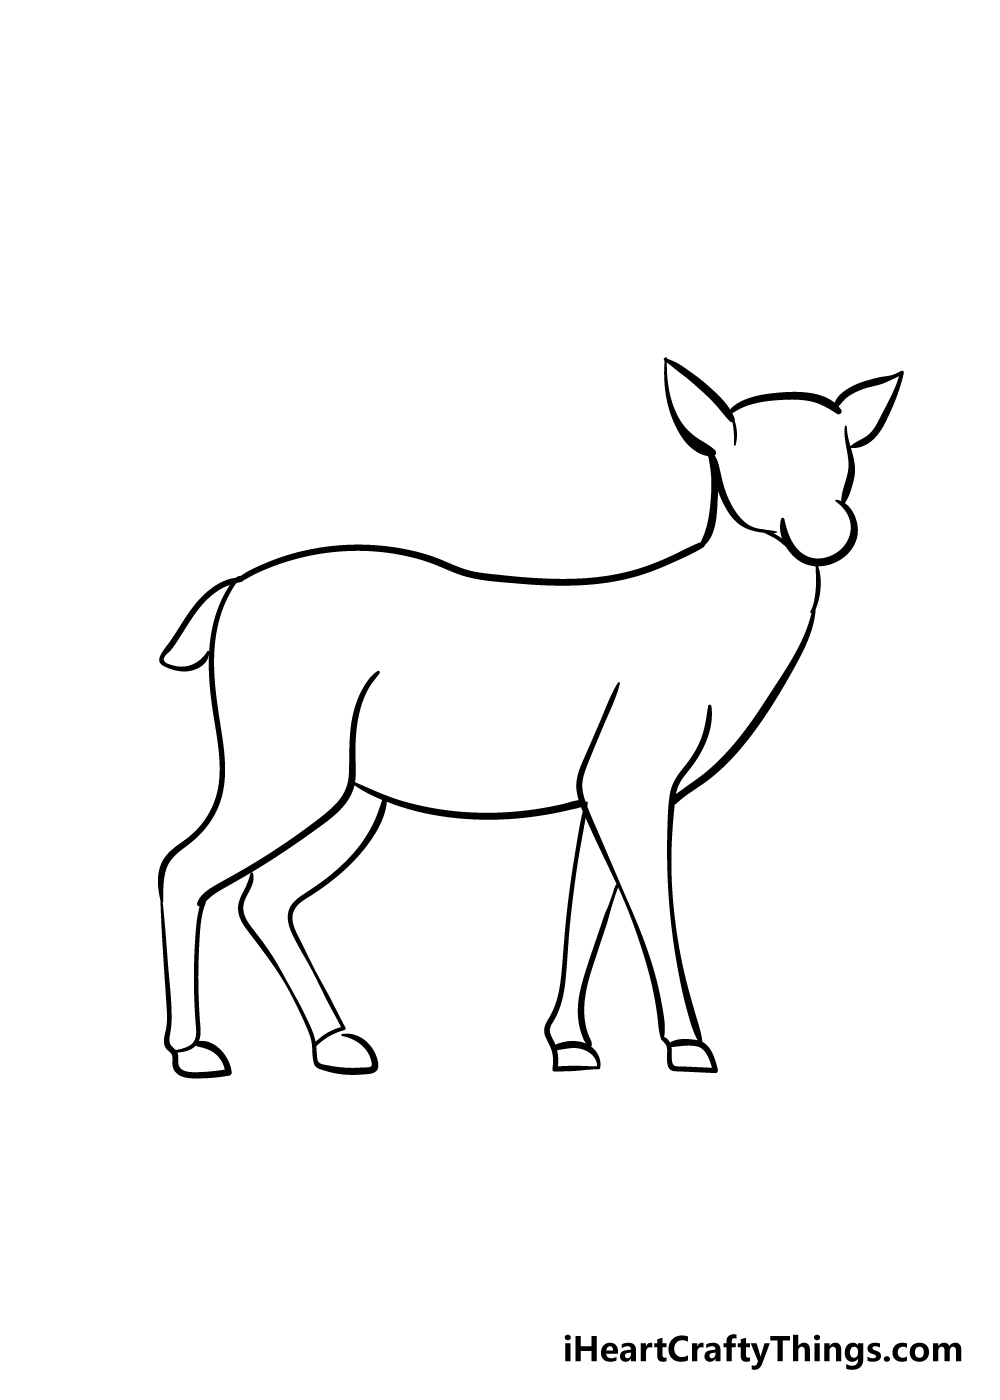
Now, draw the remaining legs on the other side of the body. Simply replicate the legs you drew earlier. Add a small, curved line for the tail.
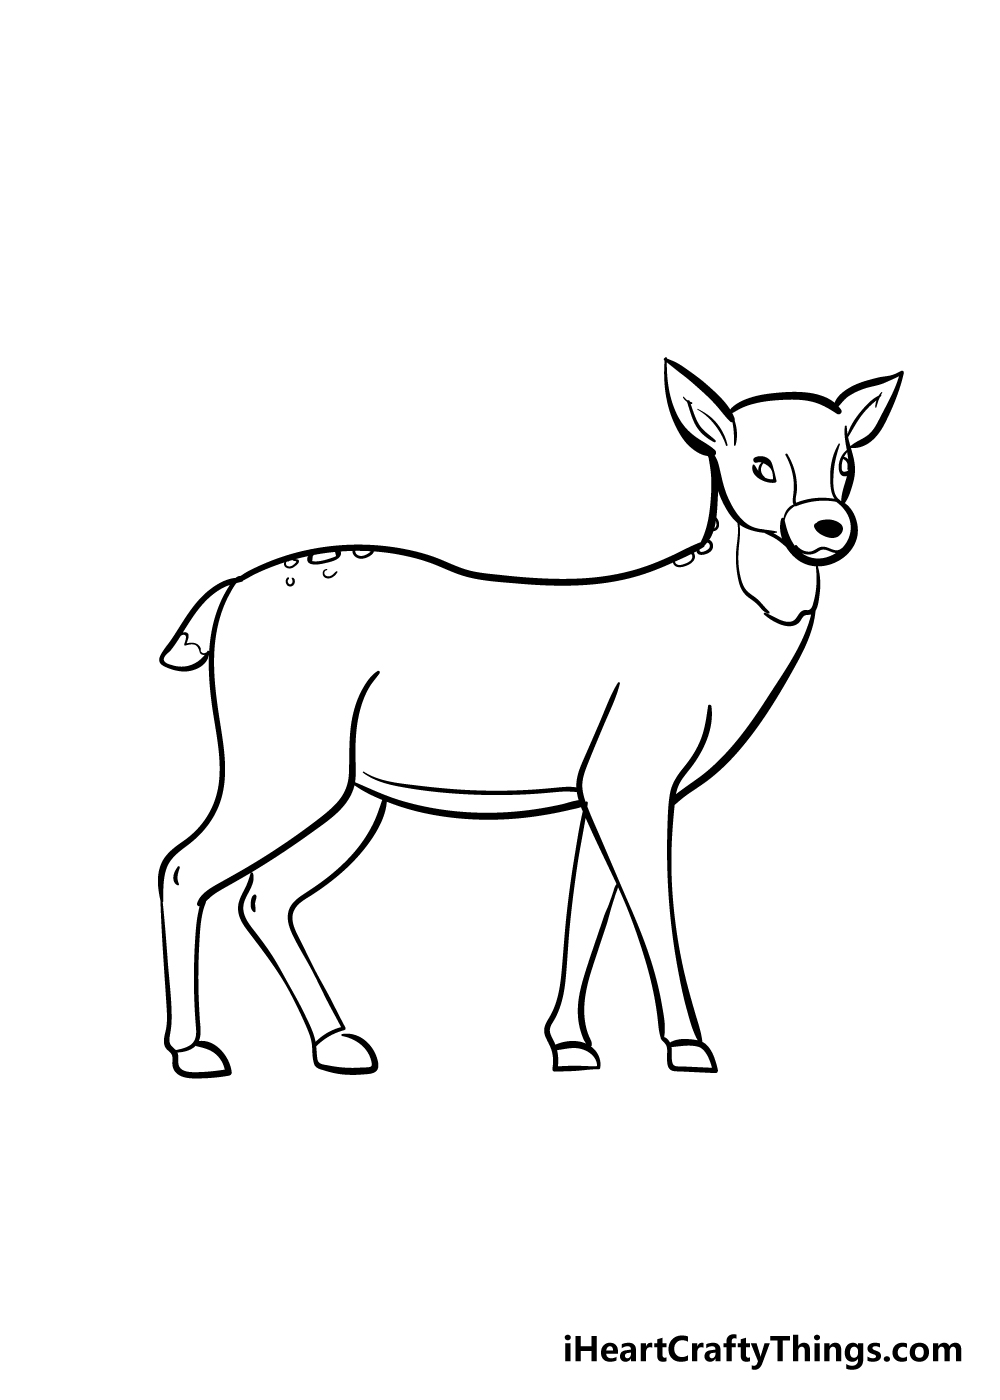
Step 6

Let's focus on the deer's face. The eyes are small and sit on the sides of the face. Draw them accordingly. Add a curved line for the mouth under a solid, black nose. Create a snout by drawing a line over the nose and two thin lines between the eyes for bone structure.
Step 7
With the face complete, add some final details. Use lines to add patterns to the inner ears, belly, tail, and legs. You can color the area underneath the head later and add spots to the deer. Feel free to add any personal touches you desire.
Step 8
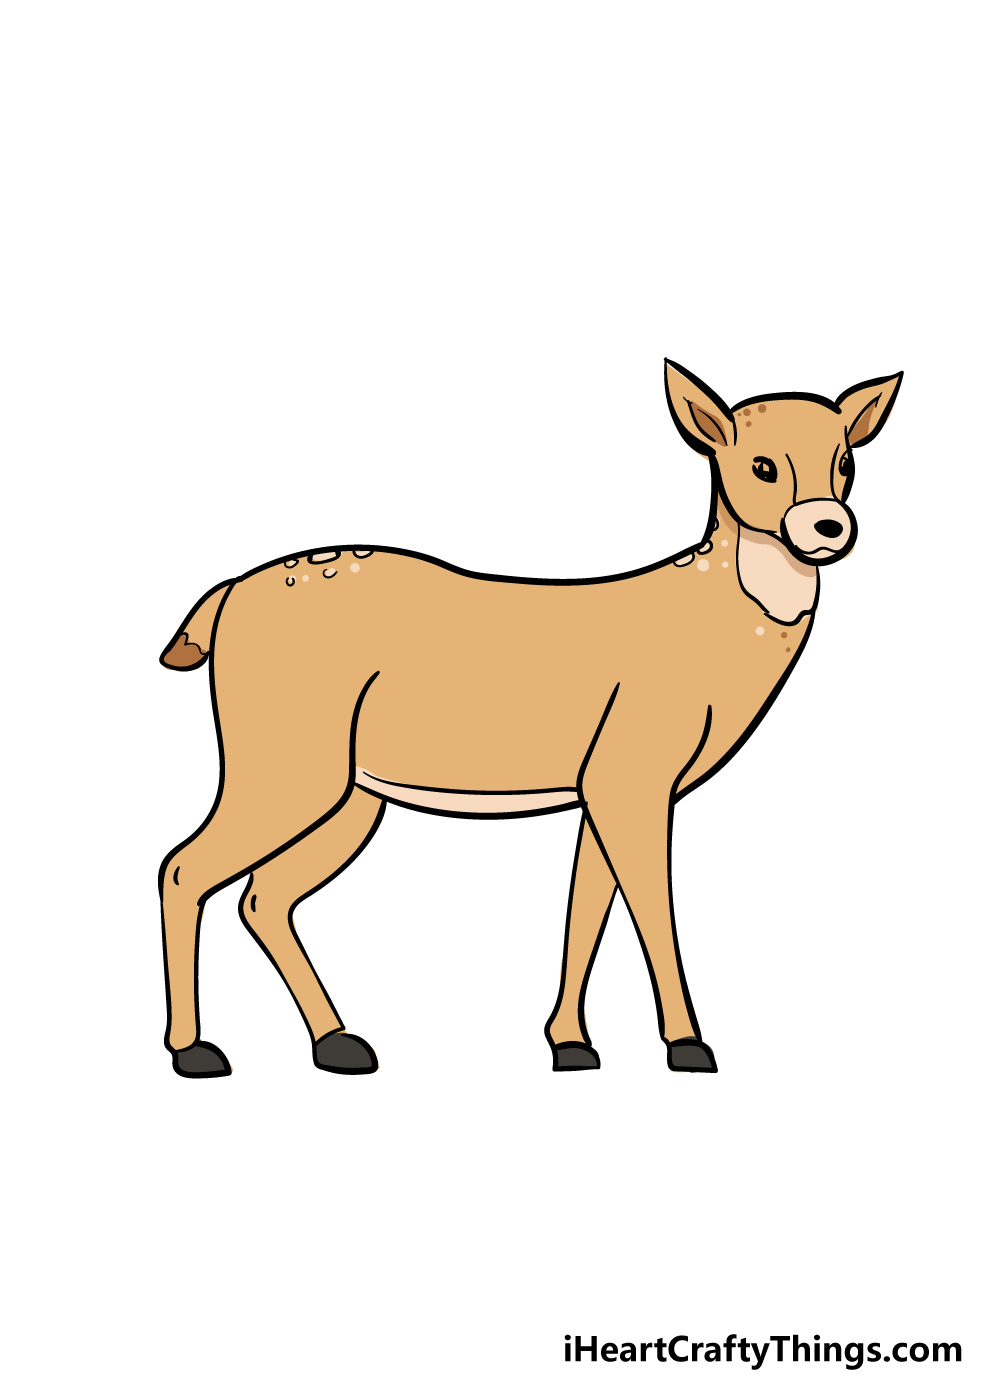
Congratulations! You've successfully drawn a deer. Now, it's time to bring it to life with color. You can go for realistic browns or get creative with unique colors. Feel free to experiment with art mediums like watercolor paints. You can even draw a forest background to enhance the scene.
3 More Tips to Make Your Deer Drawing Easy!
Make your deer drawing even easier with these three fun tips:
Simplify the Style: If you prefer a more cartoonish look, simplify the details and proportions. Take inspiration from famous cartoon deer characters to find a style that suits you.
Use Reference Photos: If you want to stick to a realistic style, find deer photos online that resemble the pose in our guide. Use these references to make your drawing more accurate and easier to achieve.
Start with Basic Shapes: Begin your sketch with basic shapes that match the proportions of the deer. Use a circle for the head, an oval for the body, and longer shapes for the neck and legs. Gradually add details until you're ready to finalize your drawing.
Your Deer Drawing is Complete!
You've successfully learned how to draw a deer. We hope you had a fantastic time following this step-by-step guide. Drawing becomes easier when broken down into simple steps, and we believe in your artistic abilities. Now, add your own personal touch to the drawing. Play with colors, backgrounds, and various art mediums. We can't wait to see your unique masterpiece!
Don't forget to check out Shill Art – Express Your Creativity for more exciting drawing guides like this one. And remember, the journey doesn't end here! Keep exploring, keep creating, and keep expressing your creativity.
Shill Art – Express Your Creativity
Follow us on:
- Facebook fanpage:https://www.facebook.com/ShillArt.Official
- Facebook group:https://www.facebook.com/groups/FreeColoringPagesToPrint
- Pinterest:https://www.pinterest.com/ShillArtOfficial
More Coloring Books at here, see now:https://shillart.com/coloring-books