
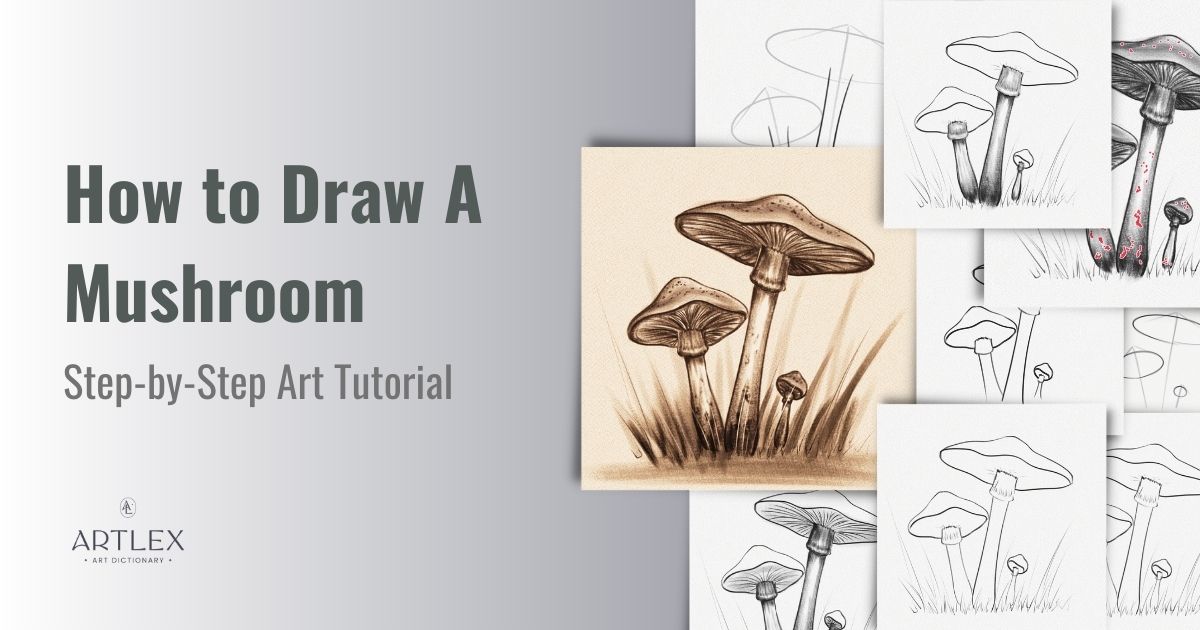
Mushrooms have captured the imagination of artists for centuries. While they gained popularity in the 20th century with the rise of modernism, their unique shapes and vibrant colors have made them a fascinating subject for artists throughout history. In this step-by-step art tutorial, we will guide you through the process of drawing a realistic mushroom.
Materials Needed:
- A piece of paper
- A 2H graphite pencil
- A 4B graphite pencil
- A blending stump
- An eraser or a kneaded eraser
- A Tombow Mono Zero 2.3mm
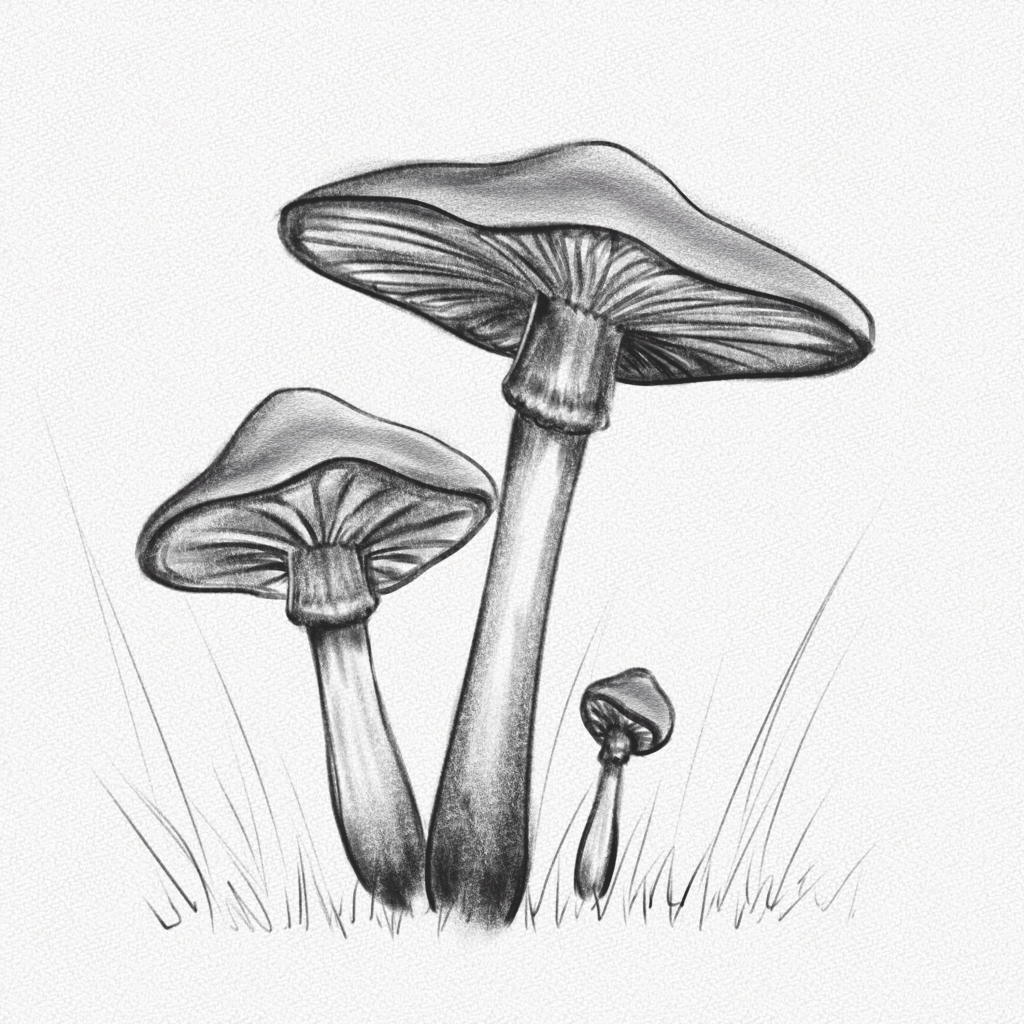
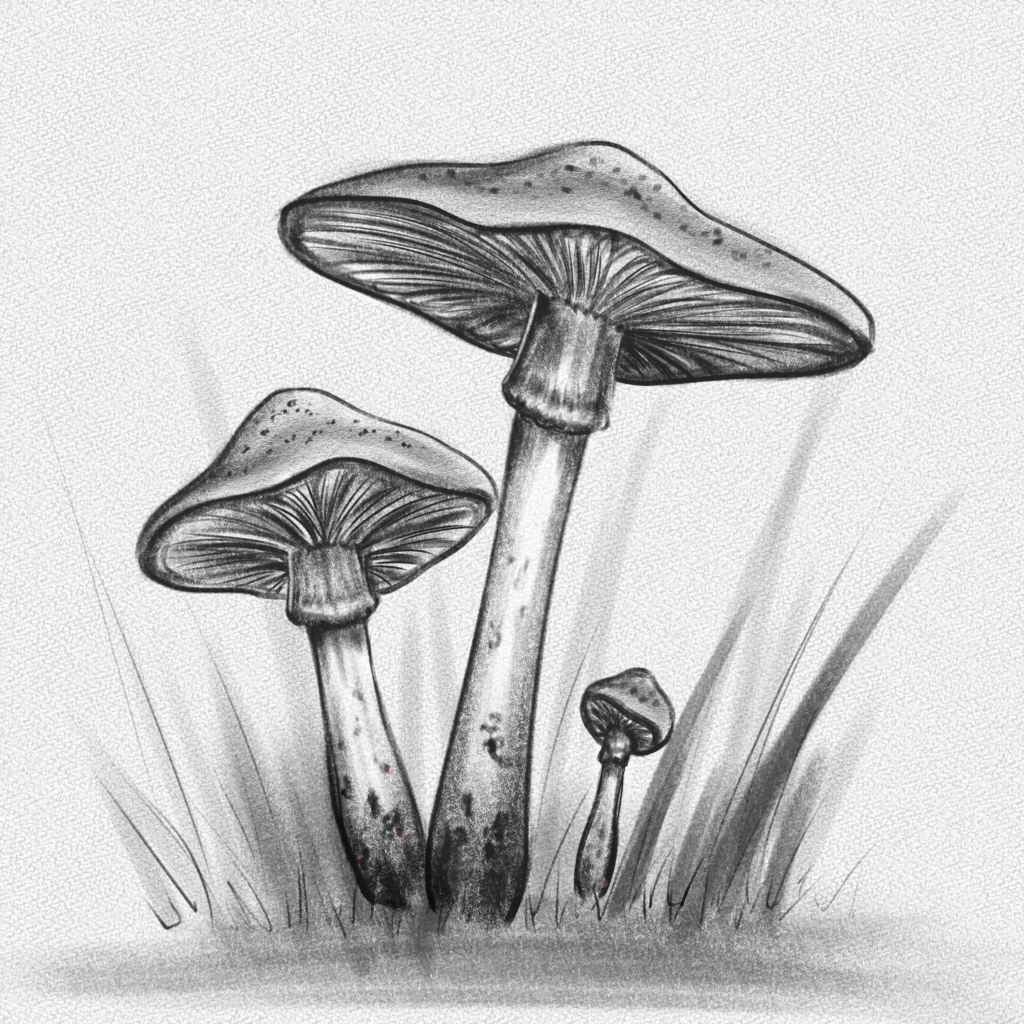
This is the mushroom you will be drawing:
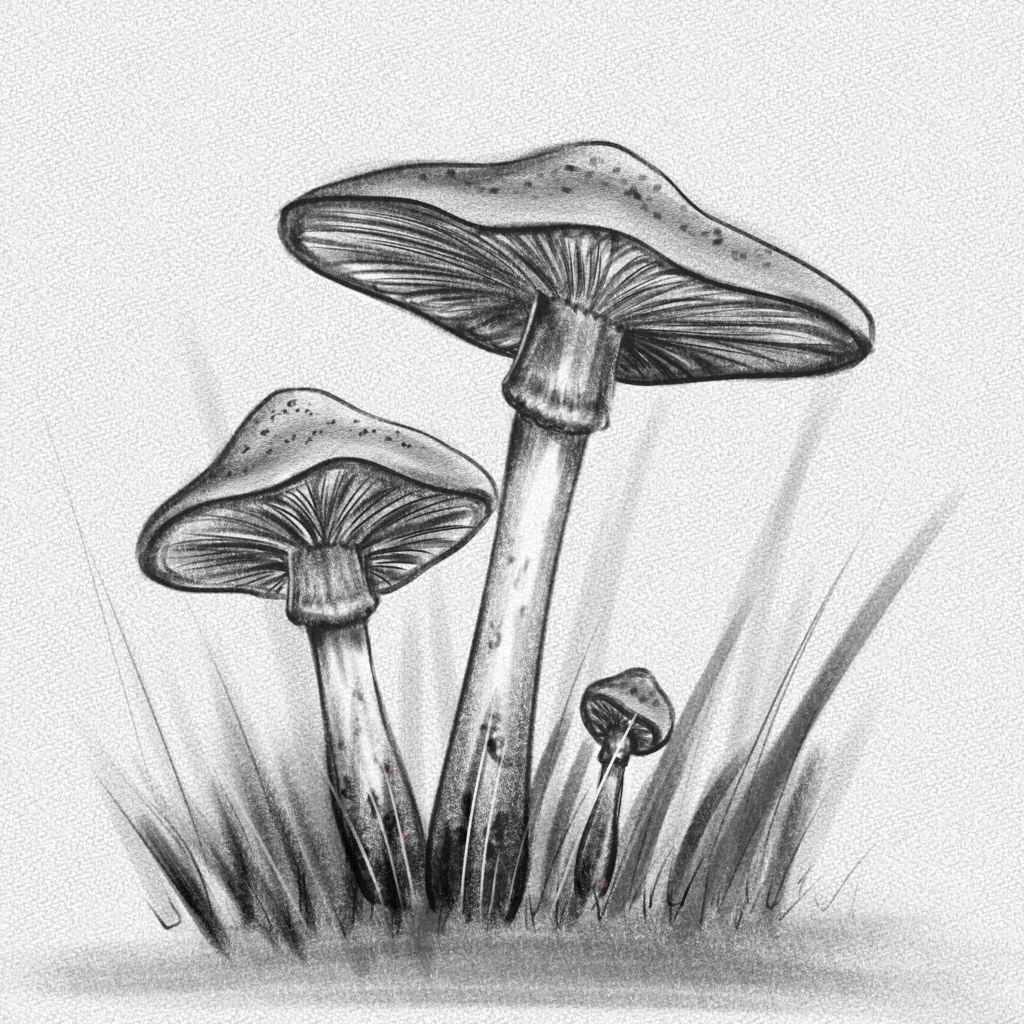
Let's dive into the step-by-step process:
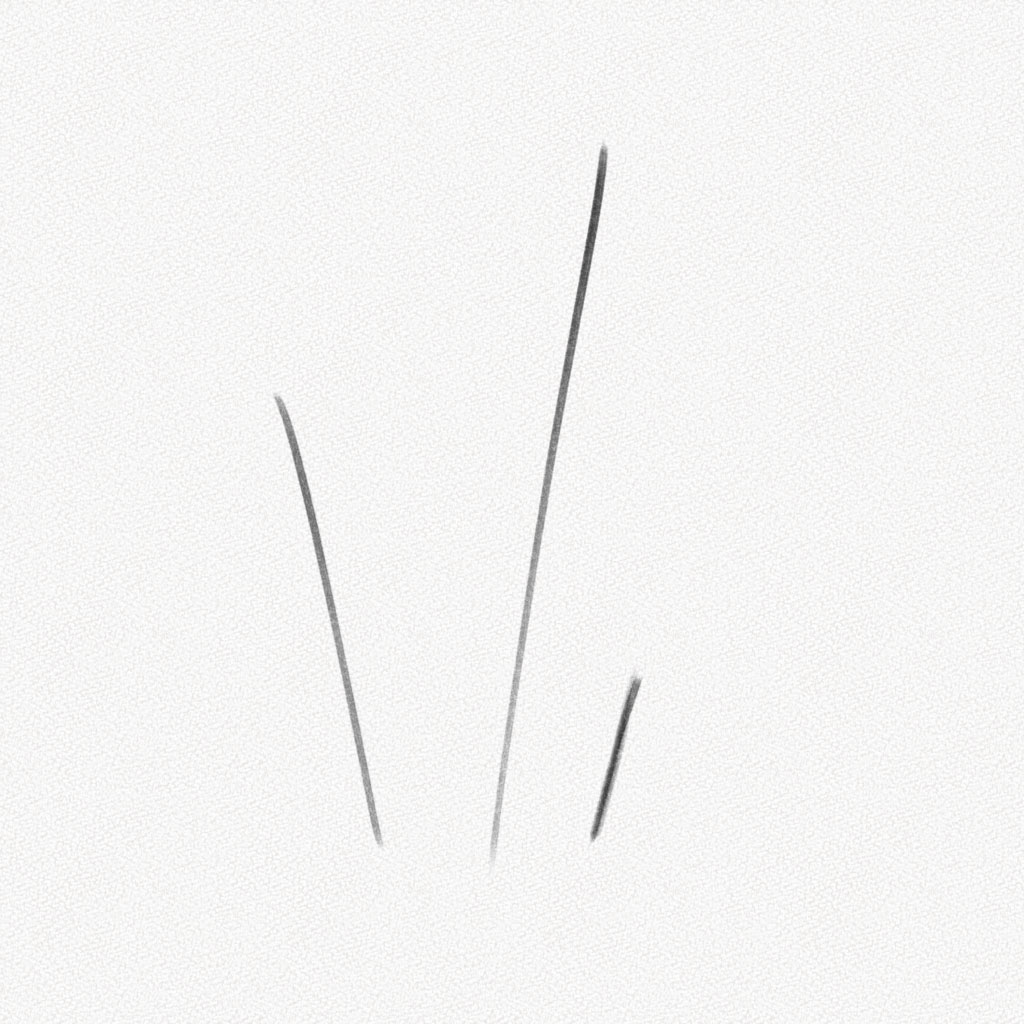
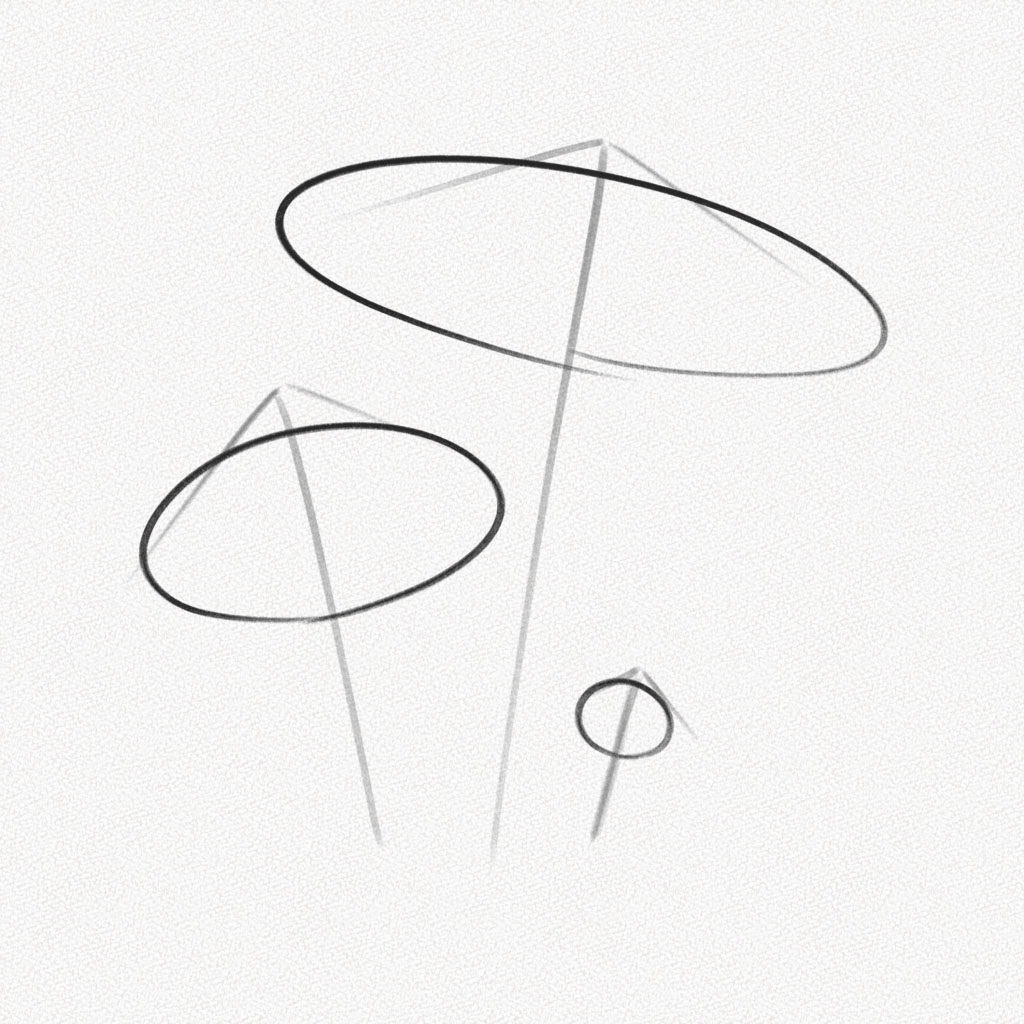
Step 1: Draw Three Straight Lines
Understanding the structure of a mushroom is key to capturing its essence in your drawing. Start by drawing three straight lines representing the different sizes of each mushroom. Opting for a small, medium, and large mushroom will bring balance to your composition.
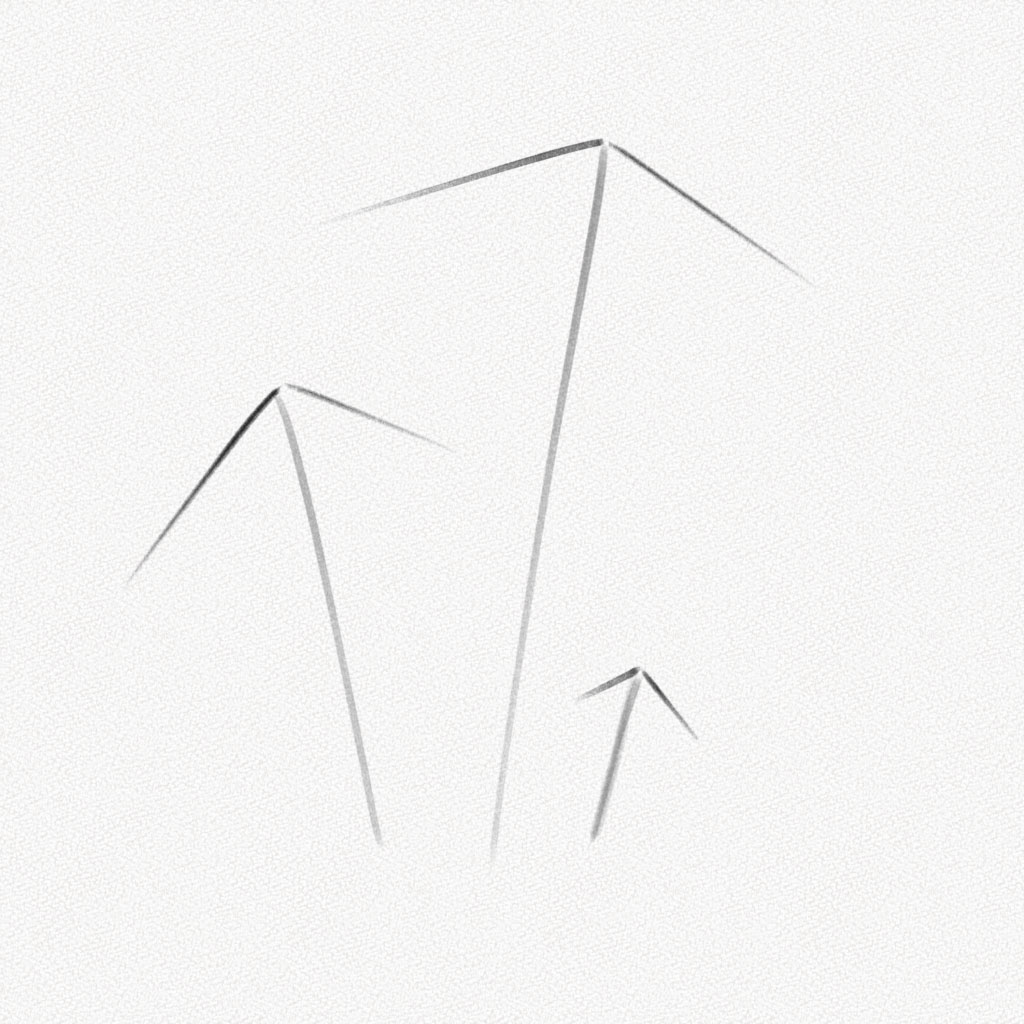
Step 2: Draw the Top Structure
Draw hat-like shapes on top of each line you previously drew. Make sure the size of each shape is proportionate to the height of the mushroom.
Step 3: Draw Three Ellipses
To define the inner and outer parts of the mushroom body, draw three ellipses, one for each mushroom. These ellipses will also help determine the inclination and angle of each mushroom.
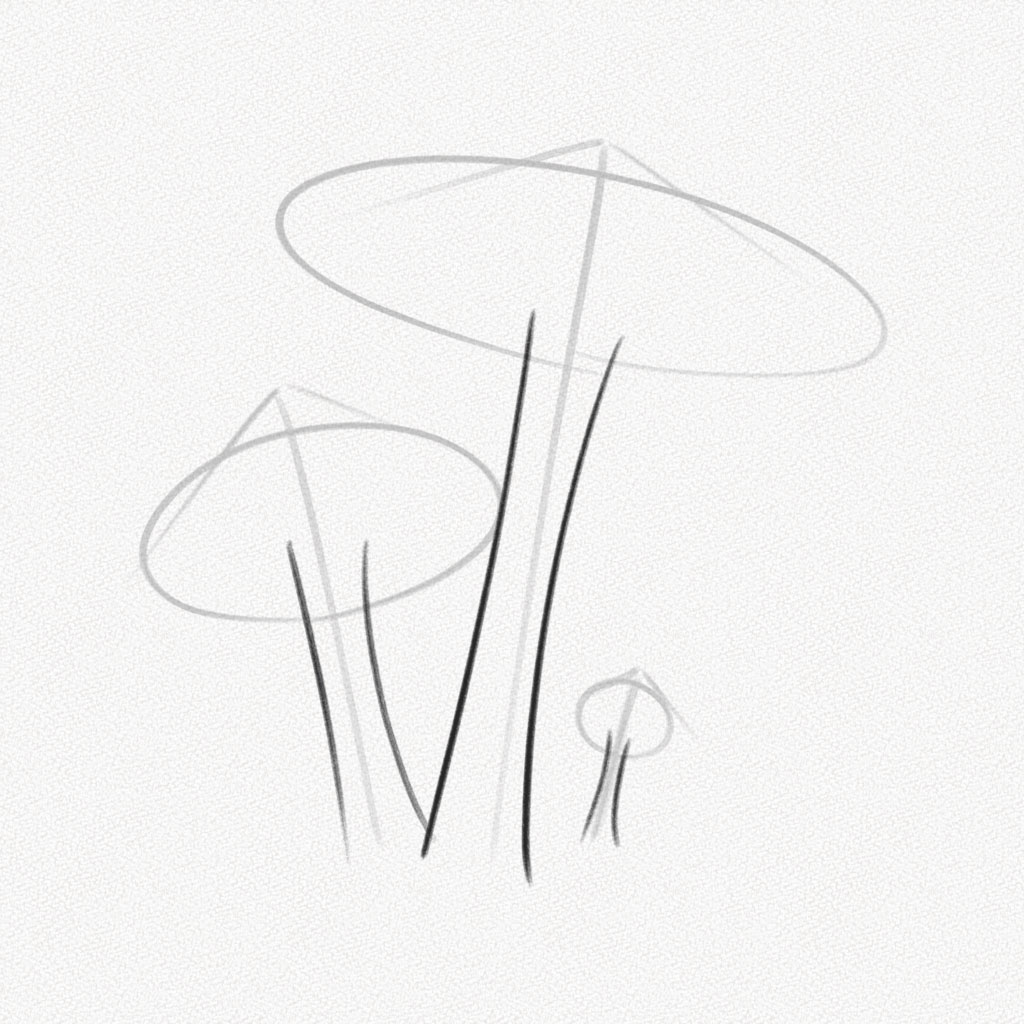
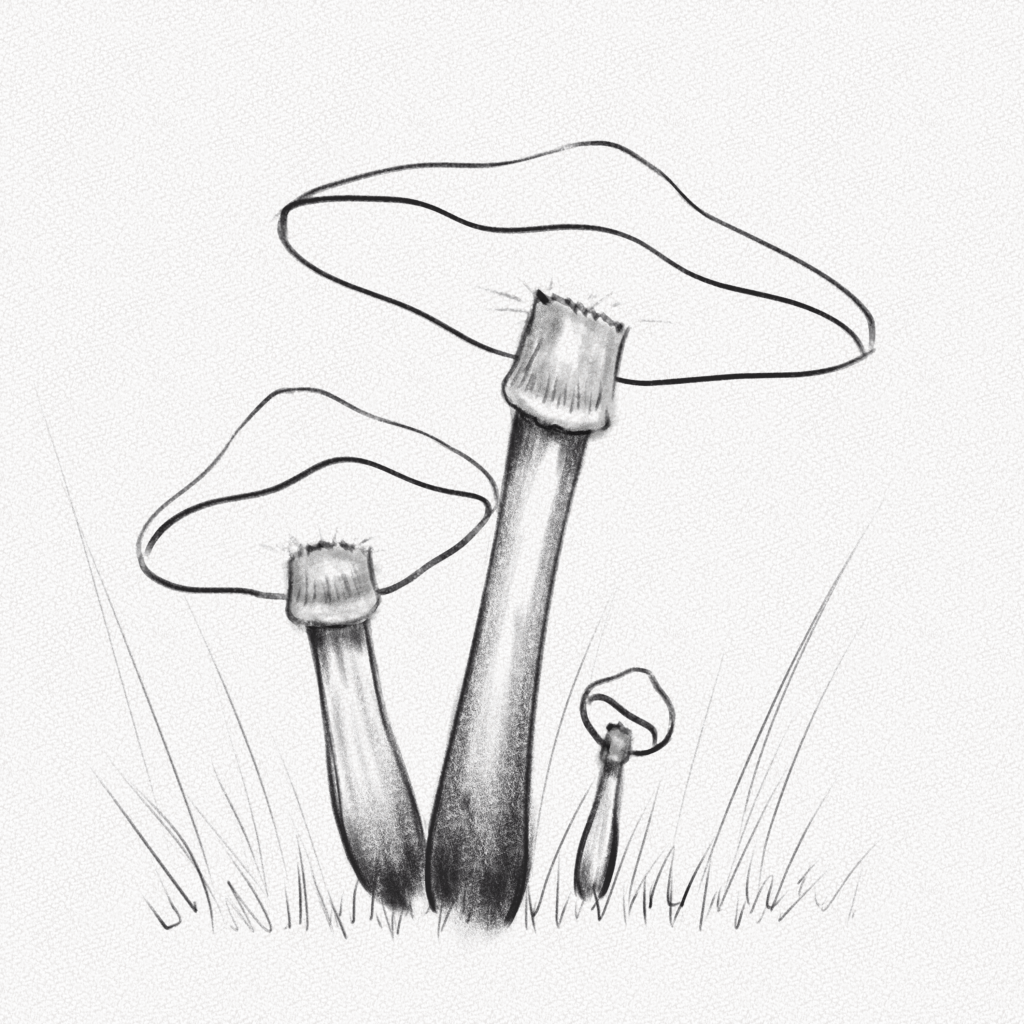
Step 4: Draw the Stalk
Using a kneadable eraser, lightly erase the structure lines, leaving them as a guide, and then draw the stalk for each mushroom.
Step 5: Draw the Upper Part of the Caps
Using a curved organic line, draw the cap of each mushroom. Keep in mind that smaller mushrooms have rounder caps since they are still opening, while larger mushrooms have flatter caps.
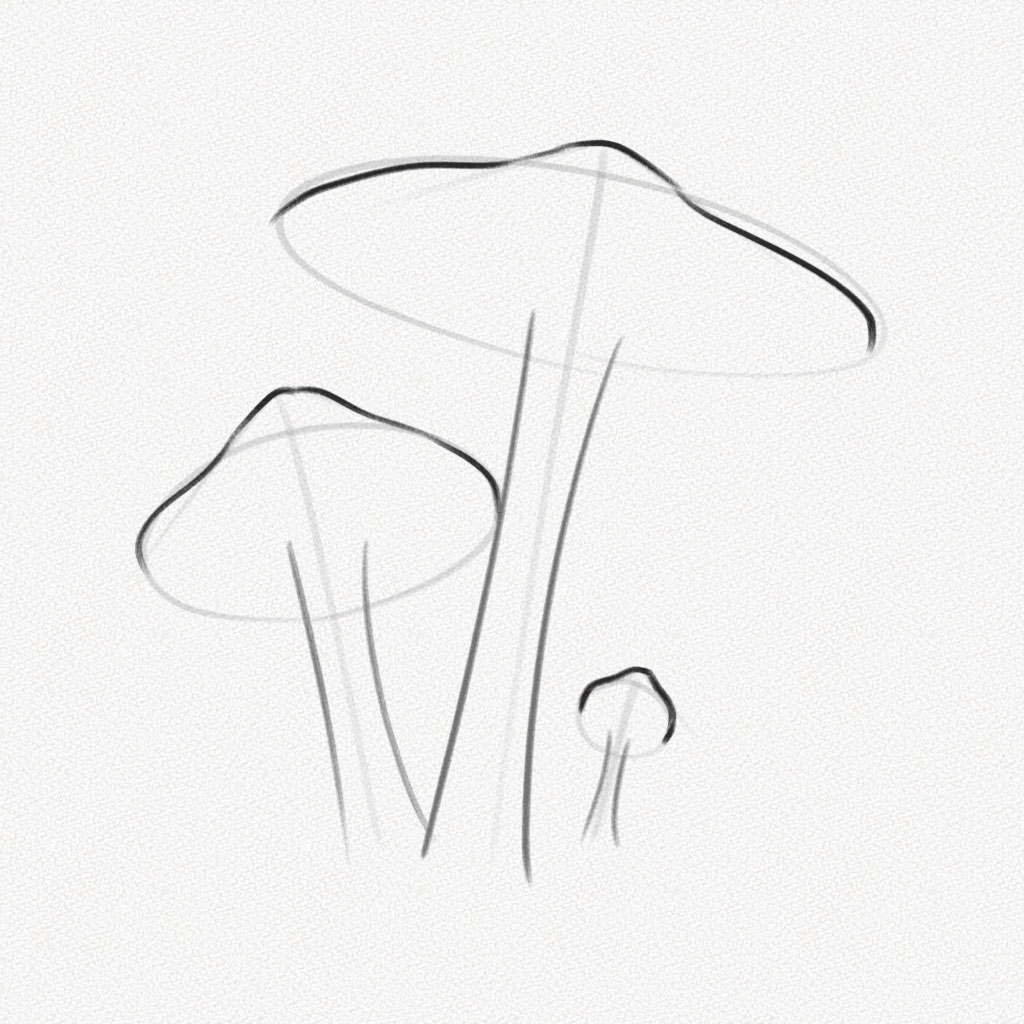
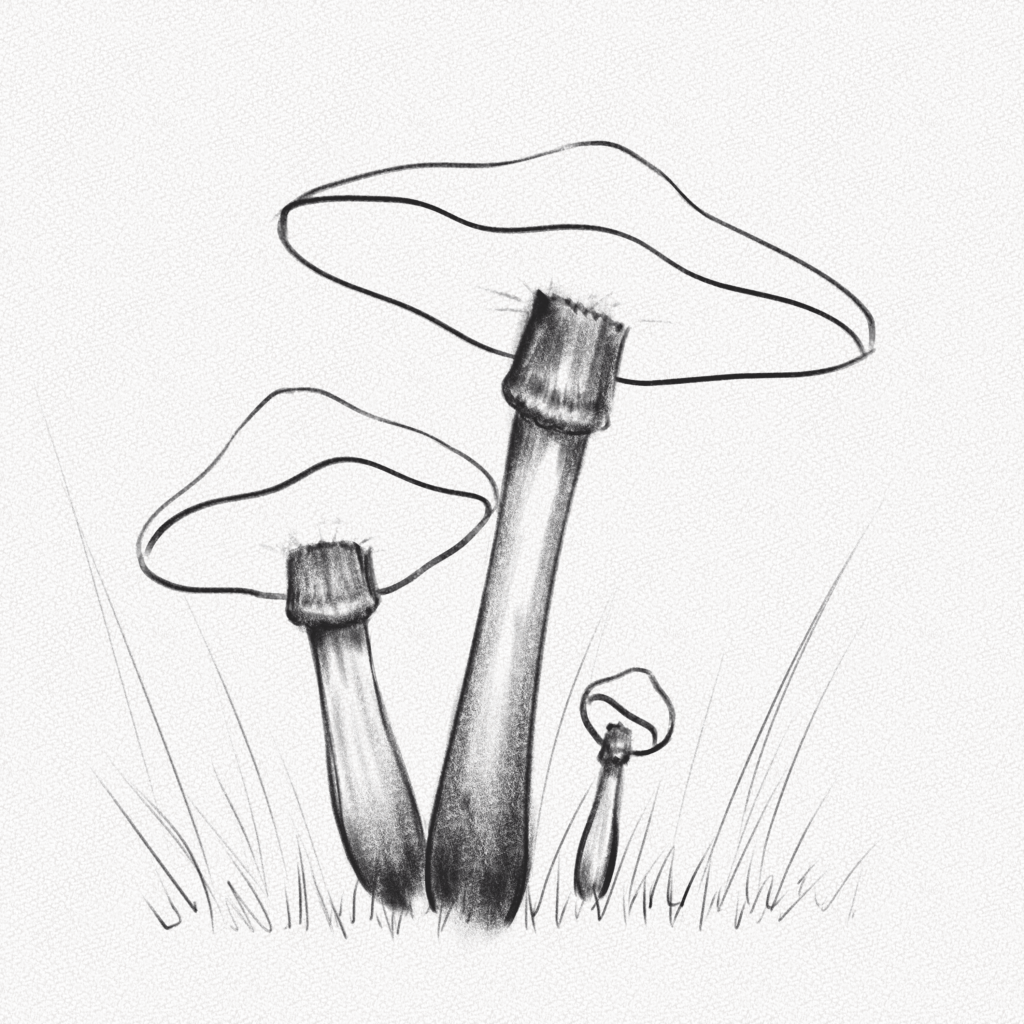
Step 6: Draw the Base of the Caps
Complete the caps by using the ellipses as a guide.
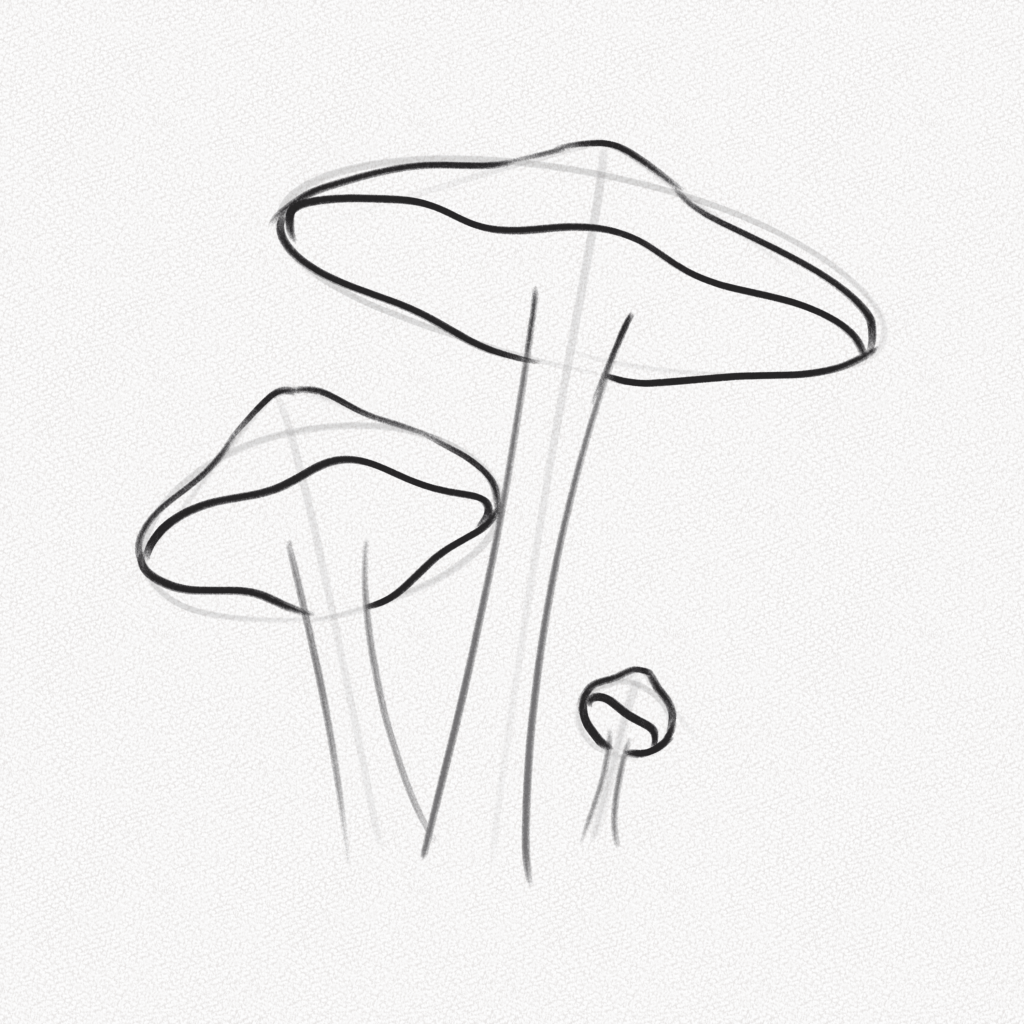
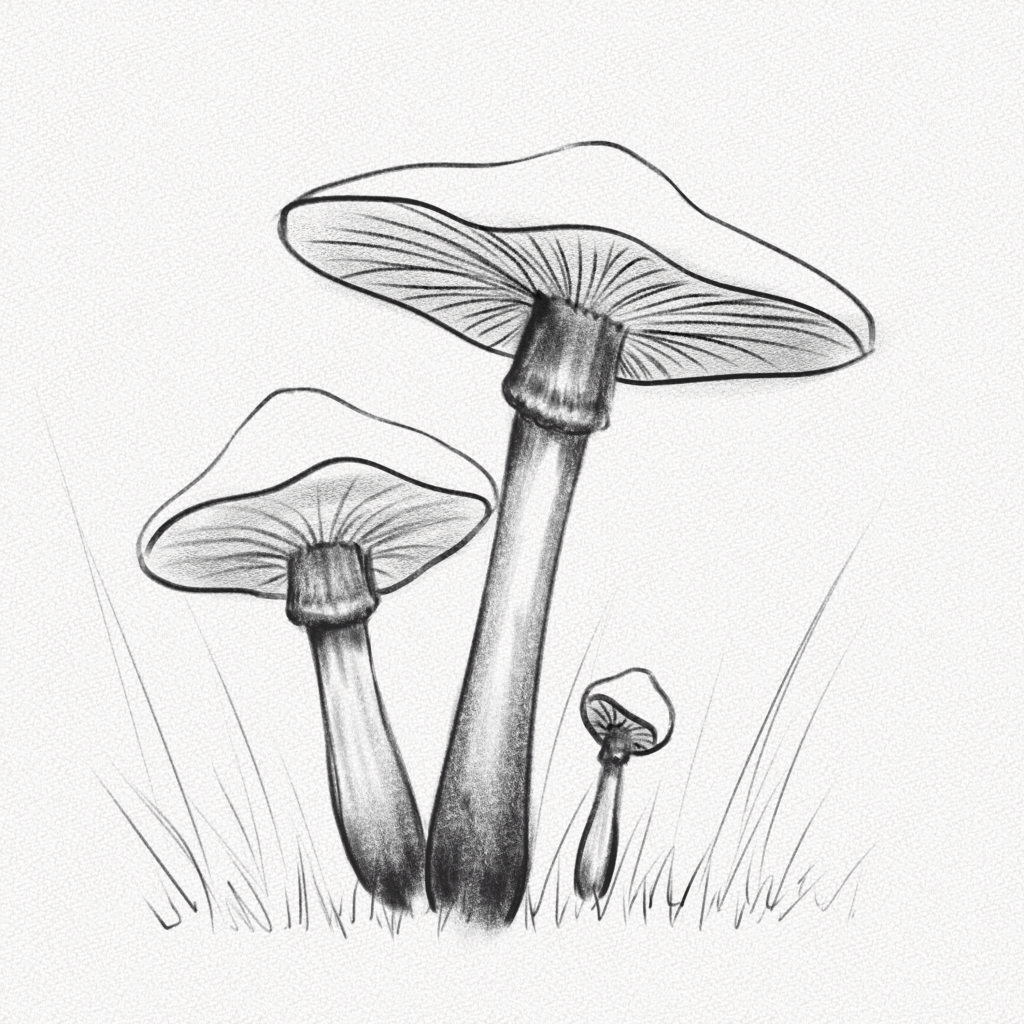
Step 7: Draw the Ring
The ring is a thin structure that often hangs under a mushroom cap. Draw it using a curved rectangle as a reference for the base and multiple small lines for the top, connecting the gills to the ring.
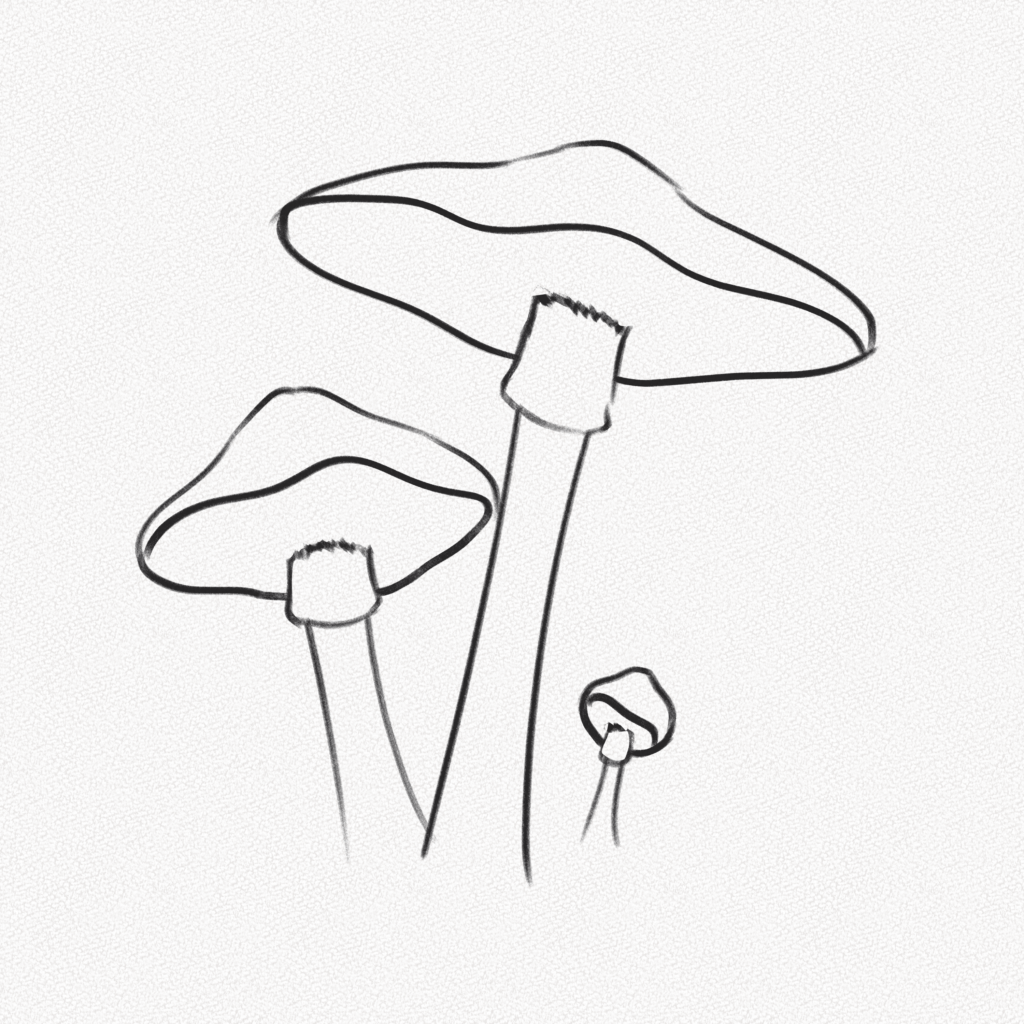
Step 8: Add Some Details
Add details to the ring and hint at some lines for the gills. Correct any mistakes and prepare for shading and detailing.
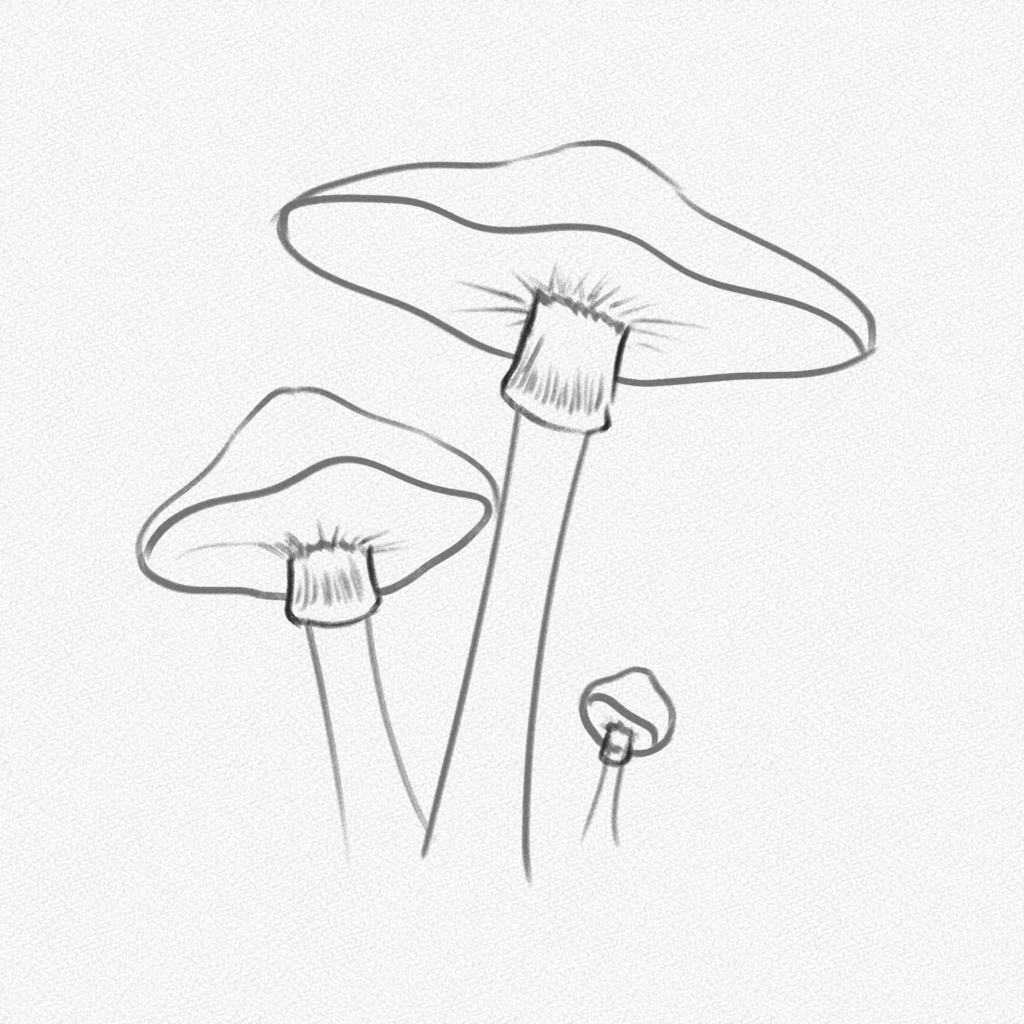
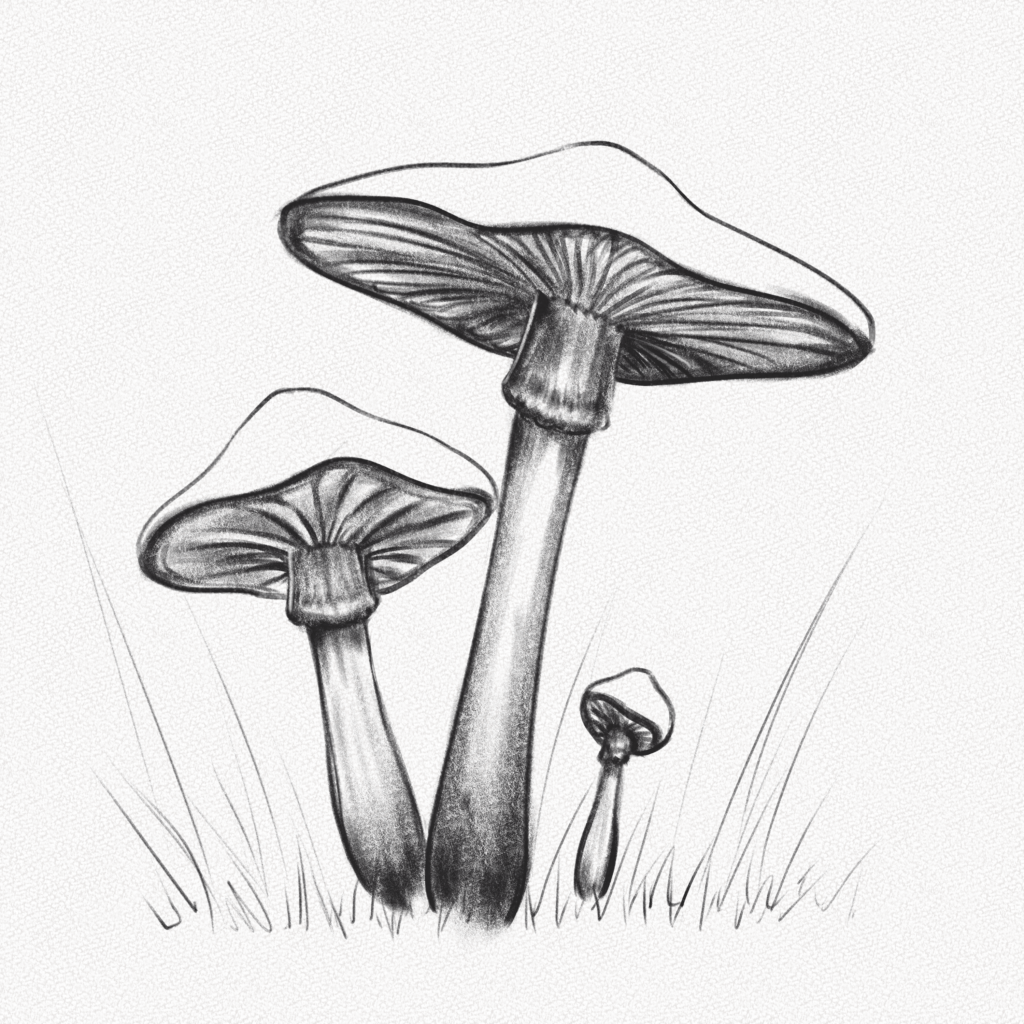
Step 9: Add Some Grass
Complete the curved mushroom base and add some grass around it to enhance the realism of your drawing. Remember that any grass growing around mushrooms will likely be the same size or longer than the mushrooms themselves.

Step 10: Shade the Stalk
Using your 2B pencil, shade the mushrooms' stalk with soft movements. This will form the first layer of graphite.
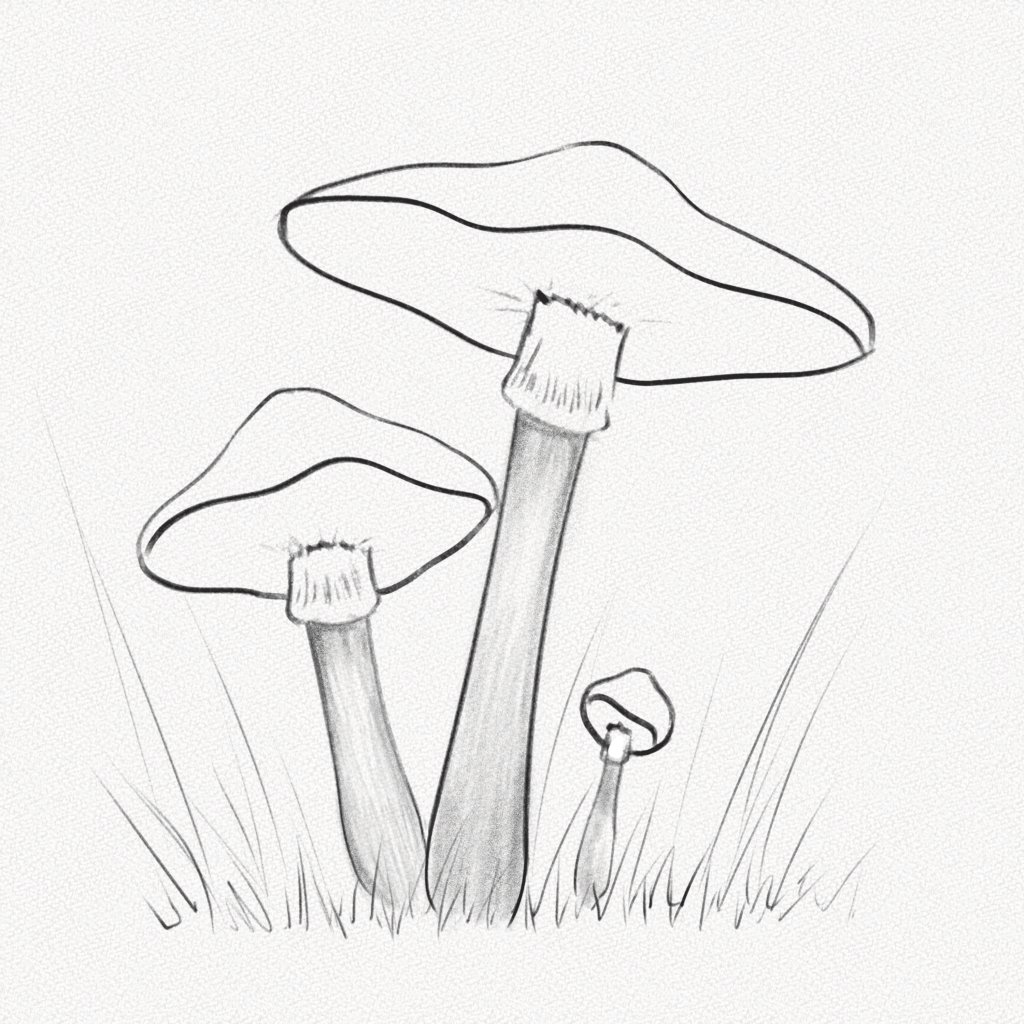
Step 11: Add Contrast to the Stalk
With your 4B pencil, add contrast to the sides of the stalk, the base, and the ring area. Darken the bottom the most as it is the part of the mushroom in constant contact with the ground.
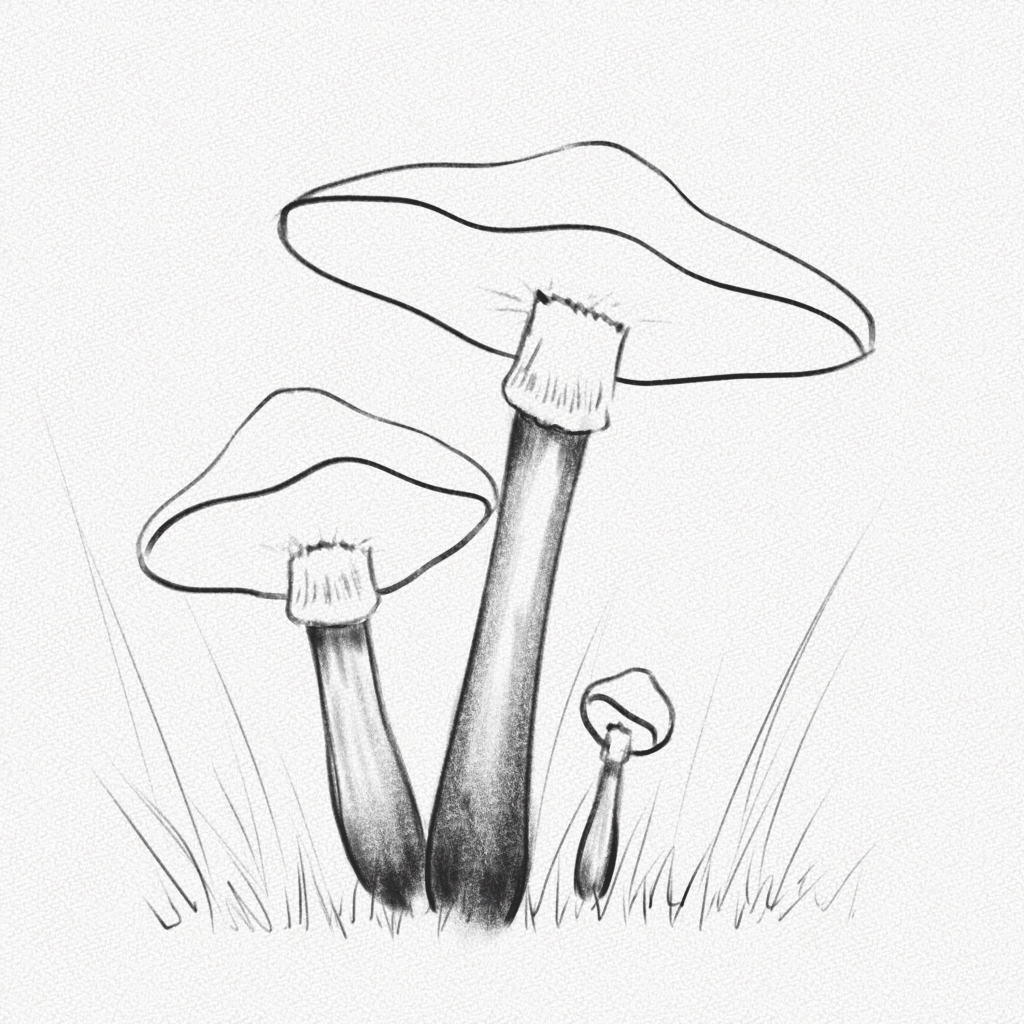
Step 12: Shade the Ring
Use your 2H pencil to softly shade the ring of the mushroom, emphasizing the borders and the bulbous base. Then, use your 4B pencil to add more contrast, as this part will likely be in the shadow of the cap.
Step 13: Shade the Base of the Cap
Fill the base with a soft layer of graphite using your 2B pencil. Then, draw the lines that will represent the mushroom's gills with your 4B pencil.
Step 14: Add Contrast to the Base of the Cap
Use your 4B pencil to add more contrast to the base of the cap by darkening the gills and adding depth to the base outline. Pay special attention to darkening the center, as it receives less sunlight.
Step 15: Shade the Cap
It's time to shade the cap. Start by using your 2B pencil for the first layer, making it as uniform as possible. Then, for the second layer, add a bit more volume by shading the sides and the horizontal middle section.
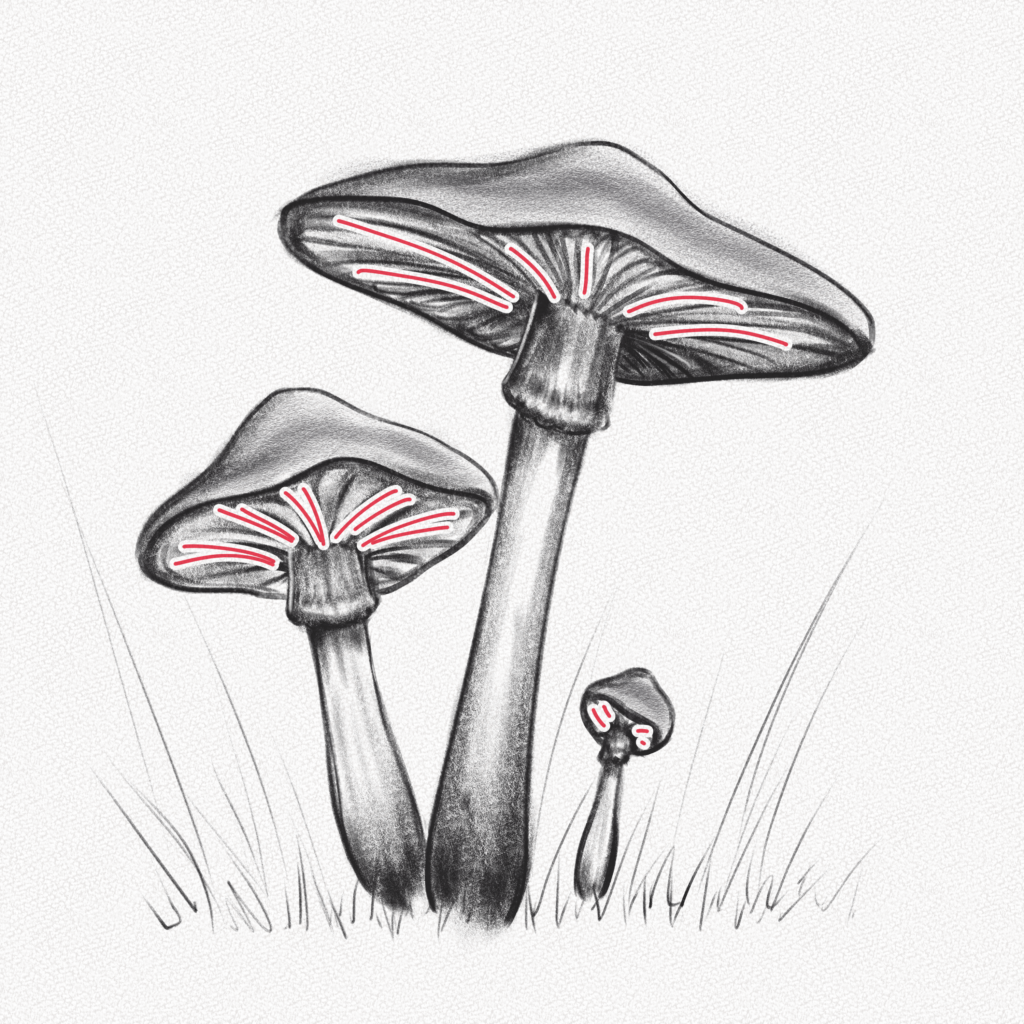
Step 16: Detail the Gills
Sharpen your 4B pencil to get a very fine tip. Use it to draw strong and fine lines, detailing the gills of the mushroom.

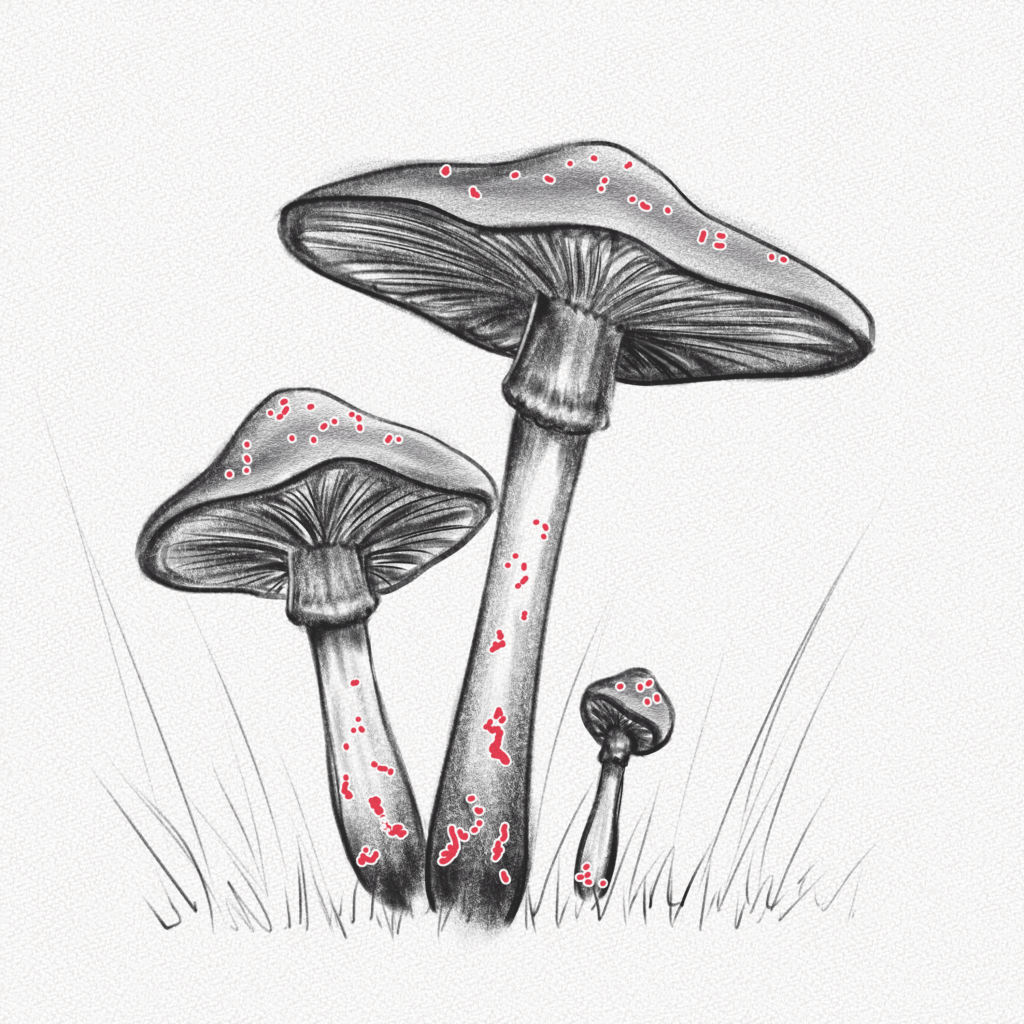
Step 17: Add Some Spots
Add characteristic spots to your mushrooms to simulate dirt and sunspots. You can follow the diagram below or create your own. Remember, there will be a higher concentration of spots on the base of the stalk, near the ground.

Step 18: Start Drawing the Grass
Take your blending stump and apply a bit of graphite to it. Start making long, soft lines on the background, following the shape of the grass.
Step 19: Add Contrast to the Grass
Repeat the previous step, but this time apply more pressure and graphite to the tip of the blending stump. Tilt the blending stump to add the ground as well.
Step 20: Add Details to the Grass
Finally, use your Tombow Mono Zero eraser to remove some graphite, following the direction of the grass. This will add another layer of realism to your drawing.
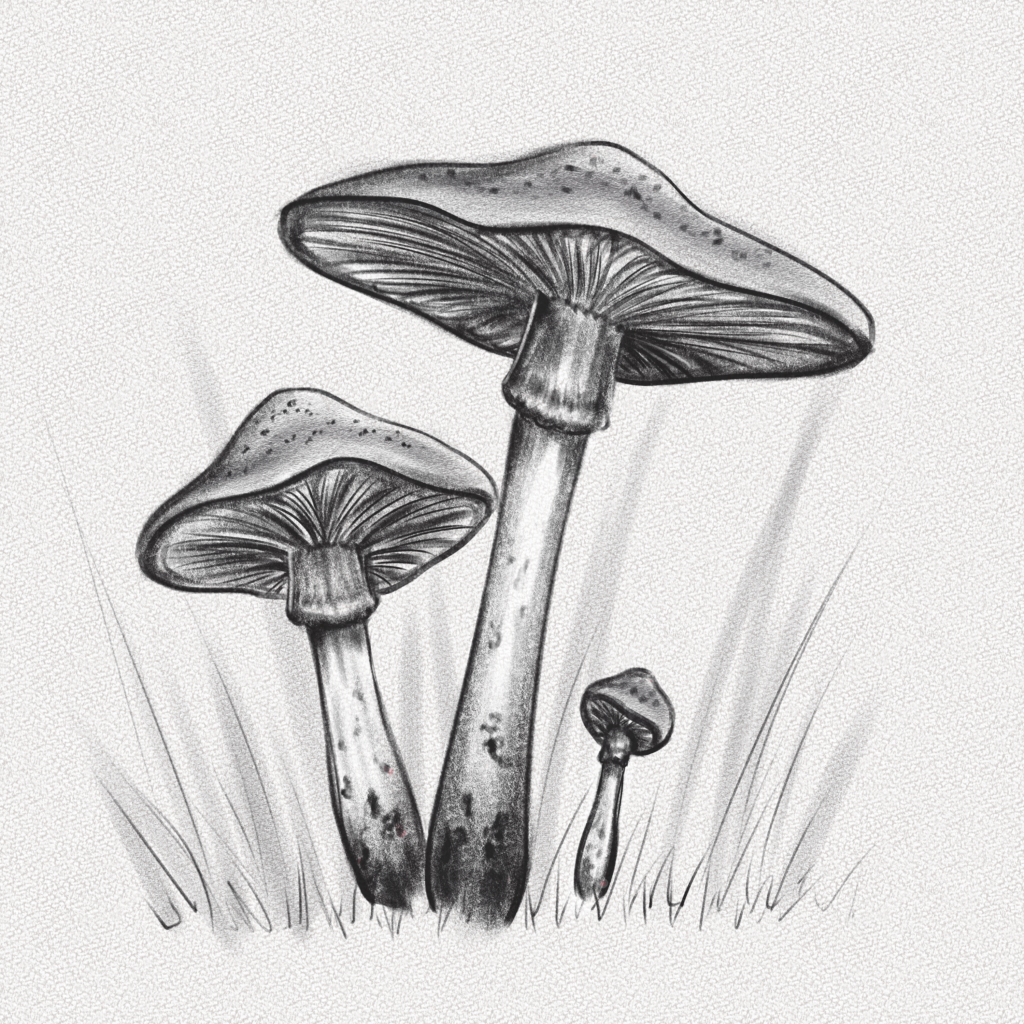
And voila! You're done.
Thank you for following this step-by-step tutorial. You did an amazing job! Drawing is a wonderful way to express your creativity and emotions visually, and anyone can do it.
Until next time!
Express your creativity with Shill Art – your ultimate source for artistic inspiration.
Follow us on:
- Facebook fanpage:https://www.facebook.com/ShillArt.Official
- Facebook group:https://www.facebook.com/groups/FreeColoringPagesToPrint
- Pinterest:https://www.pinterest.com/ShillArtOfficial
More Coloring Books at here, see now:https://shillart.com/coloring-books