
Bridges serve as a means to connect one place to another, whether it's a small structure over a creek or a colossal masterpiece spanning an ocean. One such masterpiece is the Golden Gate Bridge, renowned worldwide for its massive size and unique design. In this tutorial, we'll guide you through the process of drawing the Golden Gate Bridge in just six easy steps, so you can capture its iconic beauty in your own artwork. Let's get started!
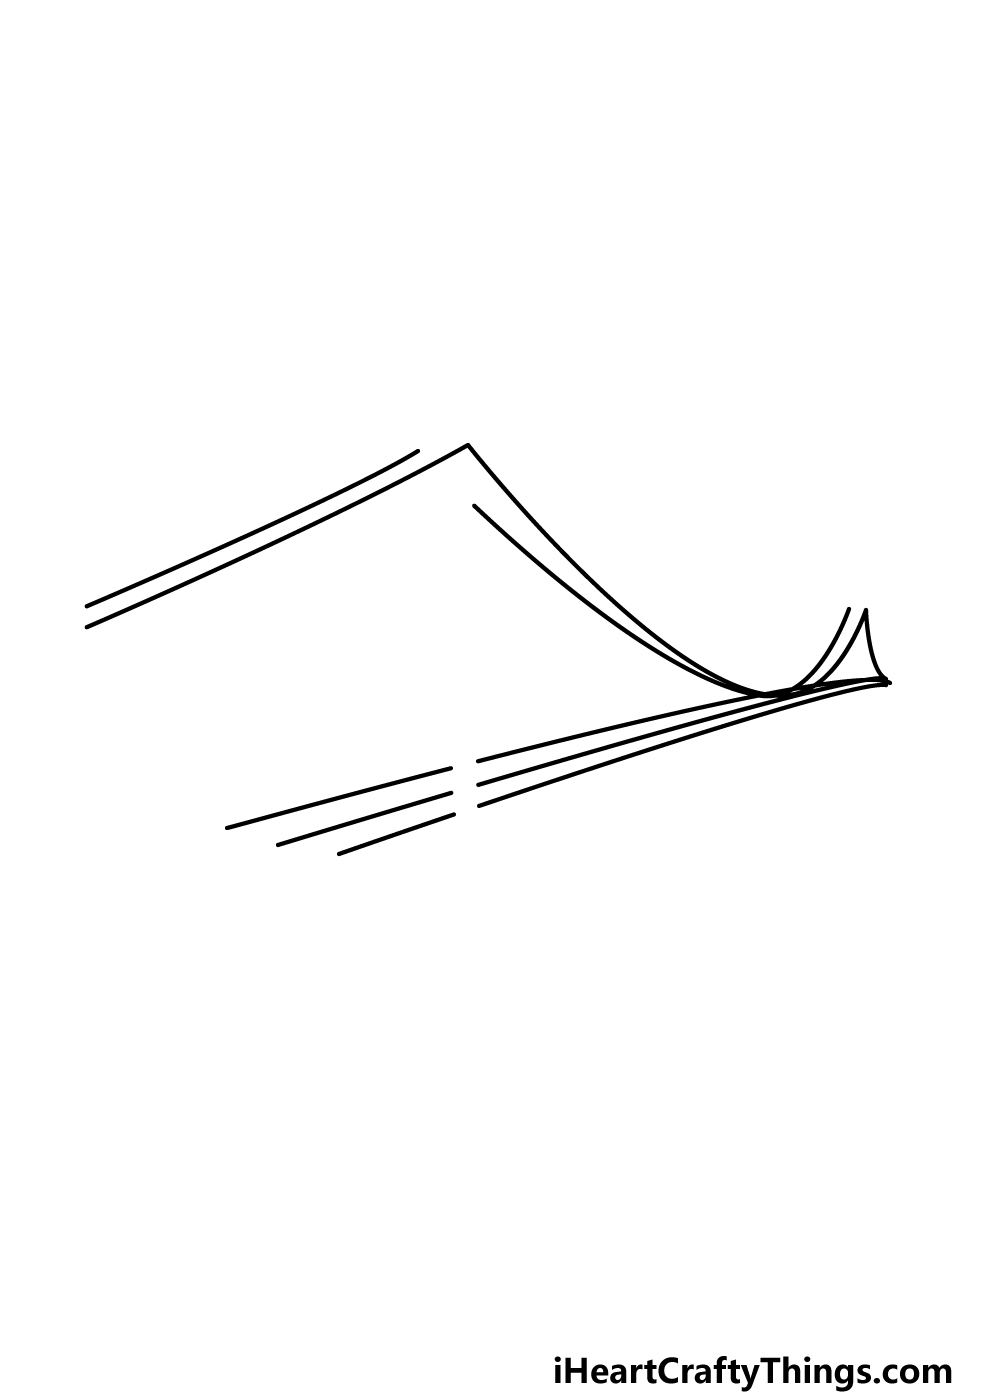
Step 1: Drawing the Cables

The Golden Gate Bridge is characterized by its intricate system of wires and cables that connect to the bridge itself. Begin by drawing these cables that run above the bridge. Pay close attention to the reference image, ensuring you position and draw them accurately. The cables have a distinctive looping shape, which you can achieve by using curved lines.
Step 2: Drawing the Bridge
With the cables in place, it's time to draw the bridge itself. Use slightly curved horizontal lines that are closely spaced to depict the structure. These lines will converge to a single point on the right-hand side of the bridge. Refer to the image to identify the spaces where the pillars will be added later.
Step 3: Drawing the Pillars

In this step, we'll draw the pillars of the bridge. The pillars consist of several sections with horizontally aligned spaces between them. Each section should be smaller than the previous one as you move upward. The pillars at the far end of the bridge require less detail. Once you've completed the pillars, add some additional smaller details to enhance the bridge's overall appearance.
Step 4: Drawing the Cables (Continued)
Now it's time to draw the remaining cables for the Golden Gate Bridge. Start by using curved lines to represent rocks on the left-hand side of the bridge. Then, use a ruler to draw thin vertical lines inside the first section of the bridge. The second section will have cables added in the next step of this guide.
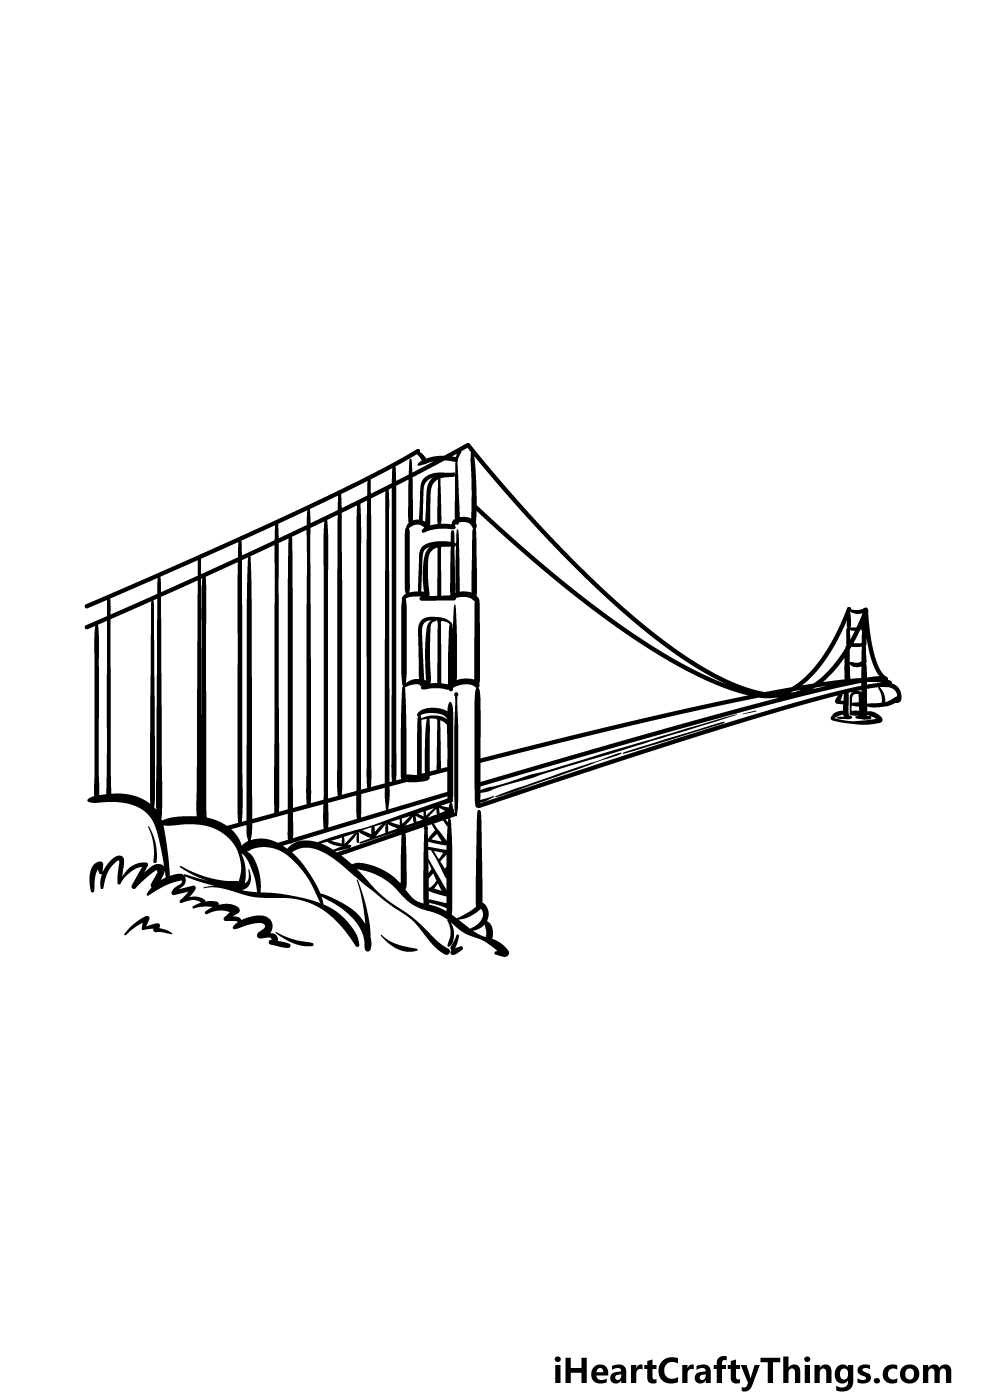
Step 5: Adding the Final Details

To complete your Golden Gate Bridge drawing, it's time to add the final touches. Continue drawing vertical straight lines along the final section of the bridge, connecting them to the cables you drew in the previous step. Next, draw wavy lines in the ocean to create the illusion of small waves on the surface. Feel free to add your own unique details, such as clouds, rain, or even a blimp in the background. Let your creativity shine!
Step 6: Adding Color
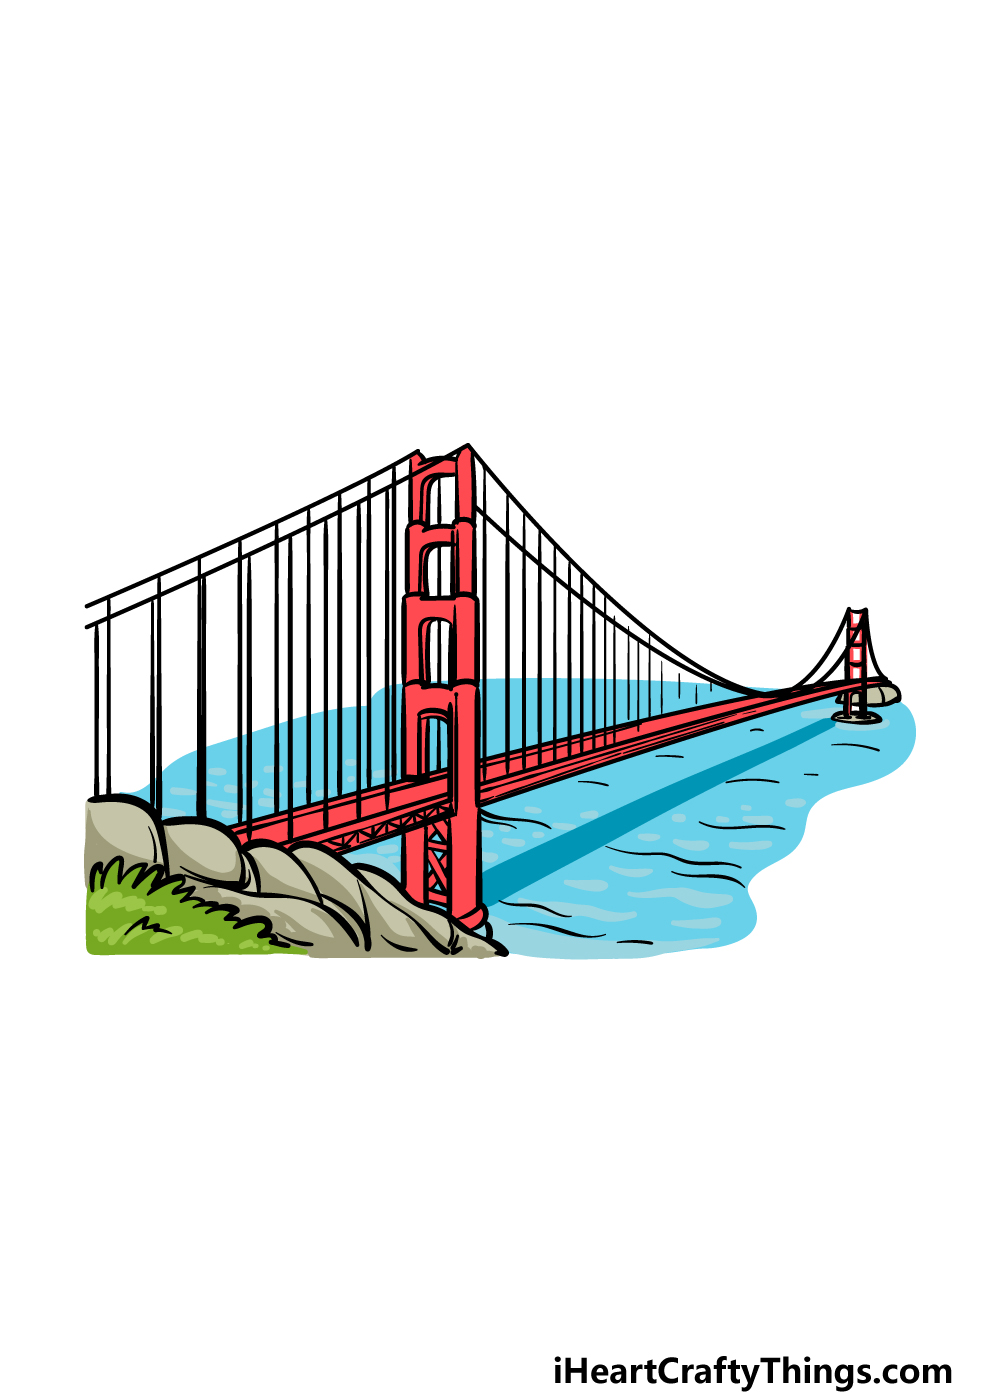
The Golden Gate Bridge is famously known for its bright red color. In our example image, we opted for this vibrant hue. If you want to stick to its real-life appearance, use the reference image as a guide while adding color. When choosing art mediums, opt for those that allow for precision, such as colored pens, pencils, or thin-tipped paintbrushes. These tools will help you capture the finer details of the bridge. What medium will you choose for your own Golden Gate Bridge drawing?
4 More Ways to Make Your Golden Gate Bridge Drawing Unique
Make your Golden Gate Bridge drawing even more captivating with these additional tips:
- Zoom In: If you want to showcase smaller details of the bridge, zoom in and refer to real images to accurately capture these nuances. This approach allows you to portray different perspectives of the bridge.
- Add Signs of Life: Bring your drawing to life by incorporating signs of activity. Consider adding cars or people walking along the bridge. Even in a zoomed-in view, you don't need elaborate details to make these elements noticeable.
- Create Atmospheric Effects: The sky above the Golden Gate Bridge offers an opportunity for artistic interpretation. Decide on the mood you want to convey and add relevant sky effects, such as a clear blue day or clouds. The weather you choose can greatly influence the overall ambiance of the artwork.
- Combine Landmarks: The Golden Gate Bridge is just one of many iconic man-made landmarks in the USA. Expand your artwork by including other structures like the Statue of Liberty, the Empire State Building, or Mount Rushmore. Unleash your creativity by featuring your favorite buildings and structures alongside the bridge.
Your Golden Gate Bridge Drawing is Complete!
Congratulations! You've successfully recreated one of the most famous bridges in the world. We hope this step-by-step guide on how to draw the Golden Gate Bridge made it easy and enjoyable for you. Now that you have finished the drawing, feel free to add your own personal touches. Would you like to include a background, weather effects, or experiment with colors and art mediums to make it truly your own?
If you had a great time drawing the Golden Gate Bridge, be sure to check out our website for more awesome drawing guides. We have a wide selection of tutorials available, and our collection continues to grow. Also, don't forget to share your finished Golden Gate Bridge drawing on our Facebook and Pinterest pages. We can't wait to see your masterpiece!
Follow us on: Shill Art – Express Your Creativity
Follow us on:
- Facebook fanpage:https://www.facebook.com/ShillArt.Official
- Facebook group:https://www.facebook.com/groups/FreeColoringPagesToPrint
- Pinterest:https://www.pinterest.com/ShillArtOfficial
More Coloring Books at here, see now:https://shillart.com/coloring-books